Josef “Jeff” Sipek

Prague & IETF

This post is part of a series named “Europe 2017” where I share photos from my adventures in Europe during the summer 2017.

In mid-July 2017, I got to travel to Prague to participate in IETF’s 99th meeting.

The IETF meeting itself was great—lots of useful discussion about the next-generation email accessing protocol (called JMAP).

I stayed a couple of days extra to enjoy Prague, and Holly flew out from Helsinki to revisit Prague where she’s been once before—for our honeymoon.

I dragged my D750 and the two lenses with me and made to sure to take photos (almost) all the time. The gallery contains only a handful of the approximately 1100 raw files. Of those, I selected 11 for this blahg post.

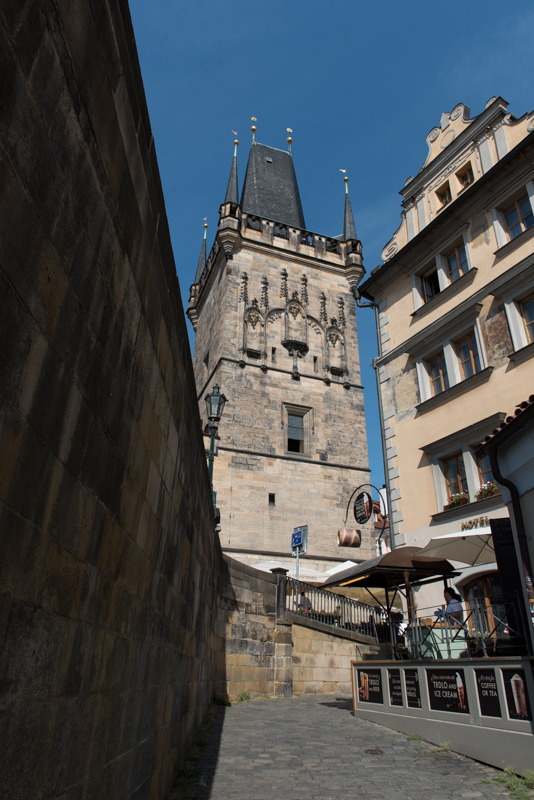
Wikipedia article: Malá Strana Bridge Tower:

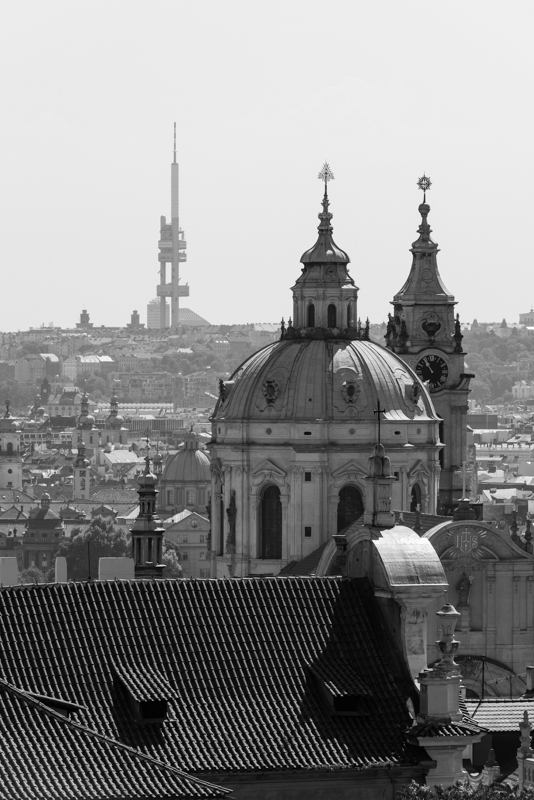
Wikipedia article: St. Nicholas Church with the Wikipedia article: Žižkov Television Tower in the background:

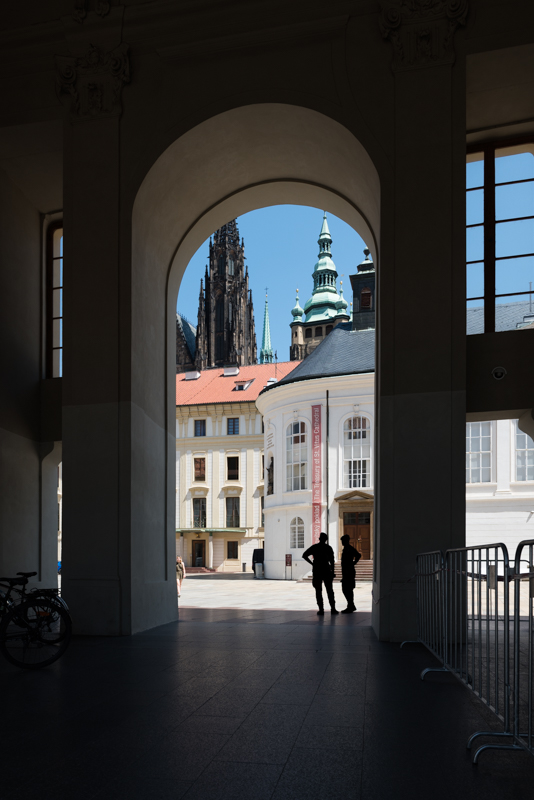
Wikipedia article: Matthias Gate with Wikipedia article: St. Vitus Cathedral peeking in the background:

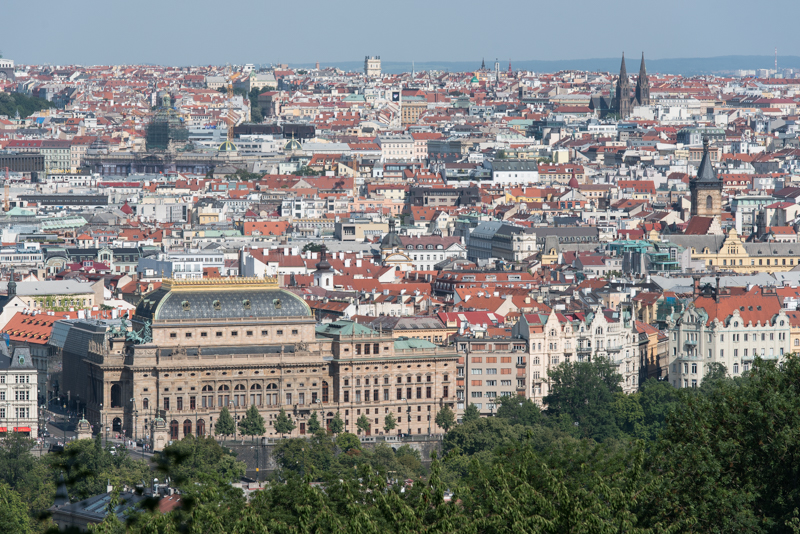
The Wikipedia article: National Theatre:

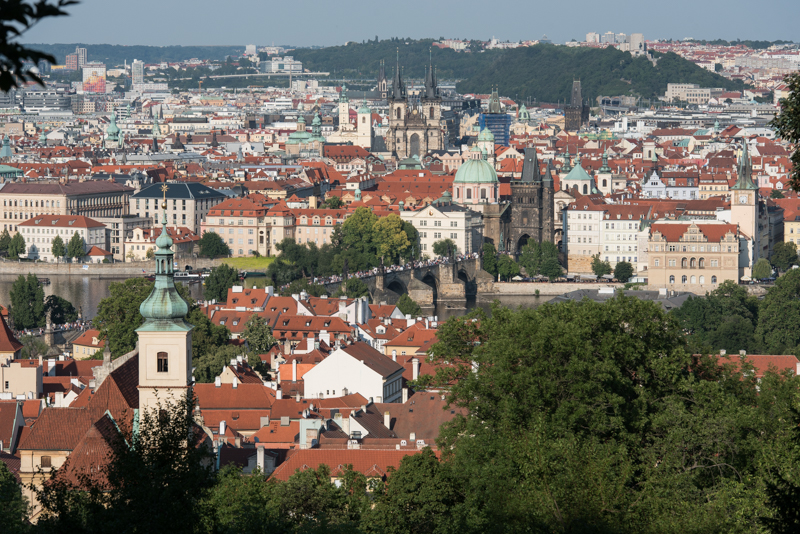
Wikipedia article: Charles Bridge and a view of Wikipedia article: Old Town:

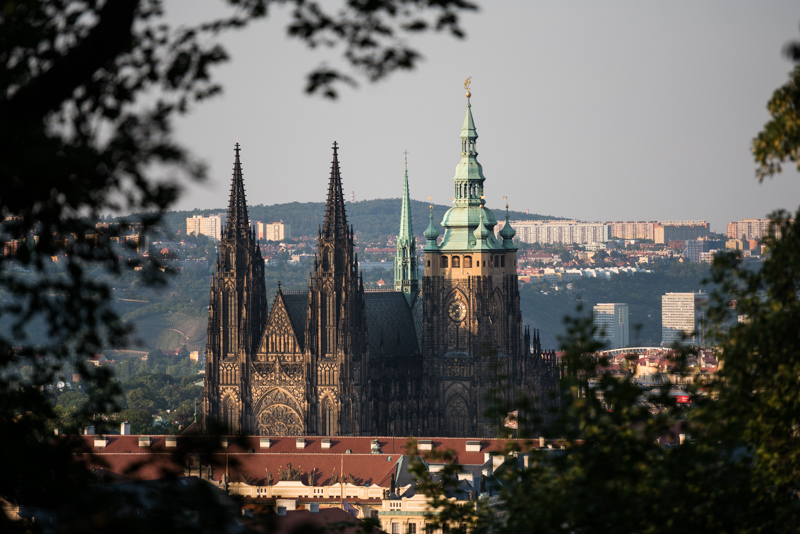
Wikipedia article: St. Vitus Cathedral from Wikipedia article: Petřín near sunset:

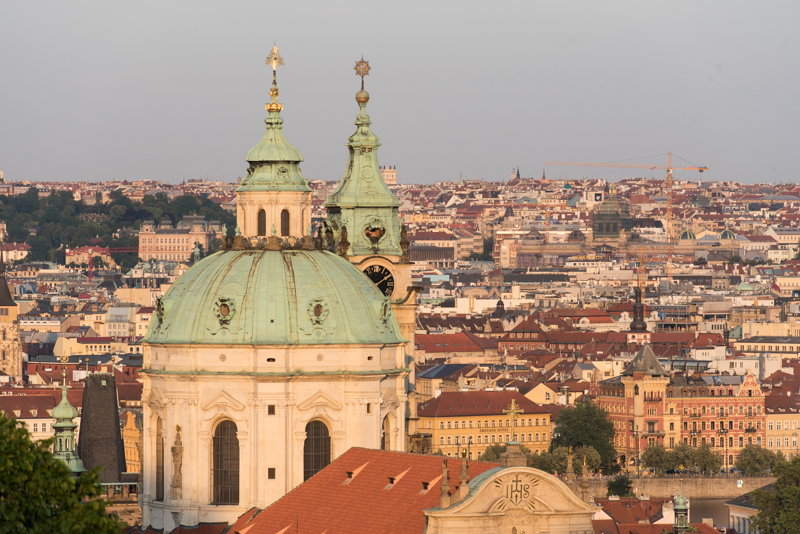
St. Nicholas Church again during sunset (and without the ugly Žižkov TV tower):

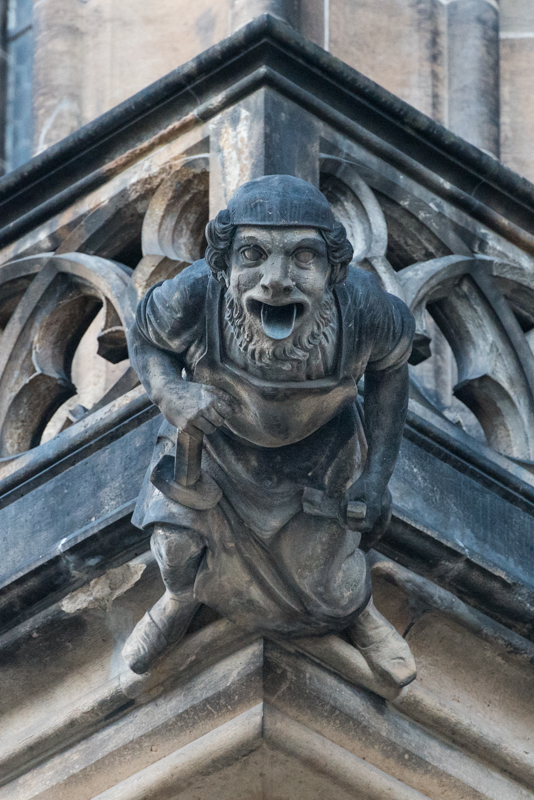
A gargoyle keeping the St. Nicholas Church’s masonry safe:

A view from the top of Wikipedia article: Old Town Bridge Tower with roofs and towers of (left to right):

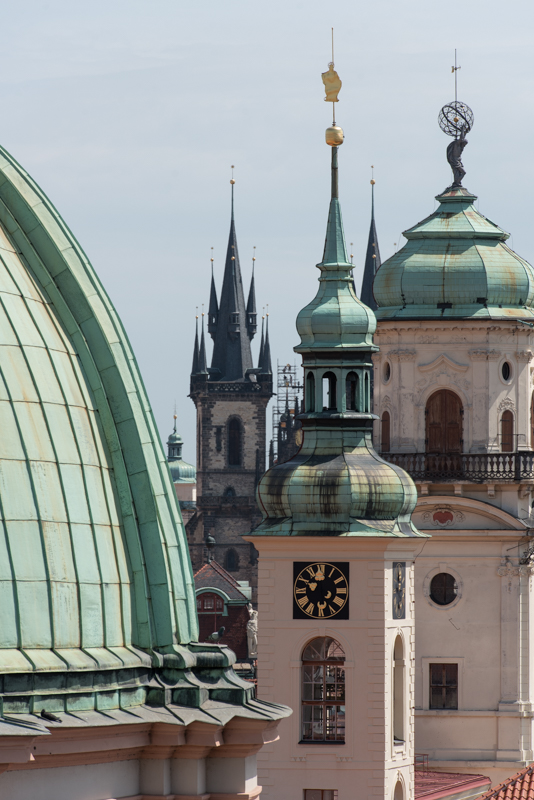
Church of Saint Wikipedia article: Francis of Assisi, the left tower of Wikipedia article: Church of Our Lady before Týn, the clock tower and the Astronomical tower of Wikipedia article: Clementinum:

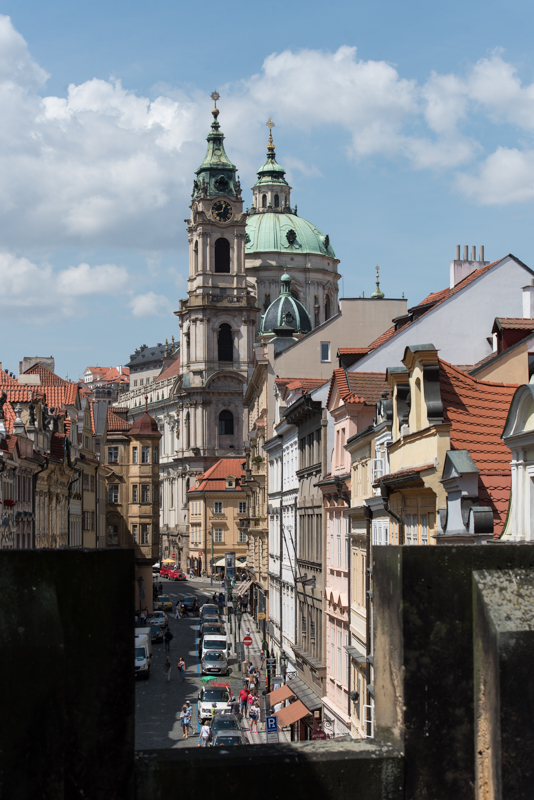
St. Nicholas Church yet again, this time from the Malá Strana Bridge Tower:

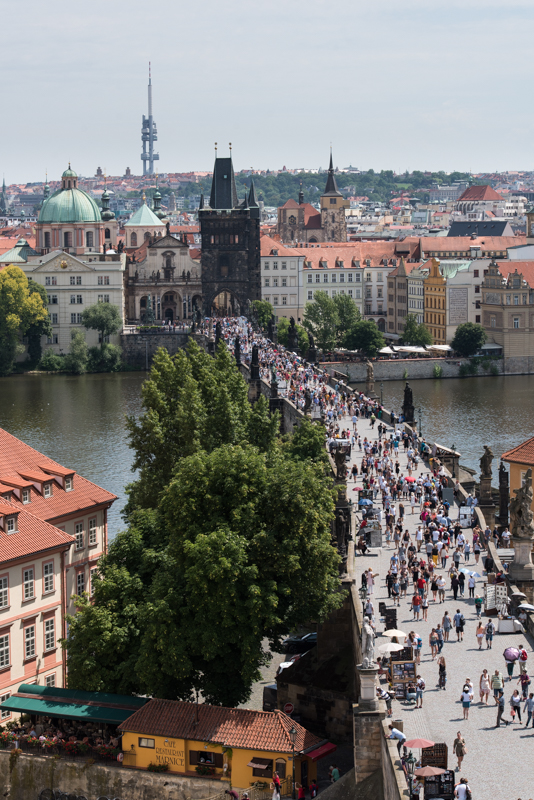
Wikipedia article: Charles Bridge, Wikipedia article: Old Town Bridge Tower, Church of Saint Wikipedia article: Francis of Assisi, and Wikipedia article: Žižkov Television Tower (from the Malá Strana Bridge Tower):

Prague offers a lot to see. The few photos I selected for this blahg post don’t show anywhere near enough of it. There are more photos in the gallery, but even those are merely highlights of what one can see in Prague. If you haven’t been to Prague yet, I highly recommend a trip.

Tallinn

This post is part of a series named “Europe 2017” where I share photos from my adventures in Europe during the summer 2017.

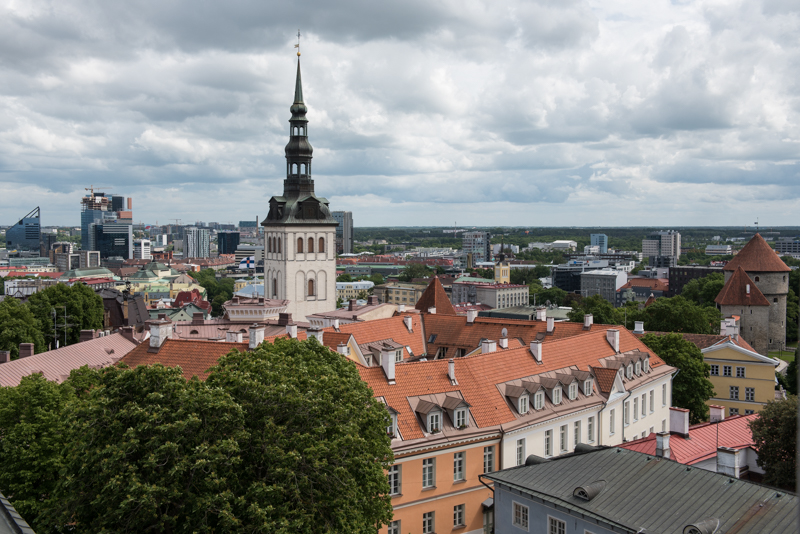
In late June 2017, Holly and I did a day trip to Wikipedia article: Tallinn. This wasn’t the first time I was in Tallinn, so I knew what the interesting parts of the old town were. As always, there is a gallery with more photos.

Tallinn’s old town is a medieval pocket in a otherwise modern city. In some of the photos you can see the modern civilization right behind a medieval tower.

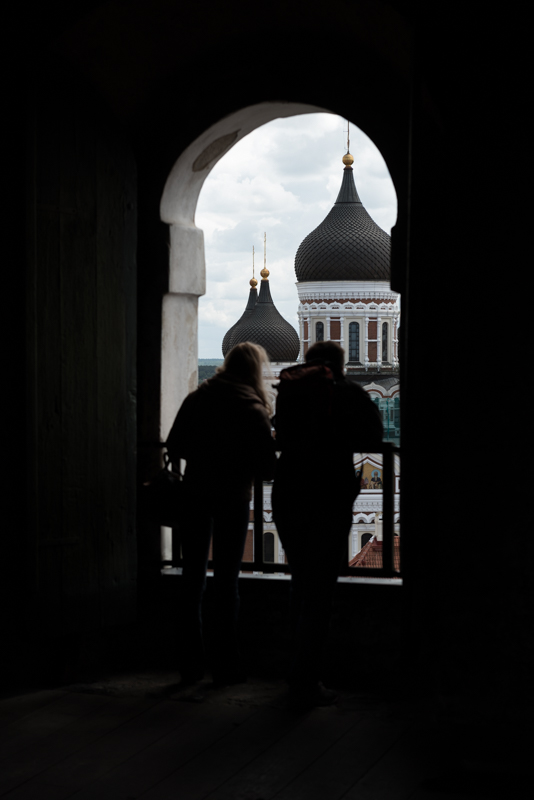
A view of the Wikipedia article: Alexander Nevsky Cathedral from the tower of Wikipedia article: St. Mary’s Cathedral:

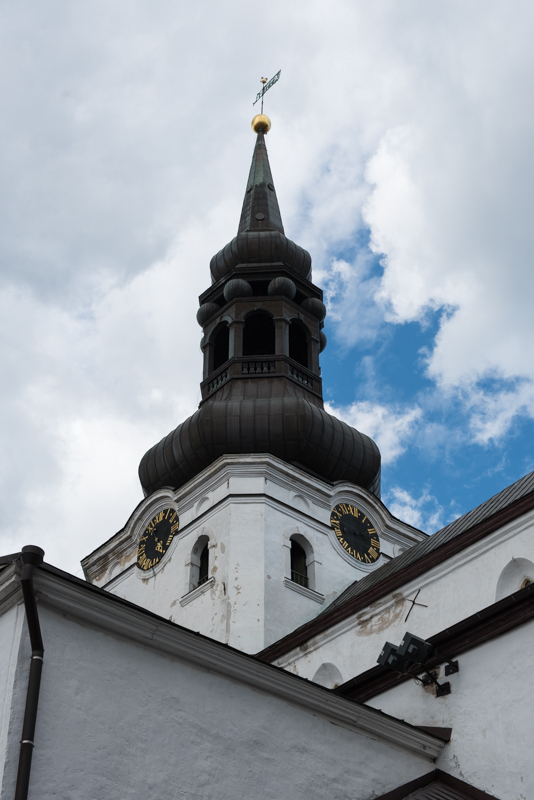
The tower of St. Mary’s Cathedral:

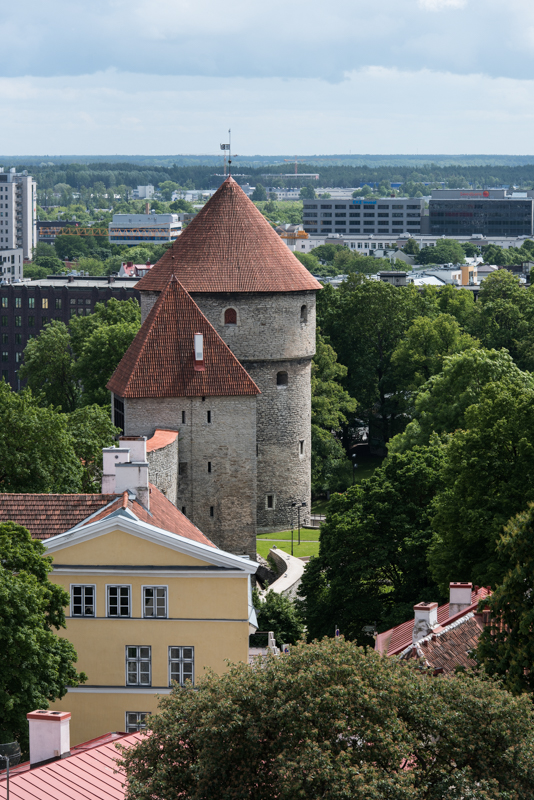
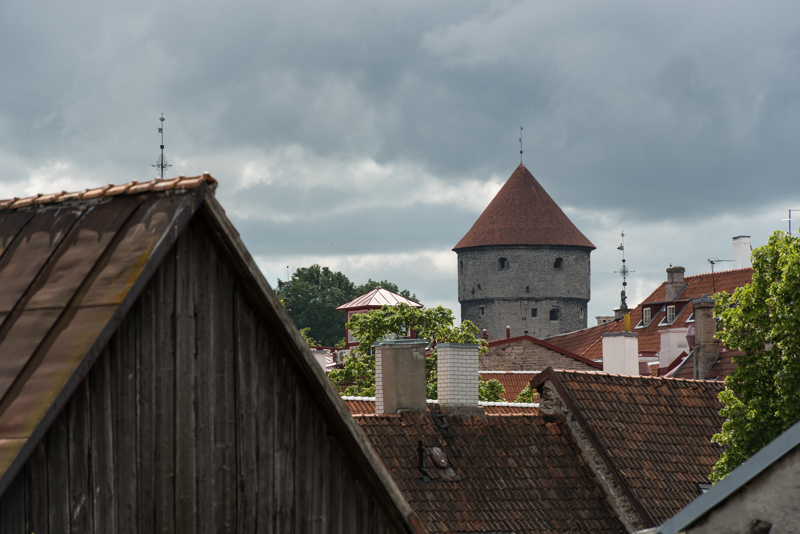
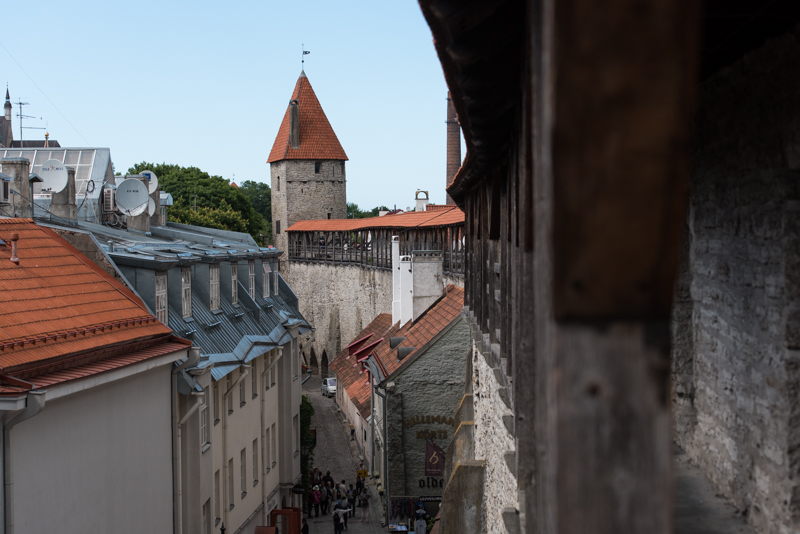
A section of the fortification wall that remains:

I’ve been to Tallinn twice and all my time there was spent in the old town. This makes me far from an expert about what there is to do. With that said, I enjoyed my time there and I recommend a day trip to anyone visiting nearby.

OH-LCD

This post is part of a series named “Europe 2017” where I share photos from my adventures in Europe during the summer 2017.

When I attended the Kaivopuisto Air Show in early June last year, I learned about the existence of the Finnish Aviation Museum. It took me a month and a half, but eventually I found a free day to go check it out.

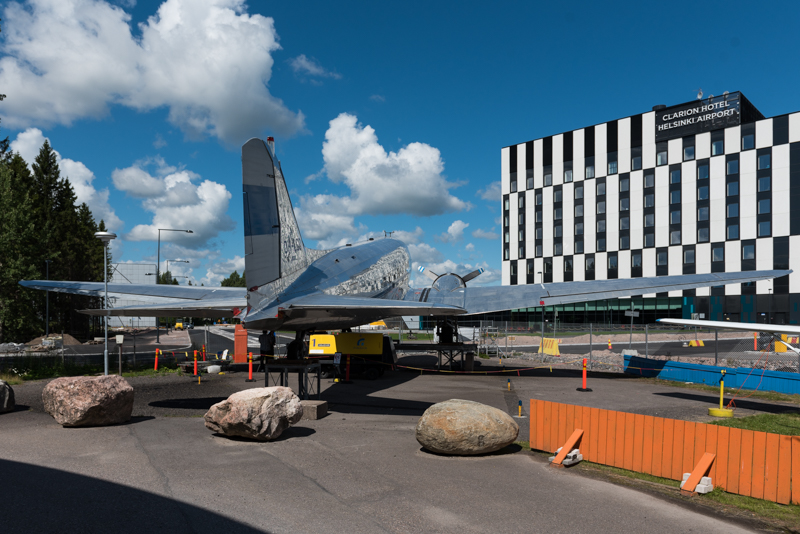
The museum itself is packed with all sorts of aircraft on static display. While they were interesting (and I certainly took plenty of photos of them), they aren’t what this post is about. This post is about Lokki—a retired Wikipedia article: DC-3 (registration OH-LCD) on display outside of the museum.

As luck would have it, the folks from the DC Association were there that day trying to see if they could start up Lokki’s engines—after 12 years of inactivity. After a lot of preparation, they managed to start them!

Without further ado, here are a few photos of Lokki (more photos can be found in the gallery).

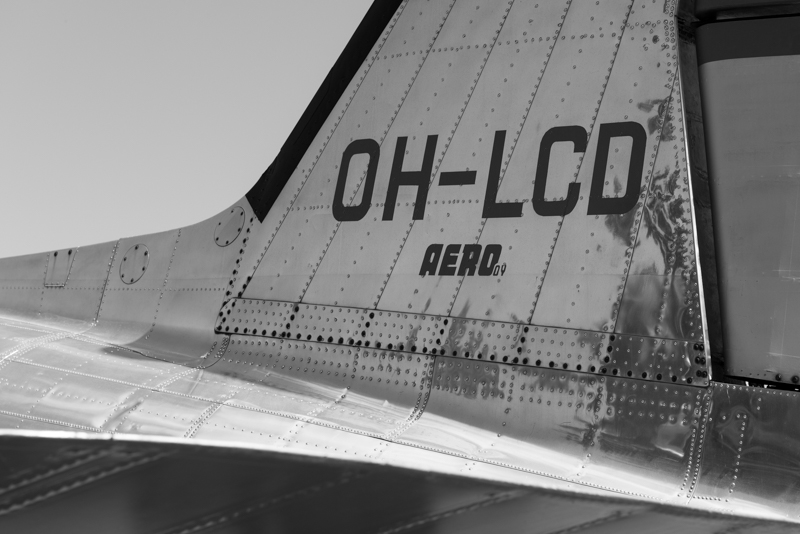
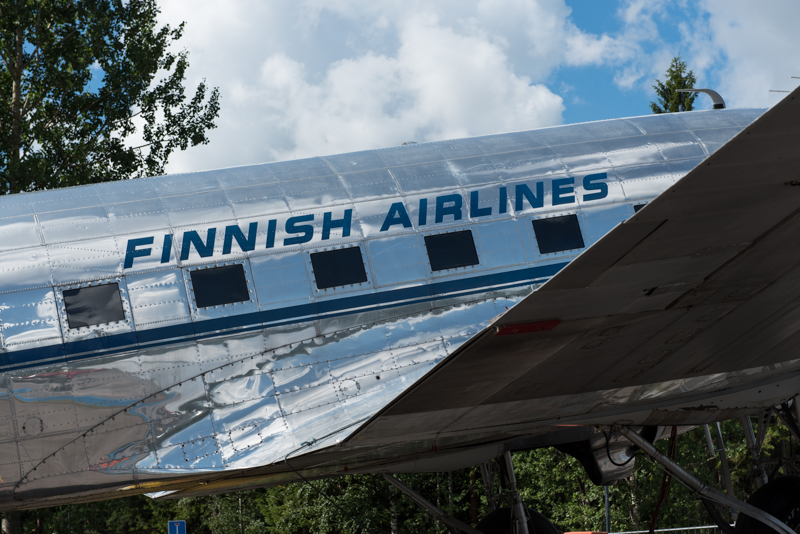
Wikipedia article: Aero OY was the original name of Finnair:

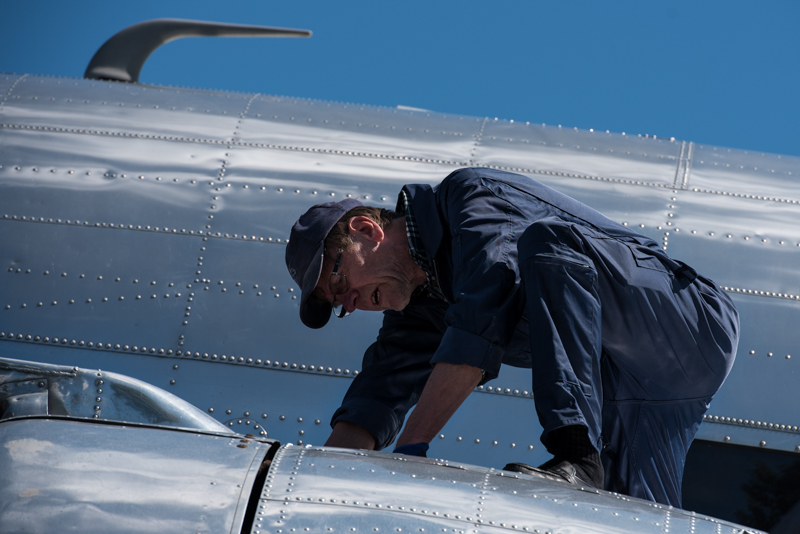
One of the mechanics working on the left engine:

One of the people from the DC Association, seeing that I was obviously excited about the plane, asked me if I’d like to climb inside. I said yes, of course.

The inside was pretty bare-bones (which is to be expected of a static display that’s normally closed to public). I took a couple of photos inside, but most weren’t that interesting.

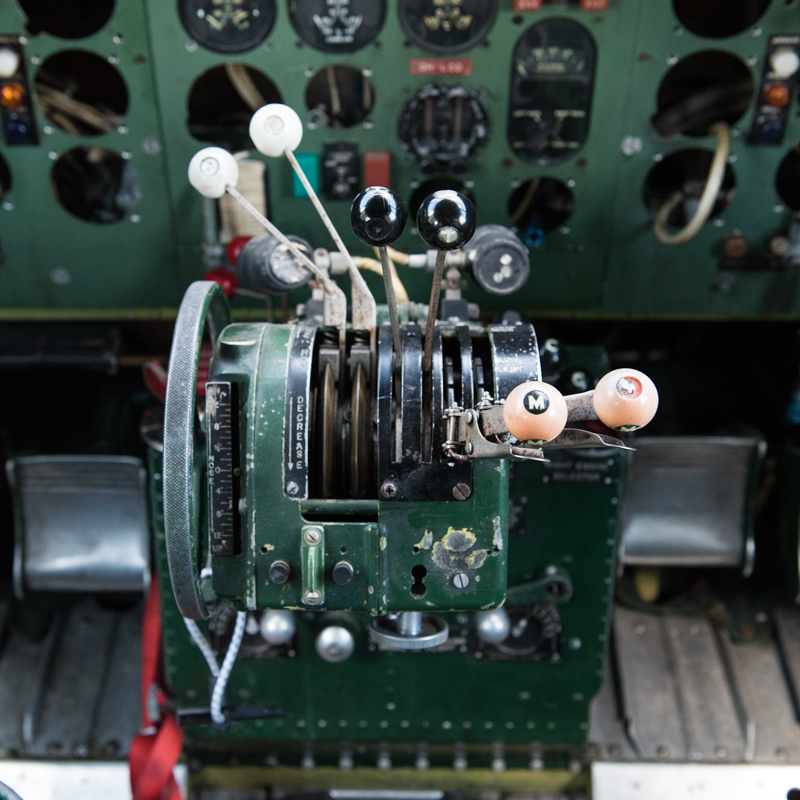
Throttle quadrant (note: most of the instrument panel was removed long ago):

It runs!

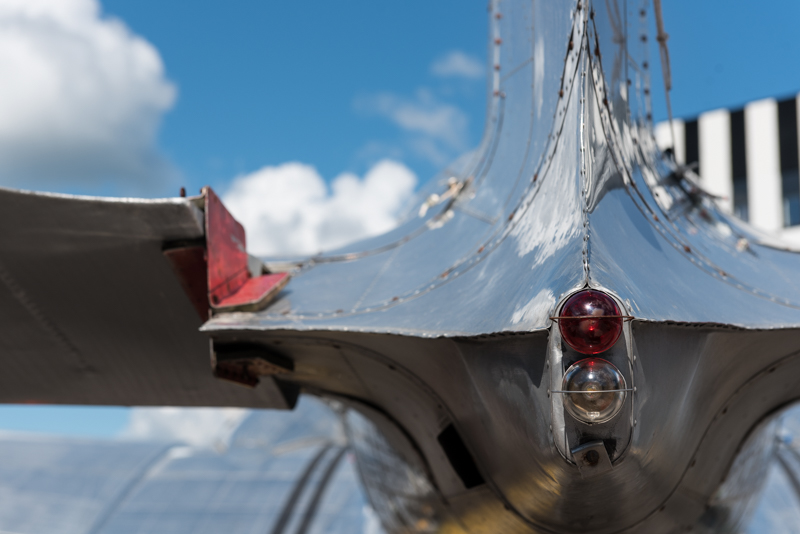
The livery is pretty simple—polished aluminum with dark blue lettering and a stripe:

I’m not really sure why they wanted to see if they could start the engines, but I’m happy that it worked out. Radial engines just have a unique roar to them.

Anyway, that’s it about Lokki. Hopefully I’ll get around to post processing the photos from the museum itself soon.

Juhannus 2017

This post is part of a series named “Europe 2017” where I share photos from my adventures in Europe during the summer 2017.

You may have noticed that I was a bit quiet during the last summer. I have a really good reason for it: I spent five months in Helsinki for work. On weekends, Holly and I got to explore, which led me to accumulate approximately 12000 photos. Sadly, I am quite behind on post processing them all, but I will get through them eventually.

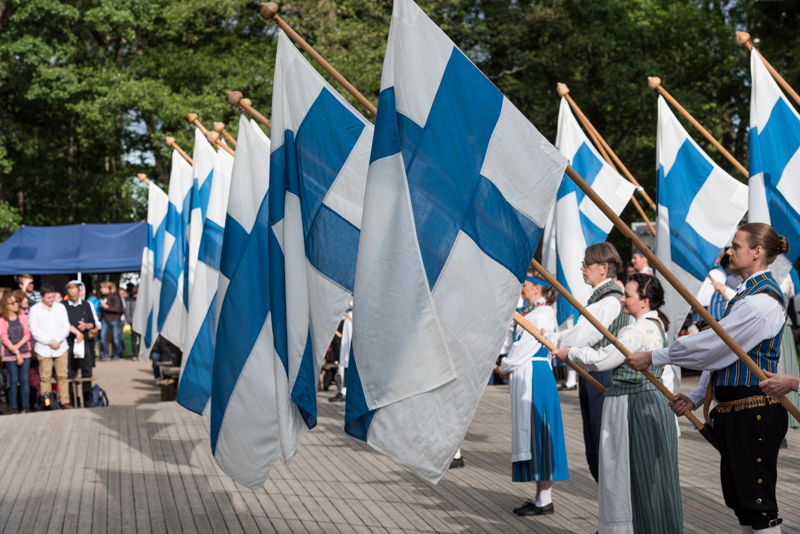
This post is about how I spent Wikipedia article: Juhannus last year.

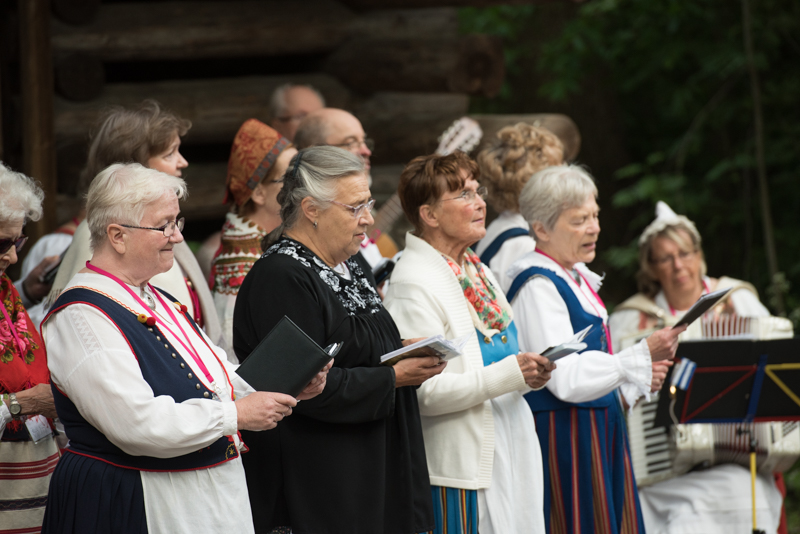
Juhannus is the name of the Finnish summer solstice holiday. It is a time to relax, spend time with friends and family, and enjoy oneself. Every year, a nearby island, Wikipedia article: Seurasaari, has an afternoon and evening with an assortment of traditional events and bonfires.

There is of course a gallery of my photos.

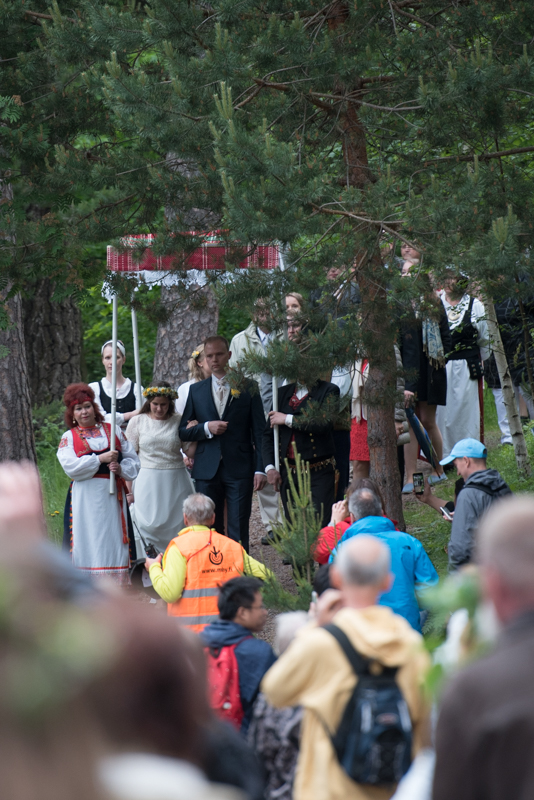
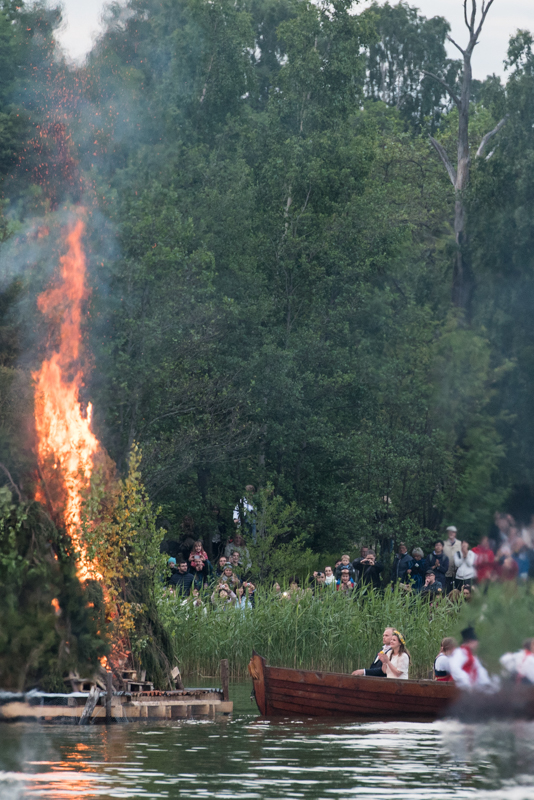
Every year, one couple is selected to have their wedding on Seurasaari during Juhannus. Here is 2017’s lucky couple:

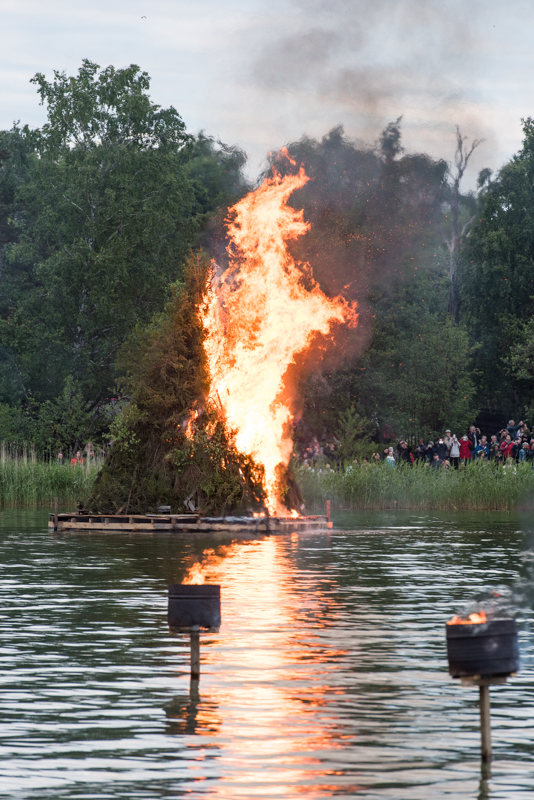
Before about half a dozen bonfires are set ablaze, a number of “can fires” is lit:

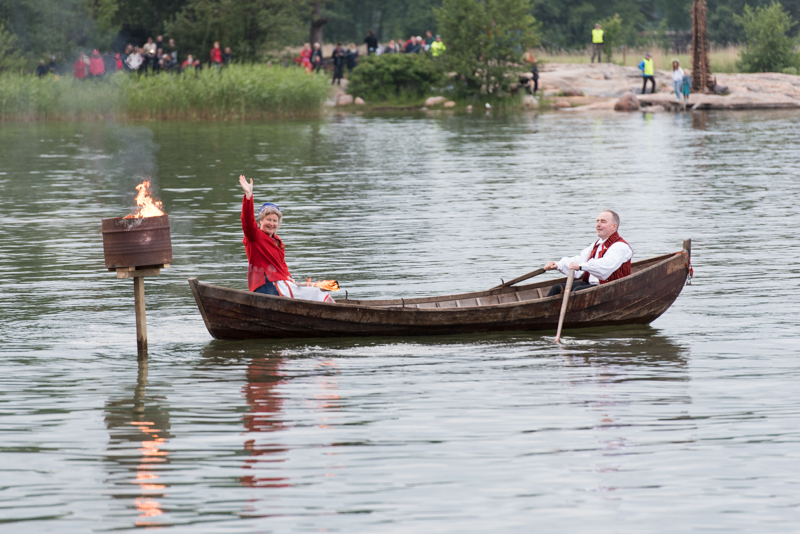
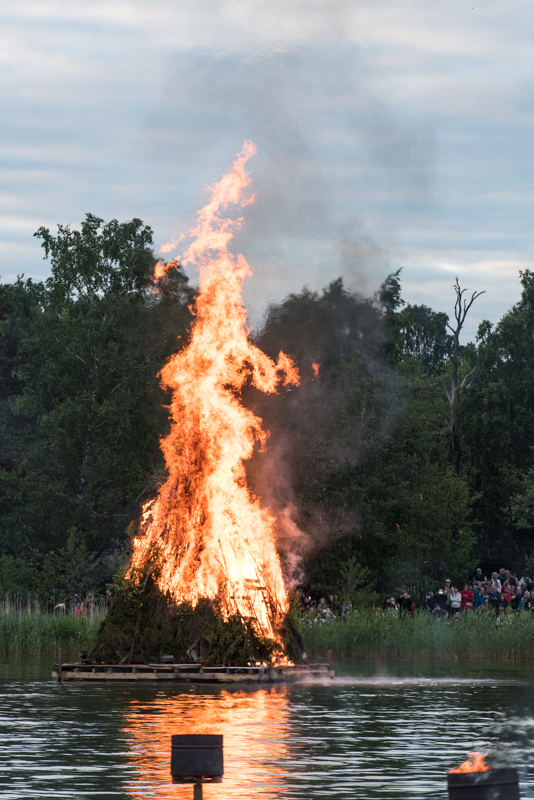
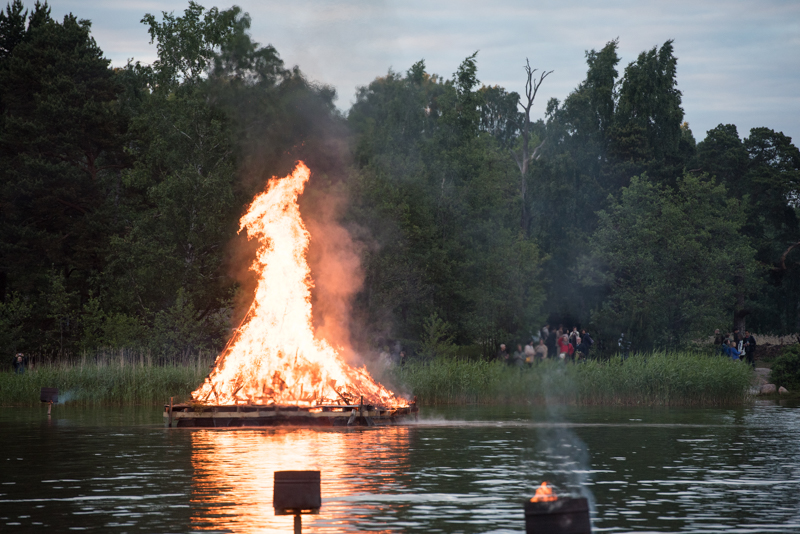
The largest bonfire gets lit by the newlyweds—from a boat:

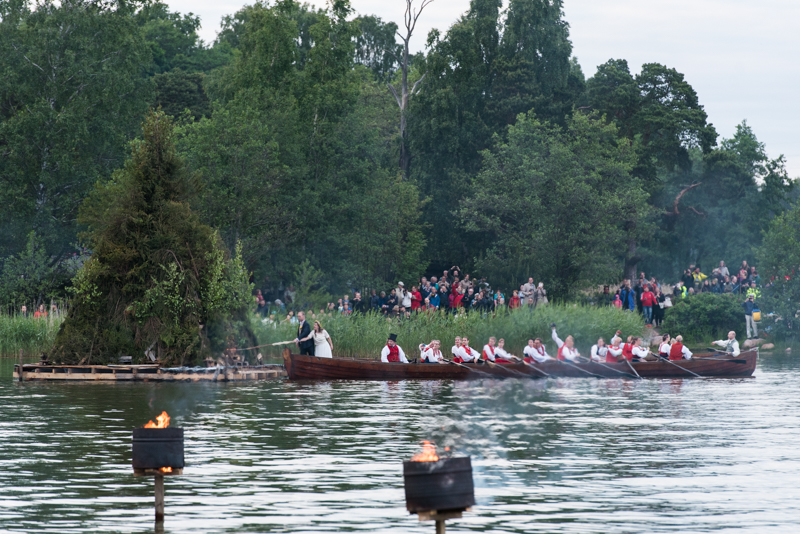
I’m not sure how exactly the big bonfire pile was constructed, but it didn’t take long for it to grow:

So, that was Juhannus on Seurasaari in 2017. It was a nice and relaxing afternoon and evening, and if I happen to be in Helsinki around Juhannus in the future, I’ll likely spend the day on Seurasaari.

I’m going to end this post with a bit of Finnish (from finland.fi) because languages can be fun:

– Kokoo koko kokko kokoon!
– Koko kokkoko?
– Koko kokko.

Meaning:

– Assemble the Midsummer bonfire!
– The whole Midsummer bonfire?
– Yes, the whole Midsummer bonfire.

(I’m told that kokoo is a dialect form of kokoa.)

D750: A Year In Statistics

It has been a year since I got the D750 and I thought it would be fun to gather some statistics about the photos.

While I have used a total of 5 different lenses with the D750, only three of them got to see any serious use. The lenses are:

Nikon AF Nikkor 50mm f/1.8D
This is the lens I used for the first month. Old, cheap, but very good.
Nikon AF Nikkor 70-300mm f/4-5.6D ED
I got this lens many years ago for my D70. During the first month of D750 ownership, I couldn’t resist seeing what it would behave like on the D750. It was a disaster. This lens just doesn’t create a good enough image for the D750’s 24 megapixel sensor.
Nikon AF-S Nikkor 24-120mm f/4 ED VR
I used this lens when I test-drove the D750, so technically I didn’t take these with my camera. With that said, I’m including it because it makes some of the graphs look more interesting.
Nikon AF-S Nikkor 24-70mm f/2.8G ED
After a month of using the 50mm, I got this lens which became my walk around lens.
Nikon AF-S Nikkor 70-200mm f/2.8G ED VR II
Back in June, Nikon had a sale and that ended up being just good enough to convince me to spend more money on photography gear.

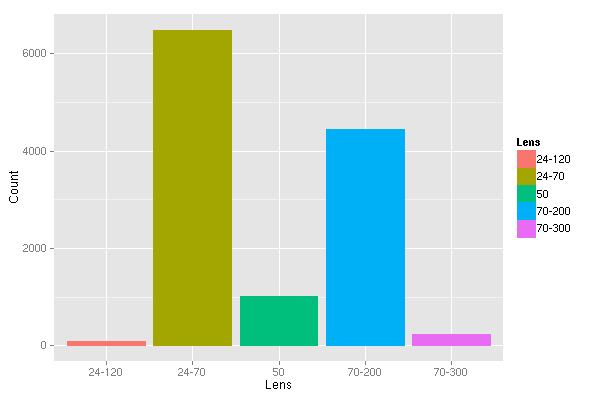
Now that we’ve covered what lenses I have used, let’s take a look at some graphs. First of all, the number of images taken with each lens:

Not very surprising. Since June, I have been taking with me either the 24-70mm, or 70-200mm, or both if the extra weight is not a bother. So it is no surprise that the vast majority of my photos have been taken with those two lenses. The 50mm is all about that first month when I had a new toy (the D750!) and so I dragged it everywhere. (And to be fair, the 50mm lens is so compact that it is really easy to drag it everywhere.) The 230 photos taken with the 70-300mm are all (failed) attempts at plane spotting photography.

First, let’s look at the breakdown by ISO (in 1/3 stop increments):

This is not a surprising graph at all. The D750’s base ISO is 100 and the maximum native ISO is 12800. It is therefore no surprise that most of the photos were taken at ISO 100.

I am a bit amused by the spikes at 200, 400, and 800. I know exactly why these happen—when I have to adjust the exposure by a large amount, I tend to scroll the wheels a multiple of three notches.

Outside of the range, there are a couple of photos (52) taken at ISO 50 (which Nikon calls “Lo 1”) to work around the lack of an ND filter. There is actually one other photo outside of the native ISO range that I did not plot at all—the one photo I took at ISO 51200 (“Hi 2”) as a test.

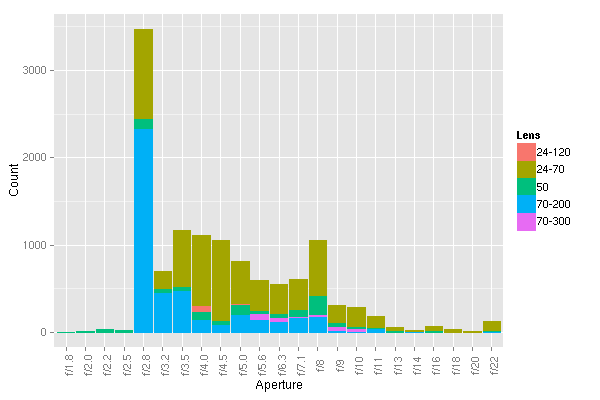
Now, let’s break the numbers down differently—by the aperture used (again in 1/3 stop increments):

I am actually surprised that so many of them are at f/2.8. I’m well aware that most lenses need to be stepped down a little for best image quality, but apparently I don’t do that a third of the time. It is for this kind of insight that I decided to make this blahg post.

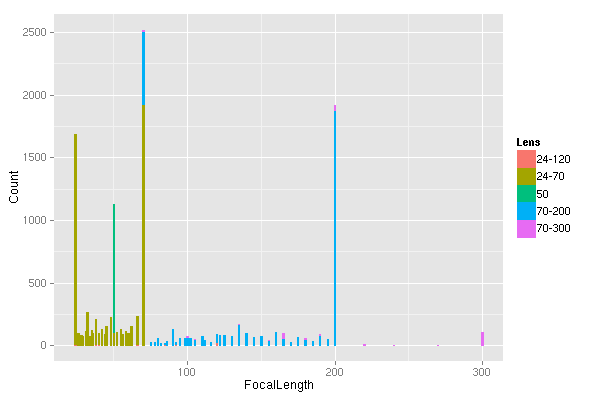
Moving on to focal length. This is by far the least interesting graph.

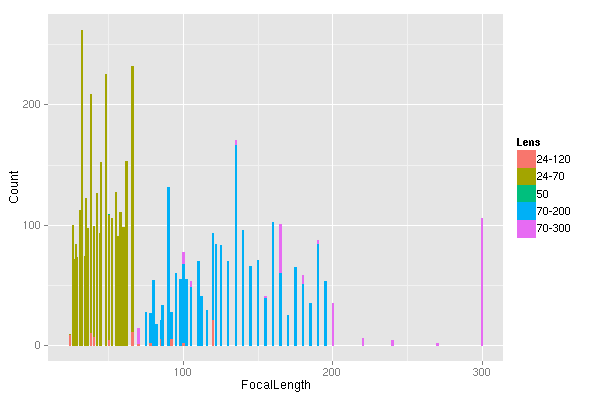
You can clearly see 4 large spikes—at 24 mm, 50 mm, 70 mm, and 200 mm. All of those are because of focal length limits of the lenses. Removing any data points over 500 yields a slightly more readable graph:

It is interesting that the focal length that is embedded in the image doesn’t seem to be just any integer, but rather there appear to be “steps” in which it changes. The step also isn’t constant. For example, the 70-200mm lens seems to encode 5 mm steps above approximately 130 mm but 2-3 mm below it.

I realize this is a useless number given that we are dealing with nothing like a unimodal distribution, but I was curious what the mean focal length was. (I already know that the most common ones are 24 mm and 70 mm for the 24-70mm, and 70 mm and 200 mm for the 70-200mm lens.)

Lens Mean Focal Length Count
24-120    73.24138 87
24-70    46.72043 6485
50    50.00000 1020
70-200    151.69536 4438
70-300    227.82609 230

Keep in mind these numbers include the removed spikes.

Just eyeballing the shutter speed data, I think that it isn’t even worth plotting.

So, that’s it for this year. I found the (basic) statistics interesting enough, and I learned that I stay at f/2.8 a bit too much.

Visiting Helsinki

Back in July and August I got to visit Helsinki. Needless to say, I dragged my camera and lenses along and did some sightseeing. Helsinki is a relatively new but welcoming city.

July

My first trip there was in early July (7th-10th). This meant that I was there about two weeks after the summer solstice. At 60°10’ north, this has been the northernmost place I’ve ever been. (I’m not really counting the layover in Reykjavik at 63°59’ north, although I do have an interesting story about that for another time.) If you combine these two relatively boring facts (very far north and near solstice timing), you end up with nearly 19 hours of daylight! This gave me ample time to explore. Below are a couple of photos I took while there. There are more in the gallery.

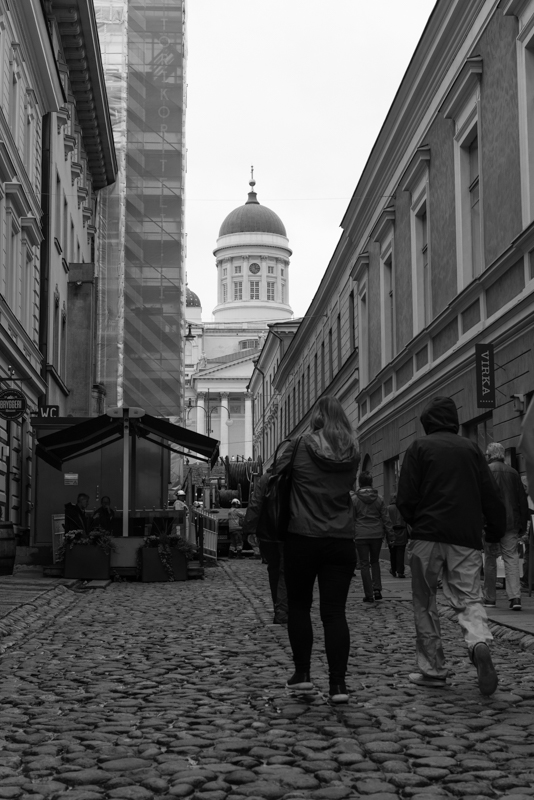
Approaching Wikipedia article: Senate Square and the Wikipedia article: Helsinki Cathedral:

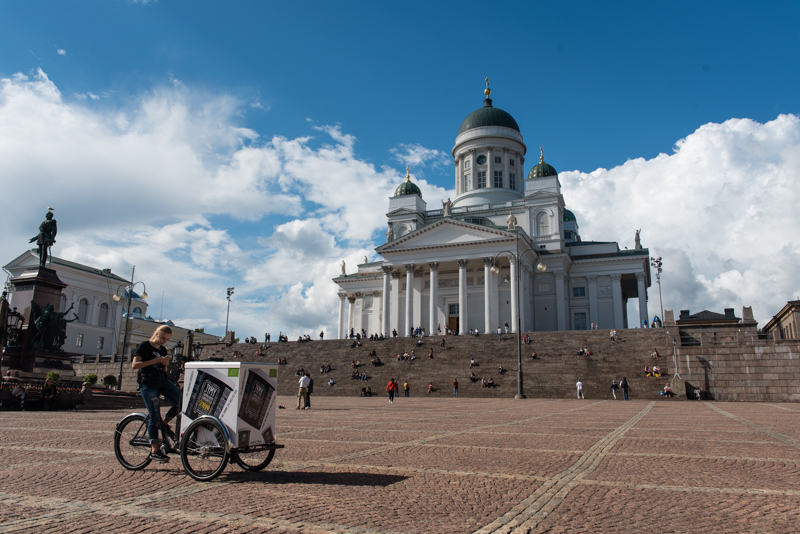
The cathedral:

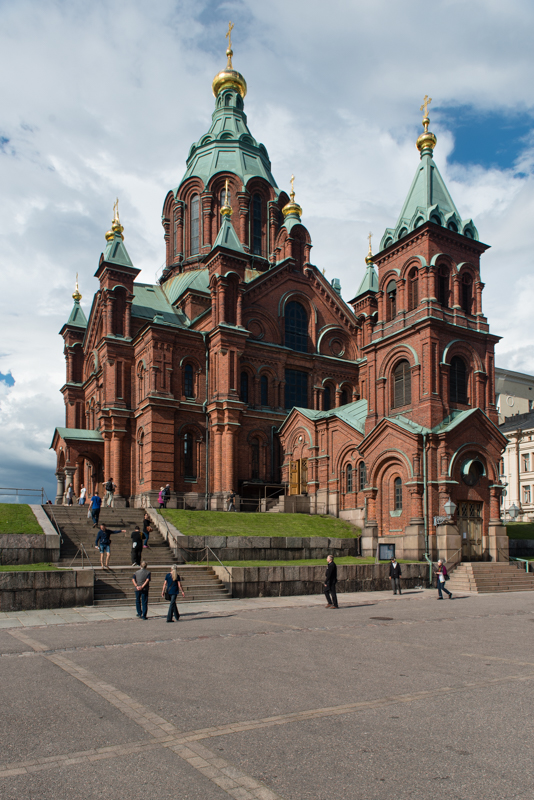
Not far from this (Lutheran) cathedral is an Eastern Orthodox cathedral—Wikipedia article: Uspenski Cathedral.

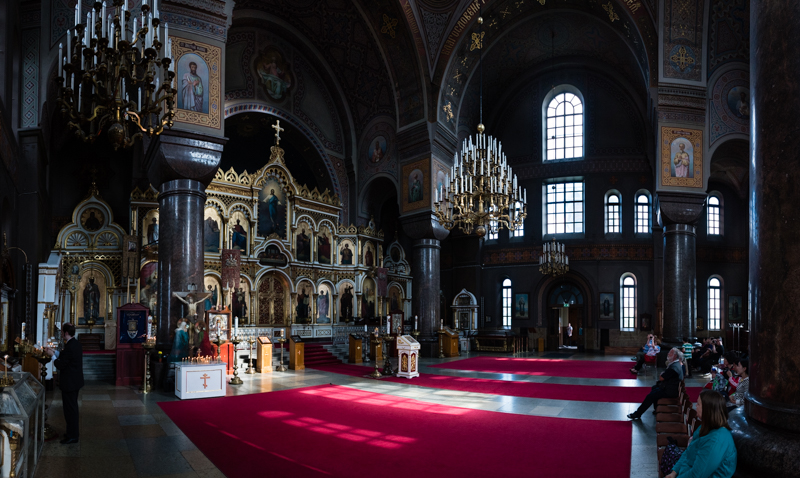
And here is its interior:

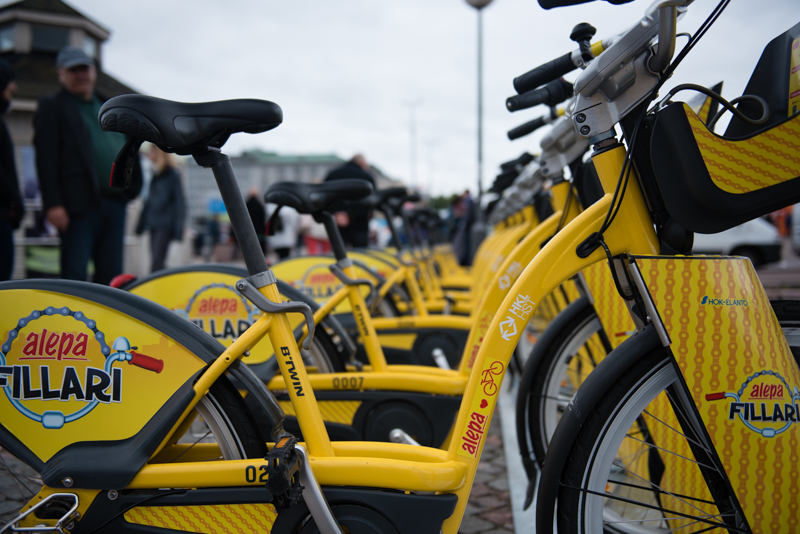
Like a number of other cities in Europe, Helsinki is filled with bikes. Most sidewalks seem to be divided into two parts—one for walking and one for biking. The public transit seems to include bike rentals. These rental bikes are very…yellow.

Suomenlinna

On Saturday, July 9th, I took a ferry to the nearby sea fortress—Wikipedia article: Suomenlinna—where I spent the day.

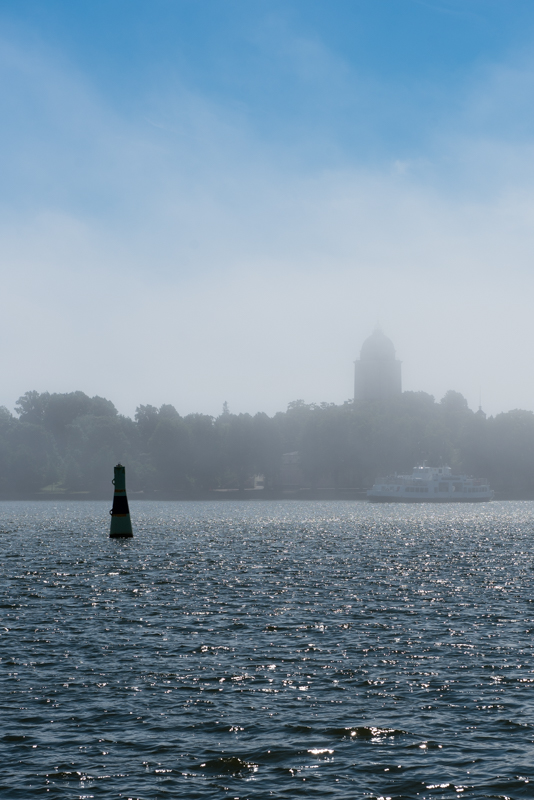
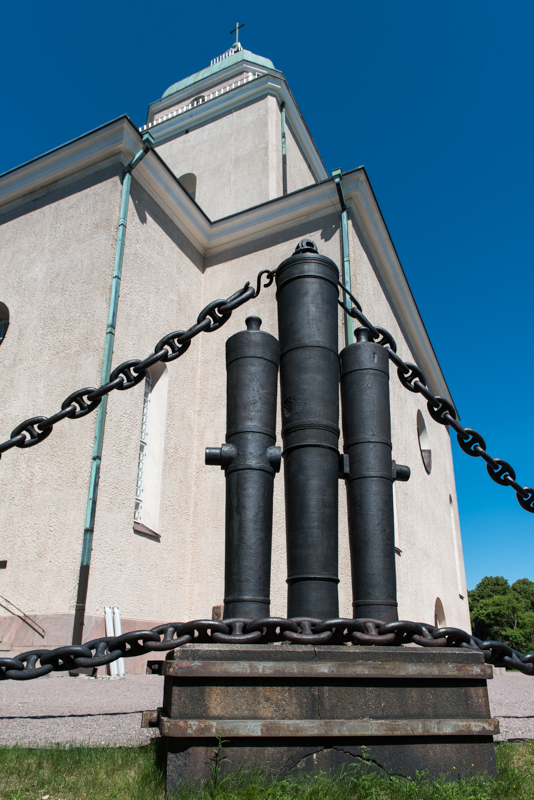
Of course there is a (small) church there. (You can also see it in the above photo in the haze.) This one has a sea-fortress-inspired chain running around it.

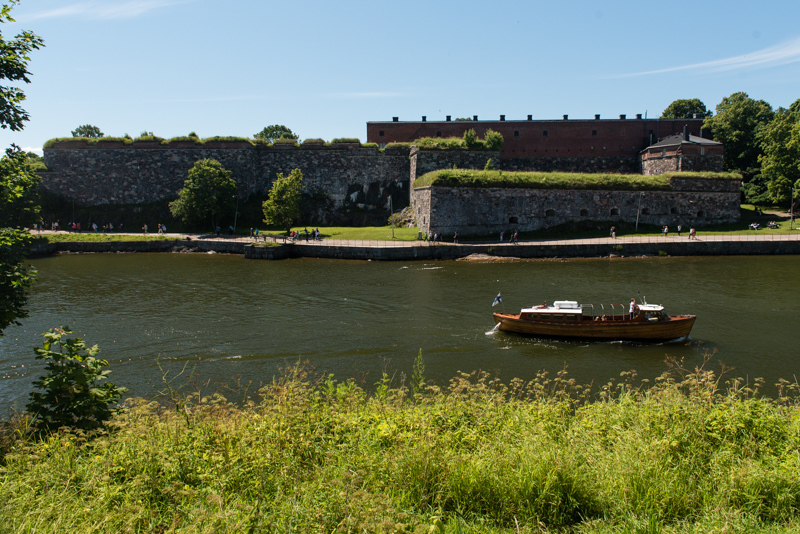
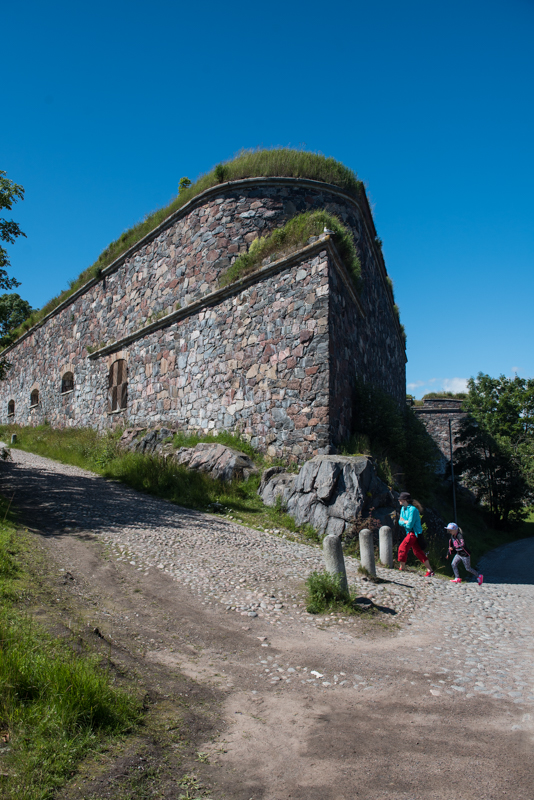
The whole fortress is made up of six islands. This allows you to see some of the fortifications up close as well as at some distance.

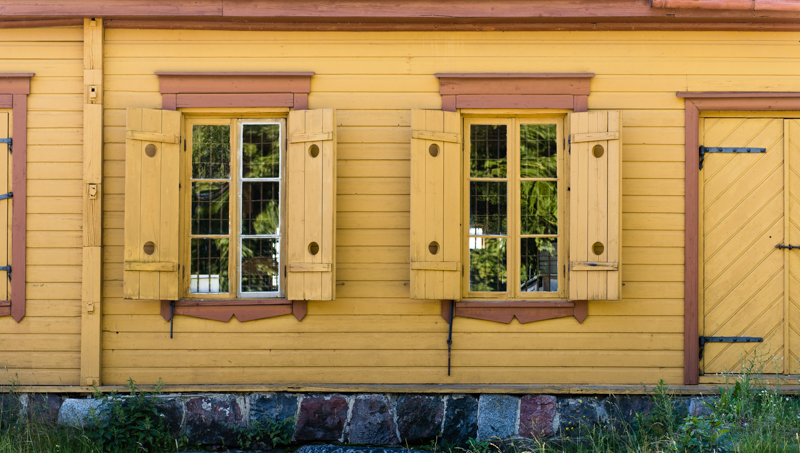
There are plenty of small buildings of various types scattered around the islands. Some of them are still used as residences, while others got turned into a museum or some other public space.

August

The August trip was longer and consisted of more roaming around the city.

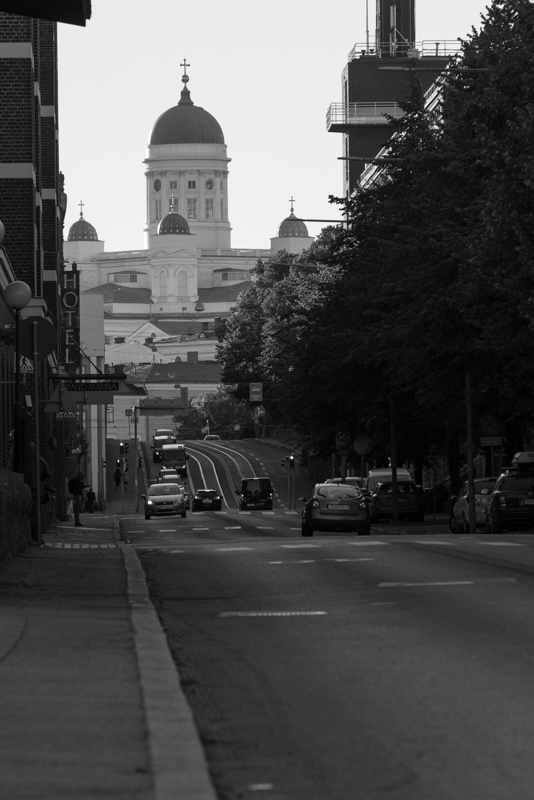
The Helsinki Cathedral in the distance.

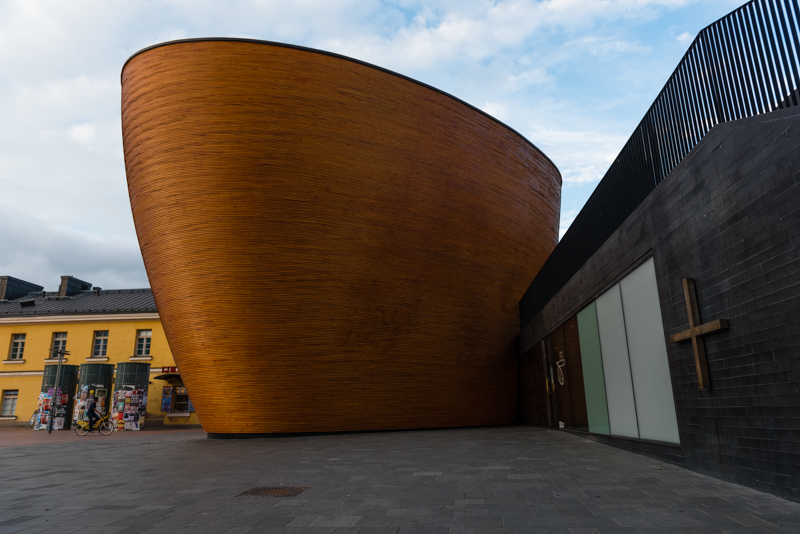
There are a fair number of churches—here is the Wikipedia article: Kamppi Chapel.

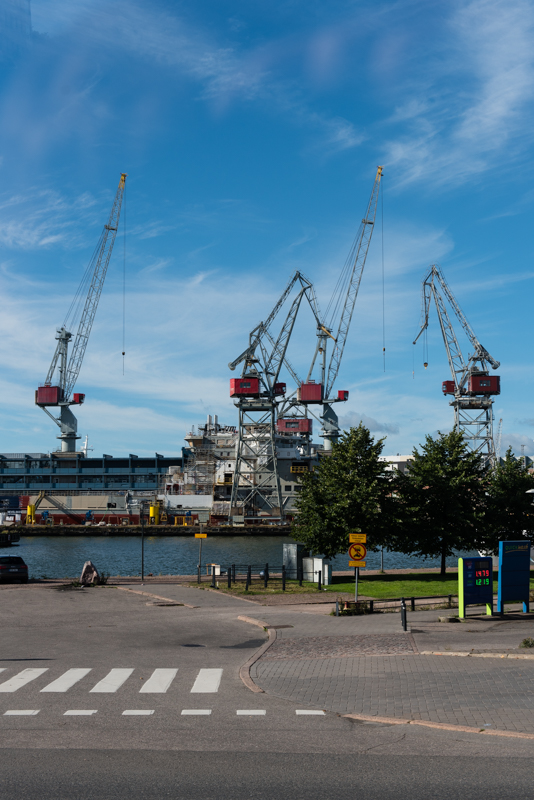
Heading west of the city center (toward Wikipedia article: Länsisatama) one cannot miss the fact that Helsinki is a coastal city.

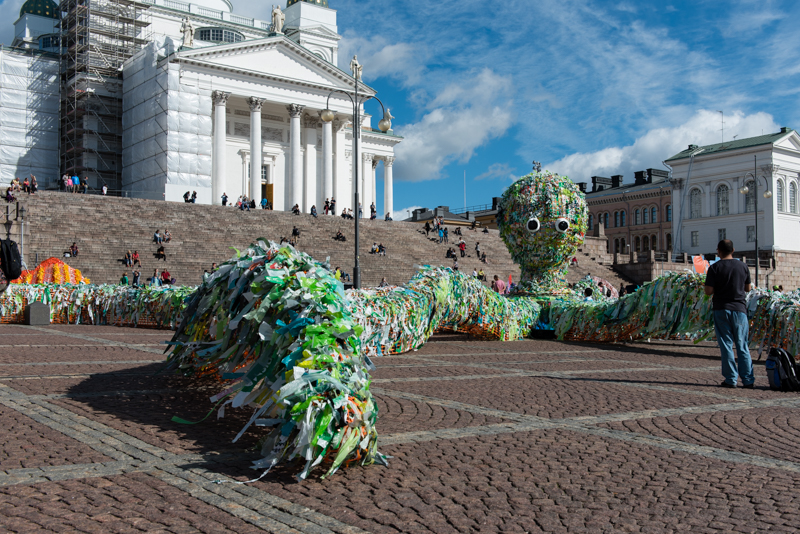
Finally, on the last day of my August trip I got to see some sea creatures right in front of the cathedral. They were made of various pieces of plastic. As far as I could tell, this art installation was about environmental awareness.

I took so long to finish writing this post that I’ve gotten to visit Helsinki again last month…but more about that in a separate post. Safe travels!

Sunset over Mount Monadnock

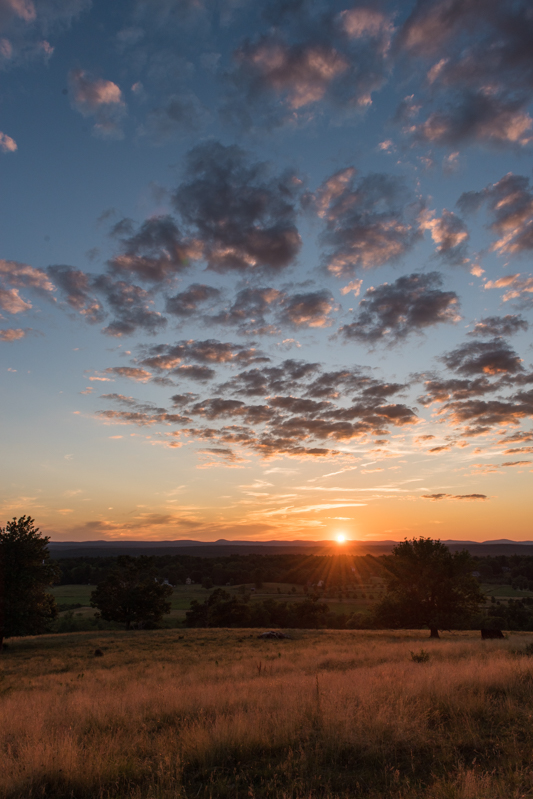
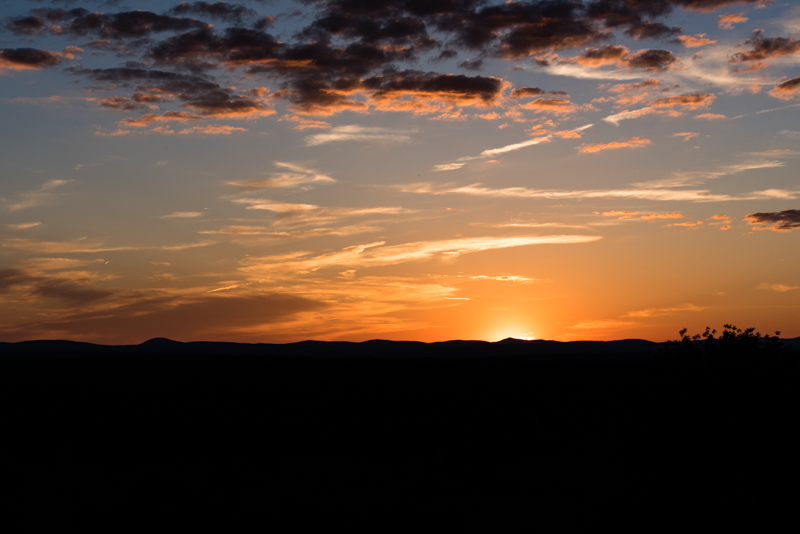
Back at the end of June, I hiked up the nearby Gibbet Hill in Wikipedia article: Groton to watch the sunset and get some nice shots of the western sky. (gallery)

Both times I went, I arrived about 20 minutes before the sunset, and got situated. Once the actual sunset started happening, it was a matter of a minute or two before the sun was gone.

Just before sunset @ 24mm:

Sunset @ 70mm:

The peak that the sun sat behind is Wikipedia article: Mount Monadnock—about 50 km from Groton.

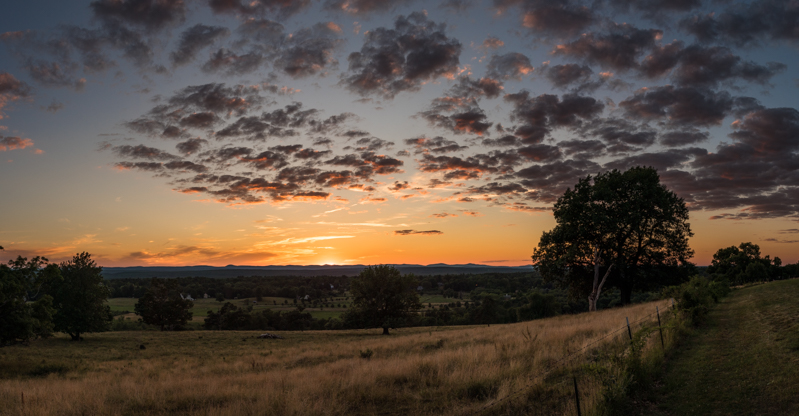
I took a couple of panorama shots. I like this one the best (6 shots):

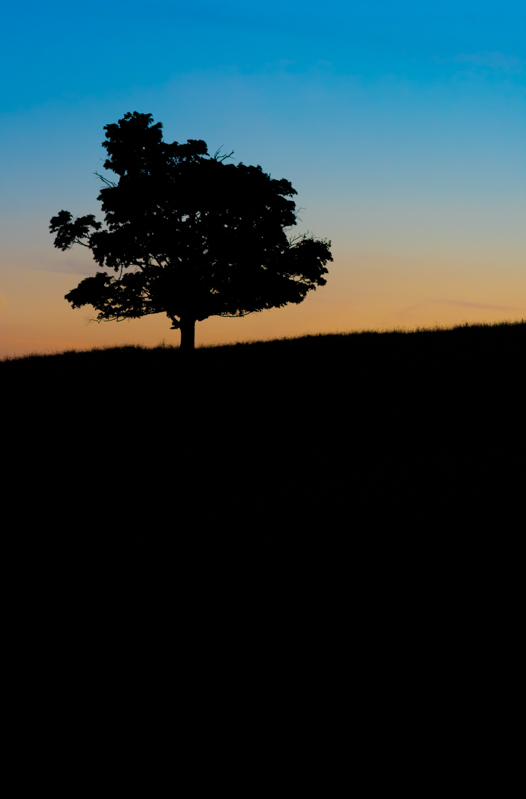
While hiking up the hill, I spotted this tree against the colorful sky. I had to get a silhouette:

I was surprised at how little time the entire trip took. From leaving the house to getting back, it was about 70 minutes. This is certainly a quick photo shoot compared to the day-long trips like the one to Boston in early June ([1,2,3]).

Stellafane (2016)

Last weekend we drove to Wikipedia article: Springfield, VT to attend the Stellafane Convention. In short, it’s two and a half days of camping, astronomy and telescope making talks, and of course observing. I brought my camera (D750), two lenses (24-70mm f/2.8 and 70-200mm f/2.8), and a tripod. Over the two and a half days, I ended up taking 400 shots of just about everything of some interest. I post processed about 60 and created a gallery. I’m going to include only some in this post, so make sure to check out the gallery for more shots that just didn’t fit the narrative here.

Thursday

Thursday was mainly about arriving in the late afternoon, setting up the tent, and doing some observing once it got dark. Photography-wise, my primary goal for Thursday was to get some sky images at 24mm. I tried some long exposure (657 seconds) to get some star trails:
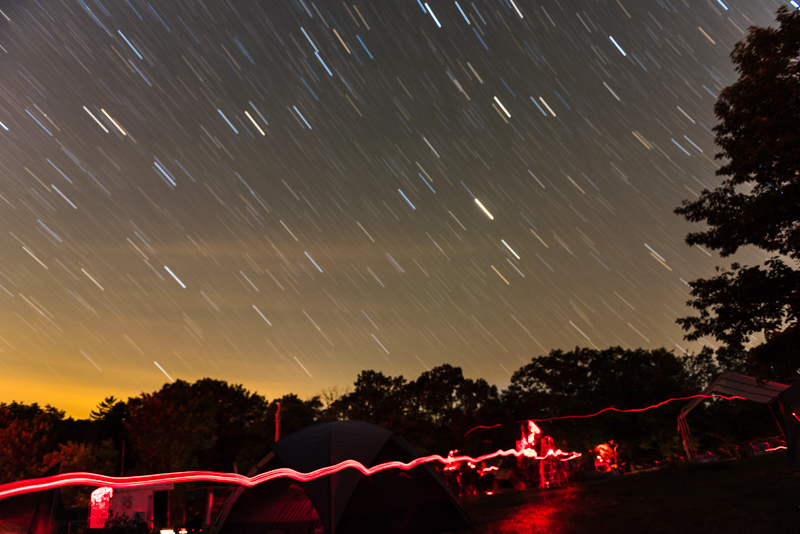
There was a decent number of people walking around with red lights (so as not to destroy night vision), so a number of my shots ended up with some red light trails near the ground. (That’s that wobbly red line.)

I also took a decent amount of short exposures (10-16 seconds). At 24mm on the D750, 13 seconds seems to be just about when stars start to turn into trails.

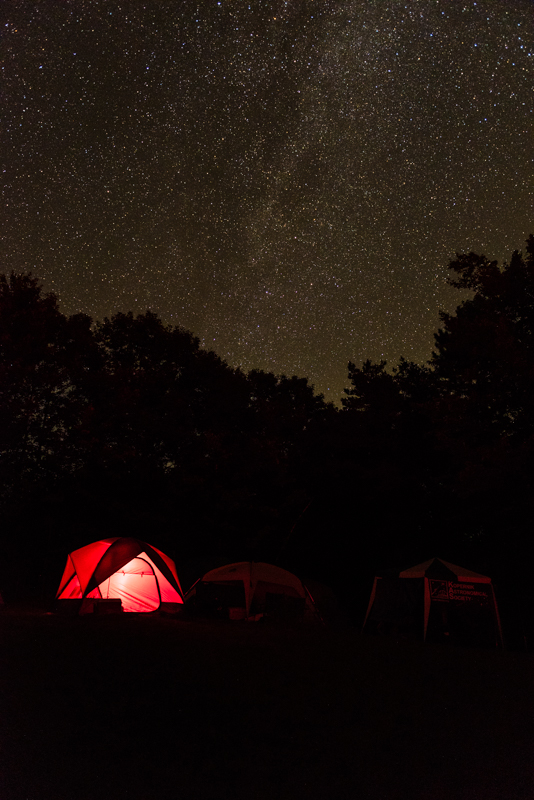
This is the only staged shot—I intentionally left one of our red flashlights on in the tent to provide something interesting in the foreground.
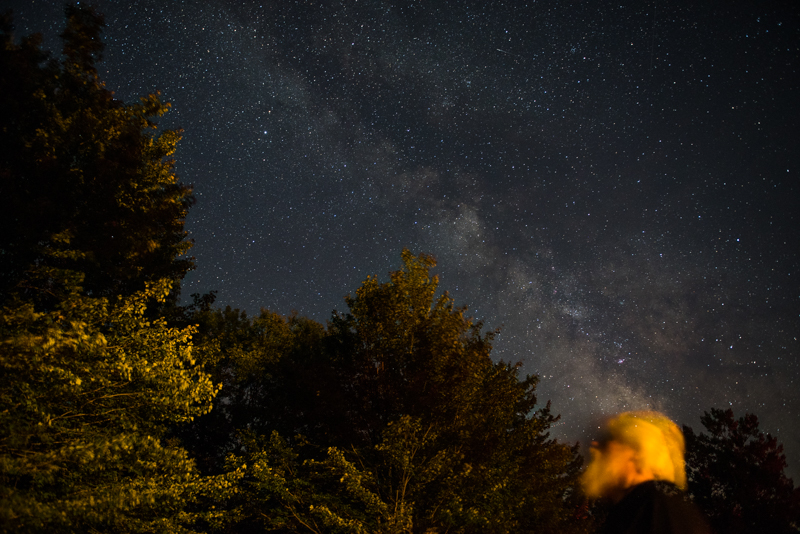
Here is our tent-neighbor and friend looking up at the sky. He didn’t actually know that I was taking a shot of the milky way, and I didn’t realize that he managed to sneak into the frame. The trees got lit up by some joker driving around with headlights on. I expected that to ruin the shot, but it actually worked out pretty well.
Friday

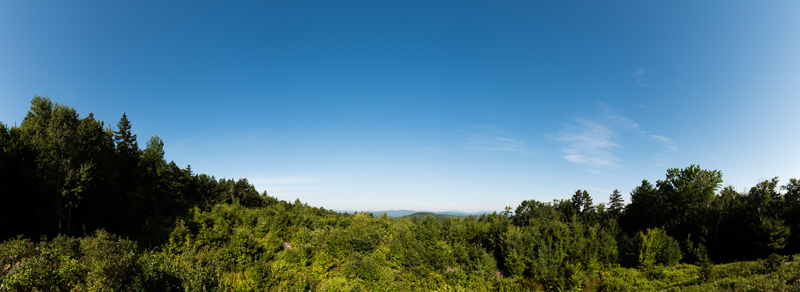
Friday is the first full day. I started it by hiking to the other side of the site, which not only sports a nice view, but also nonzero phone and data coverage:
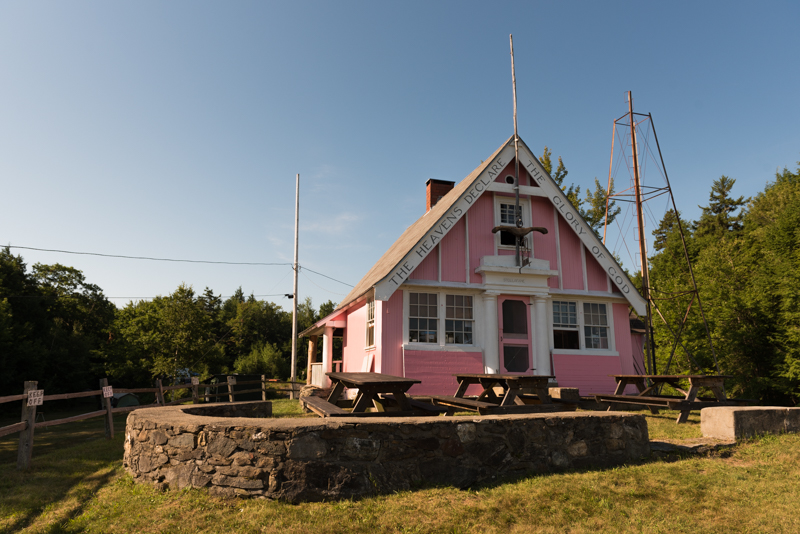
The original club house is there as well in all its pink glory:
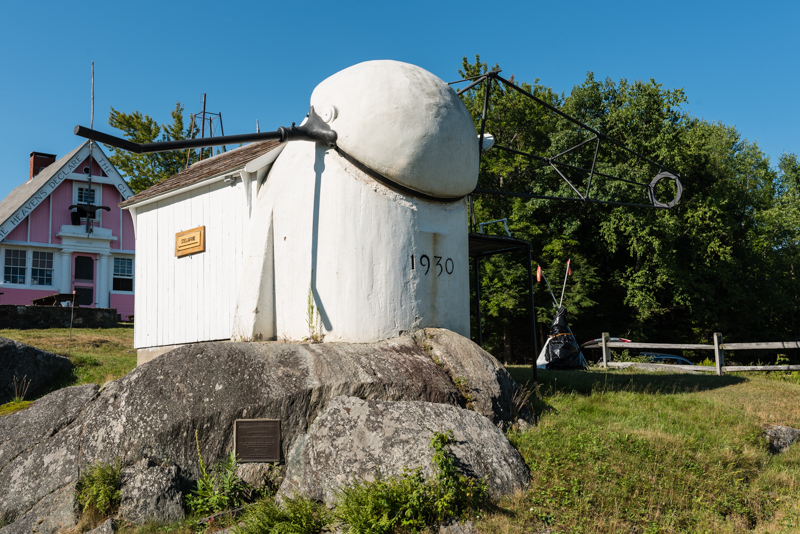
The last, but not least, building there is the turret solar telescope:
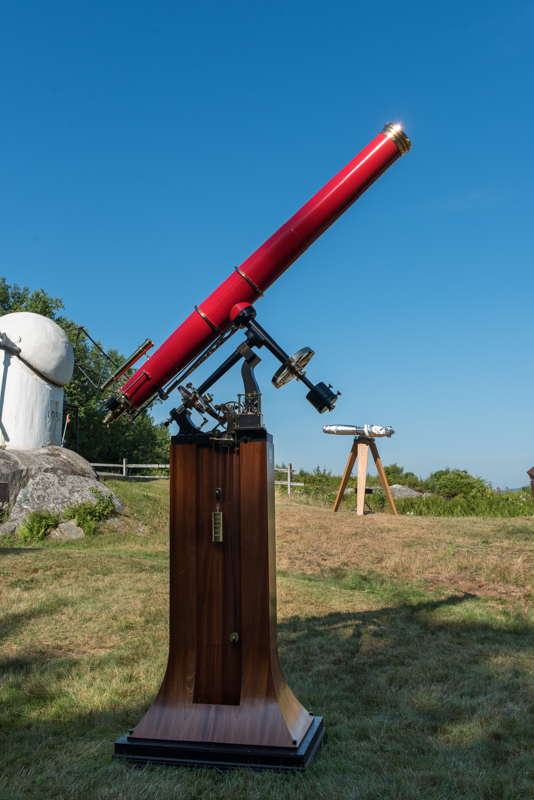
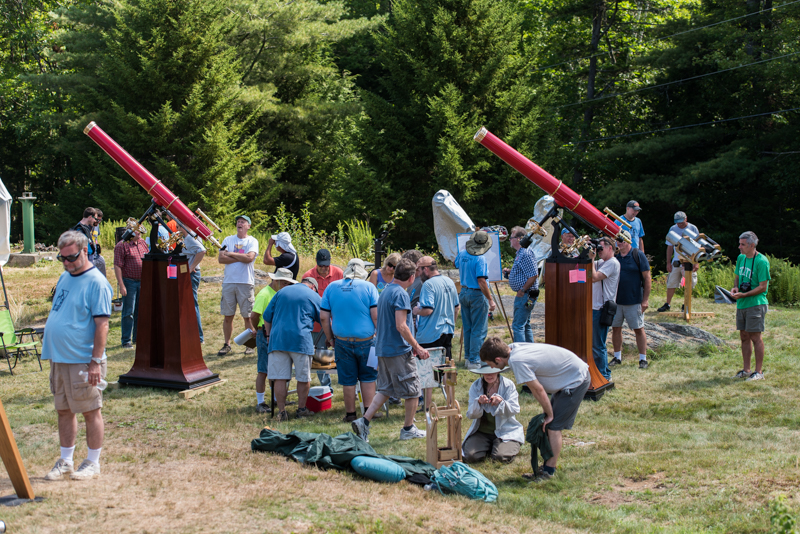
Right next to it is the location of the amateur telescope contest. Yes, people build their own telescopes and enter them into a competition to see whose is the best. This year, the most eye grabbing (in my opinion) was a pair of scaled down reconstructions of the 8-inch Alvan Clark refractor. Here’s one of them:
I couldn’t resist taking a couple of close-up shots:
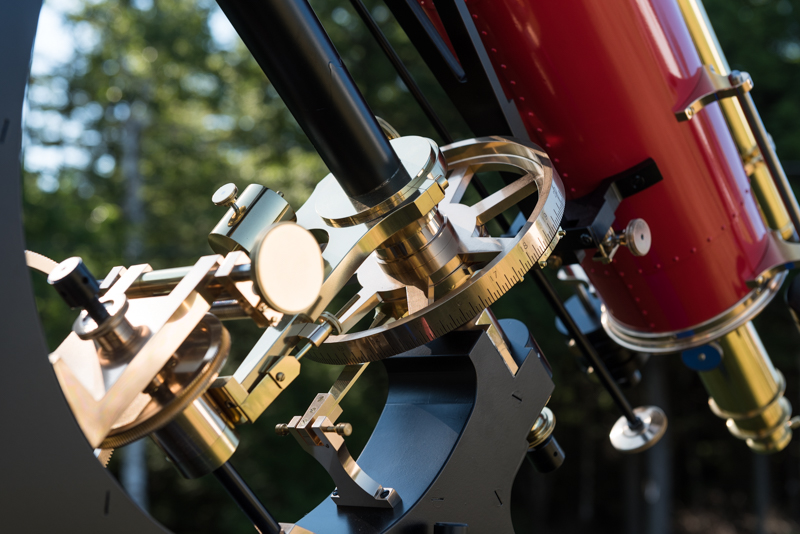
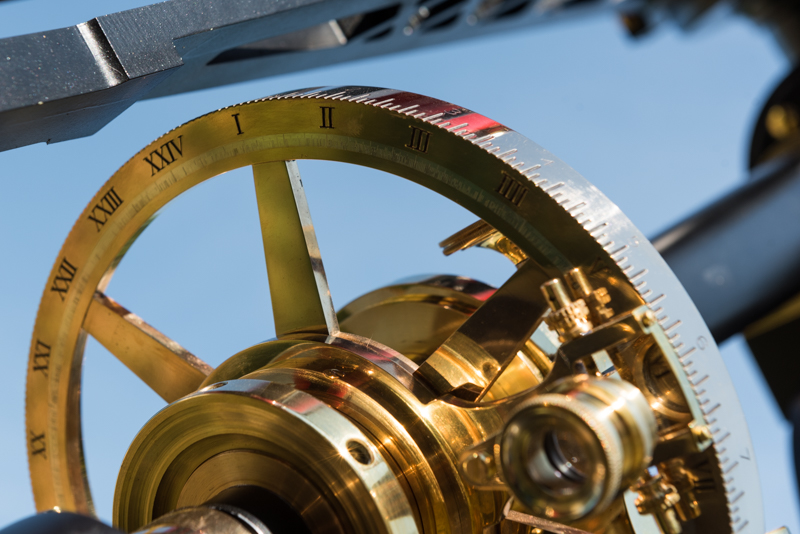
Heading back toward the main site, I walked past the observatory set up in such a way as to be handicap accessible:
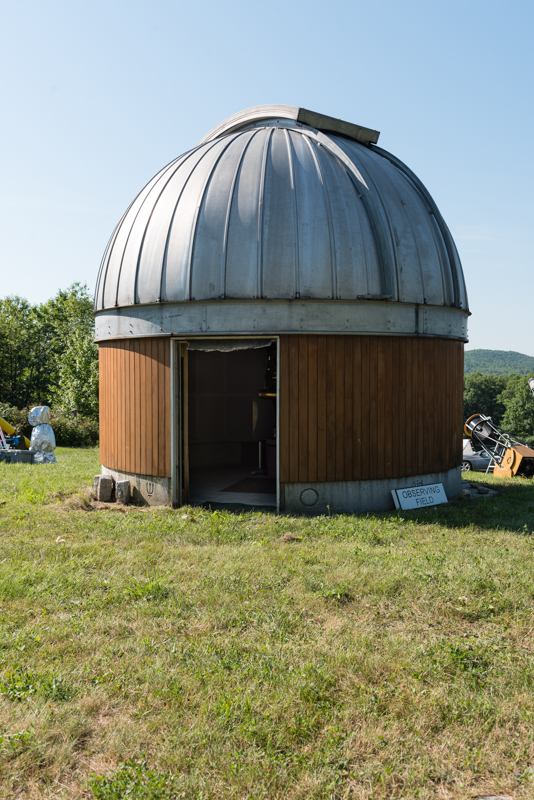
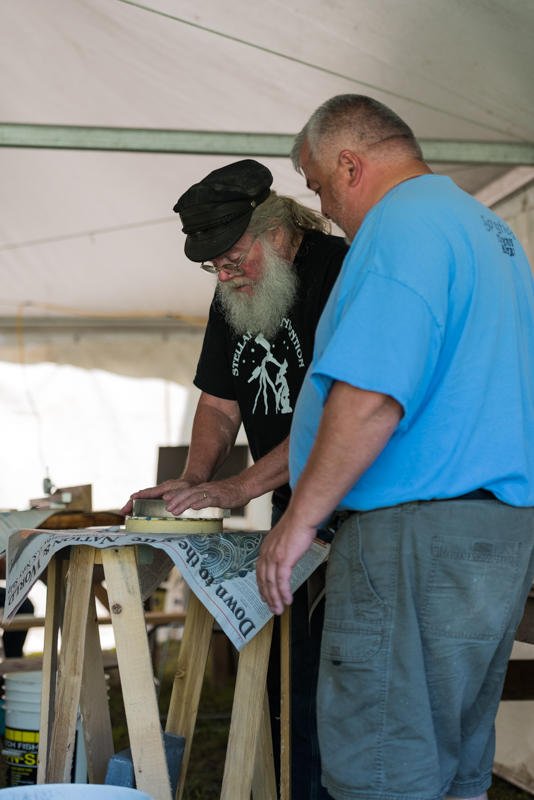
After a breakfast, it was time to go off to the mirror making tent. I think that every year, there is a series of talks and demos about how to make your own telescope mirror.

The speaker letting an attendee give mirror grinding a try:
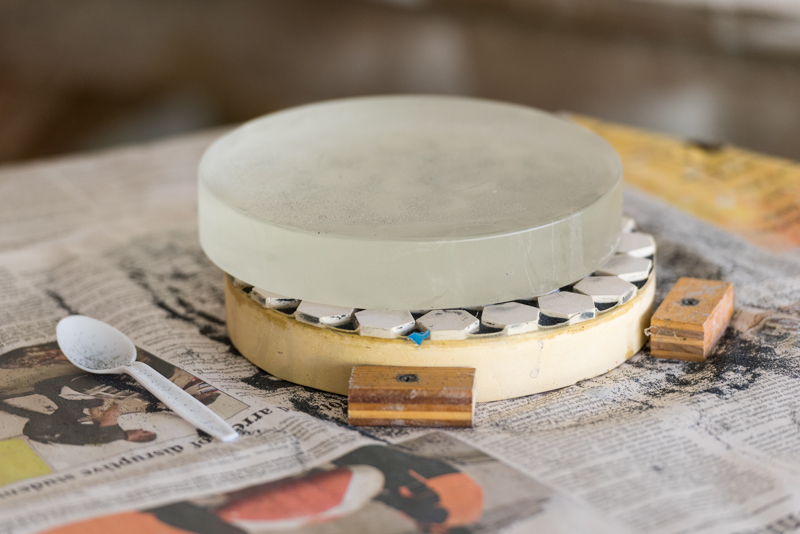
And a close-up of the eventually-to-be-mirror on top of the grinding tool:
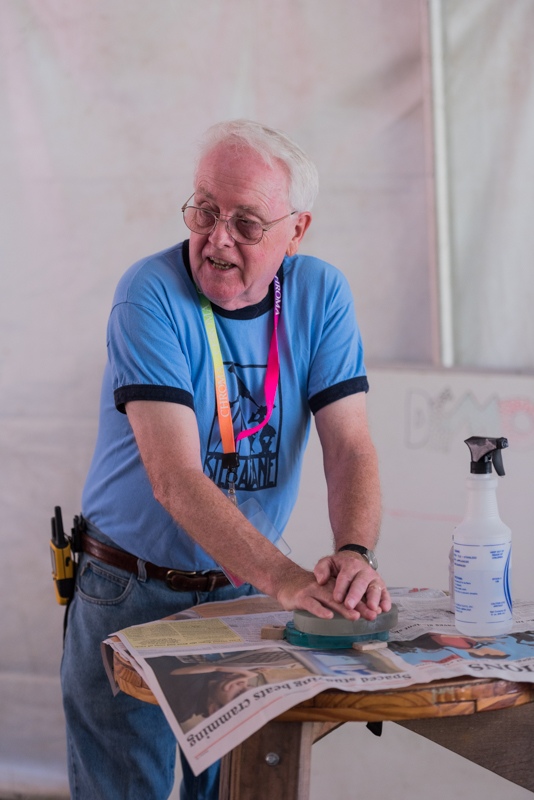
Fine grinding demo using a glass grinding tool instead of the plaster one:
After lunch, there was a series of talks about a lot of different topics—ranging from digital imaging, to “crowd-sourced” occultation timing.

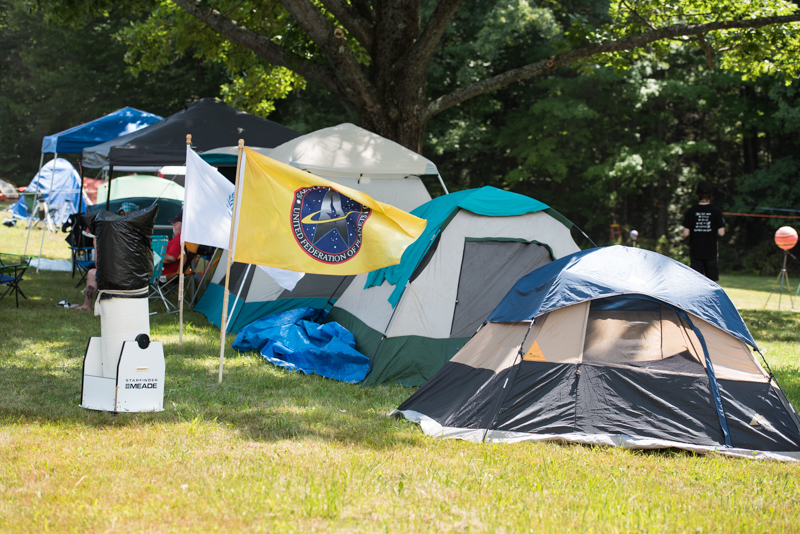
Between talks, I noticed that one of the attendees erected Federation flags in front of his tent:
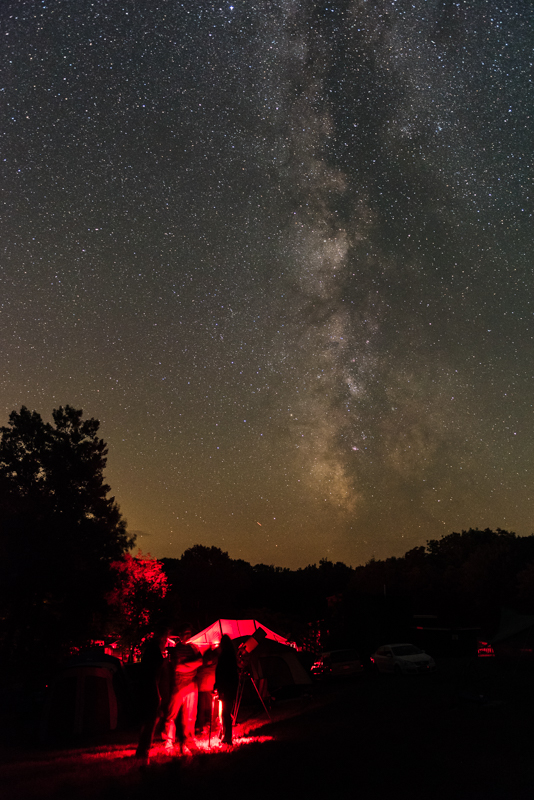
Once night rolled around, it was time for more observing. I took a number of milky way shots. They all look a bit similar, with the only real difference being what is in the foreground. Of all of them from this night, I think this is my favorite—there were a couple of people standing around a telescope talking with their flashlights on.
Saturday

The second full day of the convention began with mechanical judging of the telescopes.
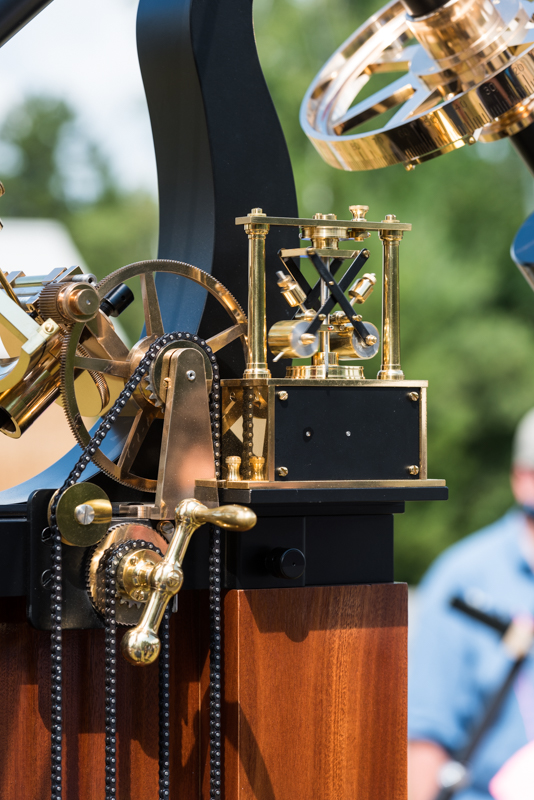
Somehow, I ended up drawn to the twin-scopes; here’s another detail shot. You can see a little bit of motion blur of the governor:
The day program was similar to Friday’s—the mirror making talks and after lunch a set of talks on various topics.

The evening program consisted of the keynote, raffles, competition results, and other customary presentations. The sky was completely covered with clouds till about 1am at which point it started to be conducive to stargazing. Oh well. Two clear nights out of three is pretty good.

Sunday

Sunday is all about packing up and heading home. During breakfast time, I ended up walking around a bit and I got this image—with the food tent in the foreground, the handicap accessible observatory near the background, and the McGregor observatory with a Schupmann telescope in the very background.
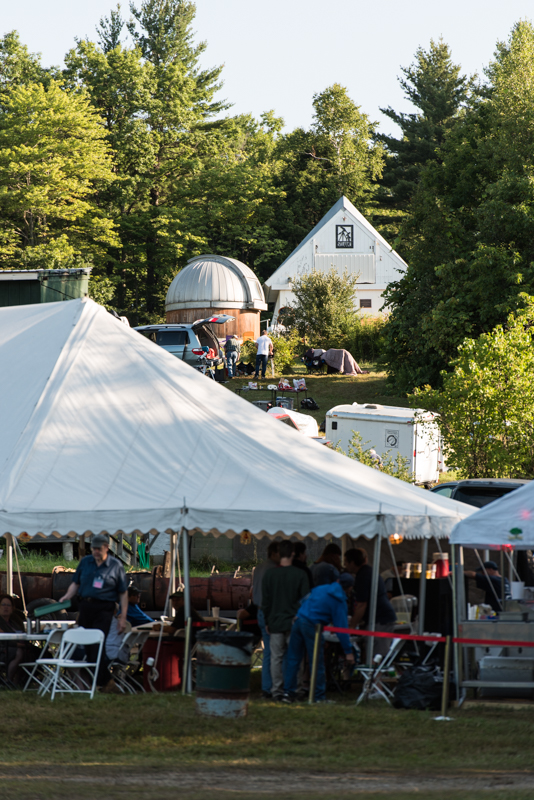
So, that’s how I spent the last weekend. I’m already plotting and scheming my next astrophotography adventure.
D750 Star Trails

I have tried star trails photography once before—7 years ago. Back then I was using the D70 which was a good camera but there were two problems with it for astrophotography: first, its CCD sensor wasn’t the best at higher ISOs, and second, long exposures were not possible because of some interference (thermal or electric) which resulted in ugly purple fringing. That experience made me not really bother with astrophotography—hence the seven-year hiatus.

A week ago I decided that I should try again with my D750 and the 24-70mm f/2.8 lens. Since they are both significantly newer than my old setup and are superior in just about every way, I thought why not try again and see exactly how much better the results would be.

I ended up with only three shots worth sharing. As always, I made a gallery with them. The one difference from the other photo galleries I make is that I will continue to add star photos to this gallery until the end of the year (when I plan to make a 2017 gallery).

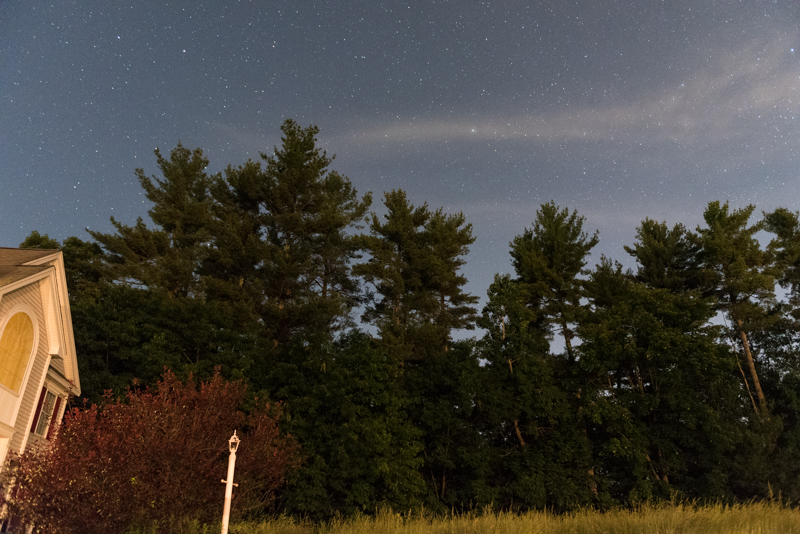
After setting up the camera in the general direction of Polaris, I needed to figure out the exposure. So, I cranked up the ISO to 10000 and took a 5 second test shot at f/2.8. The hope was to see how the sky exposed, and then “trade” the ISO for time to get the same exposure but less noisy and with star trails. (E.g., changing the ISO from 10000 to 160 is 6 stop difference, so the shutter speed needs to change 6 stops in the other direction to compensate. That is from 5 seconds to 320 seconds.) When I viewed the image on the back of the camera, I was blown away:

While there is certainly noise in the image (which you can’t see in the resized version) and the composition is not great, it’s cool how both the foreground and the sky are equally well exposed. The trees are essentially light-painted by the neighbor’s driveway lights which were on at the time. And before you ask, no, that’s not the milky way, that’s just a wispy cloud.

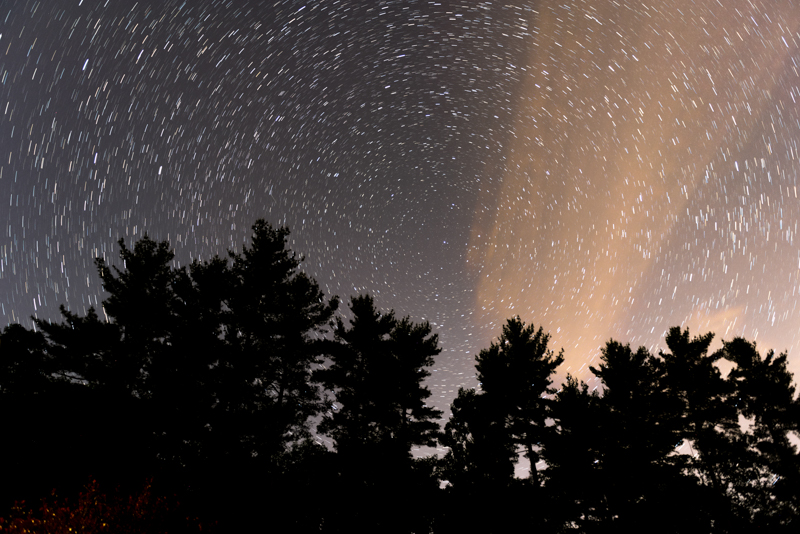
Then, I proceeded to take a back-to-back series of 15 second exposures. After five minutes (21 shots), I was sufficiently bored to try something else. After heading back inside, I stacked the 21 shots using StarStaX. Here is the resulting image (slightly tweaked in Lightroom):
The orange blur on the right of the image is a small cloud that moved across the frame during the five minutes without me noticing. Unfortunately, there is plenty of light pollution to the northeast of us because of the neighboring city of Wikipedia article: Nashua. I am definitely going to experiment with stacking.
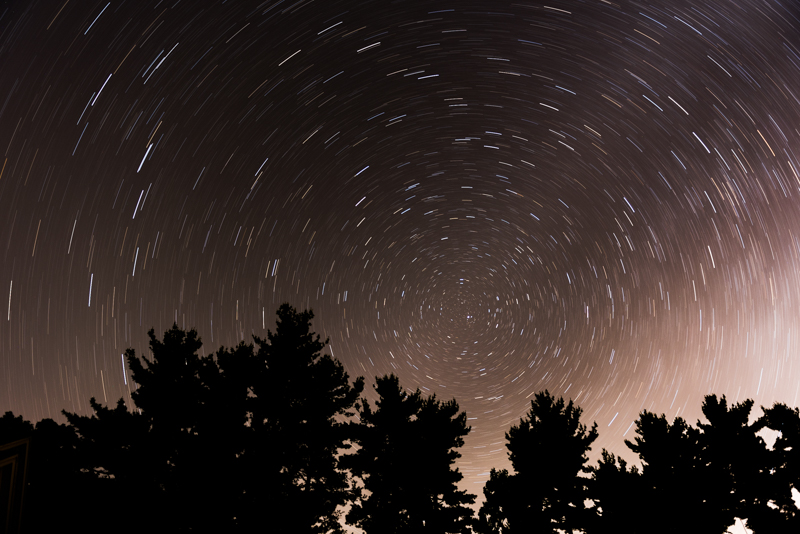
The final couple of shots I took were all various long exposures—ranging from 8 to 20 minutes. This is one of the 20 minute exposures:

Again, the light pollution from Nashua is unfortunate.

The 74 degree horizontal field of view at 24mm is pretty good. Of course, a wider lens would provide for an even more interesting shot. For example, a 15mm focal length would produce a 100 degree horizontal field of view. With that said, I am certainly going to experiment more with star trail photography—even if I have “only” a 24mm focal length.

Boston

Two weeks ago I ended up going to Wikipedia article: Boston for a day. I spent my day in three places—the Wikipedia article: Boston Public Library, the Wikipedia article: Massachusetts State House, and the Wikipedia article: Boston Common.

In this post, I will share my photos of anything that did not fit into the other two posts—the post with the Boston Public Library photos and the post with the Massachusetts State House. (All three posts share the same gallery.)

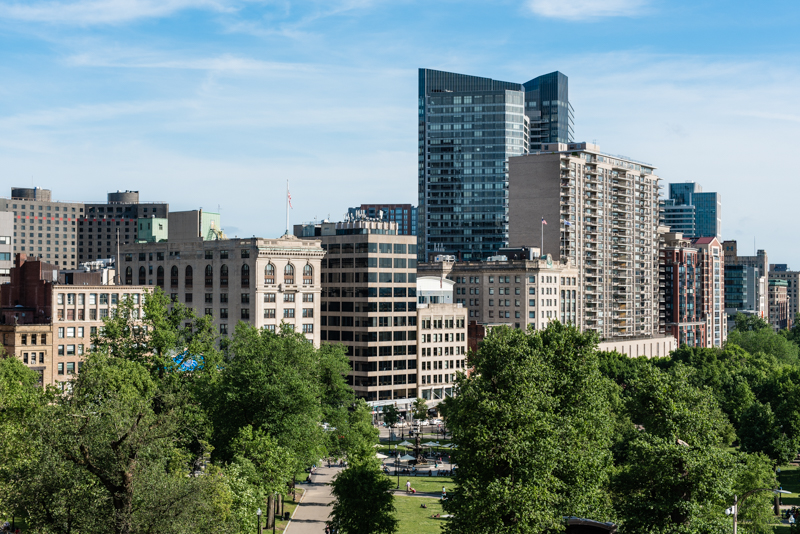
This is a view of the eastern end of Boston Common. There was a window at the State House that offered a good view, so I snapped it.

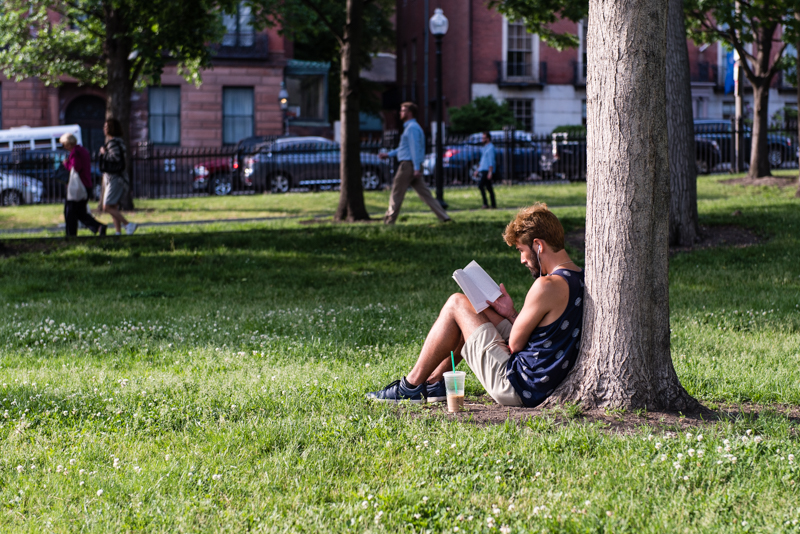
The weather was quite nice—low 20°C, sunny, light breeze—and so the Common was full of people enjoying the day. Both passively:

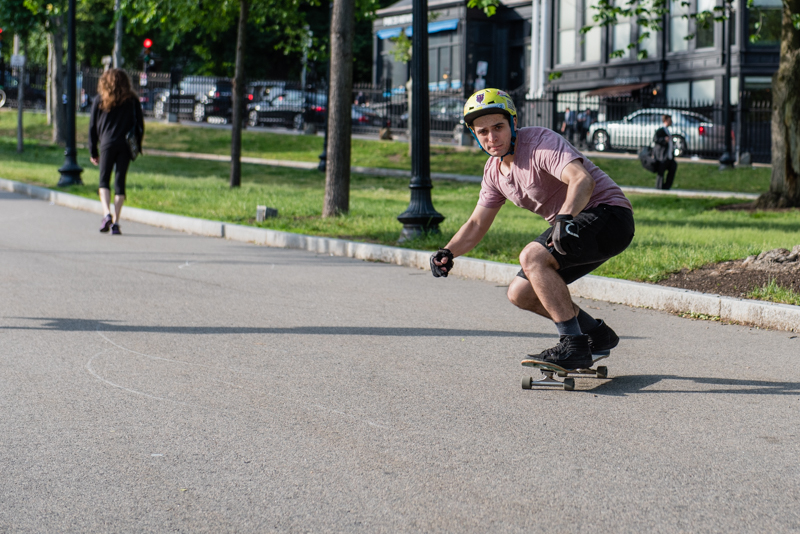
and actively:

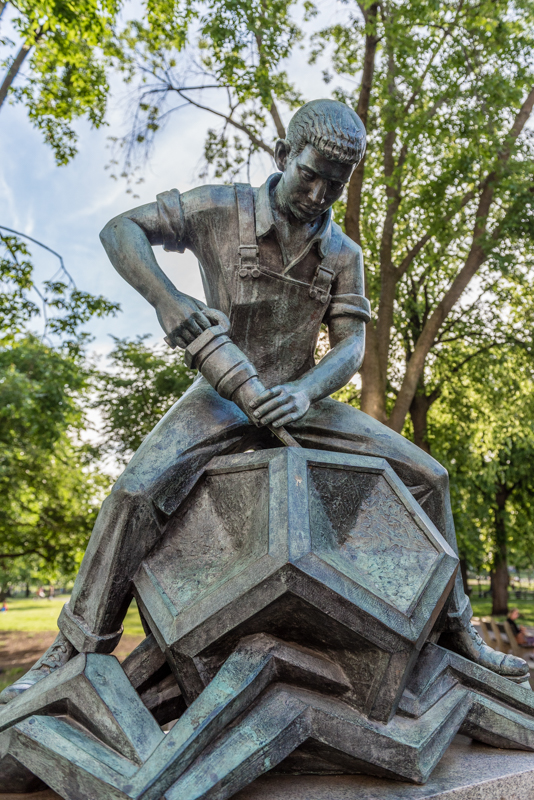
Industry by Wikipedia article: Adio diBiccari:

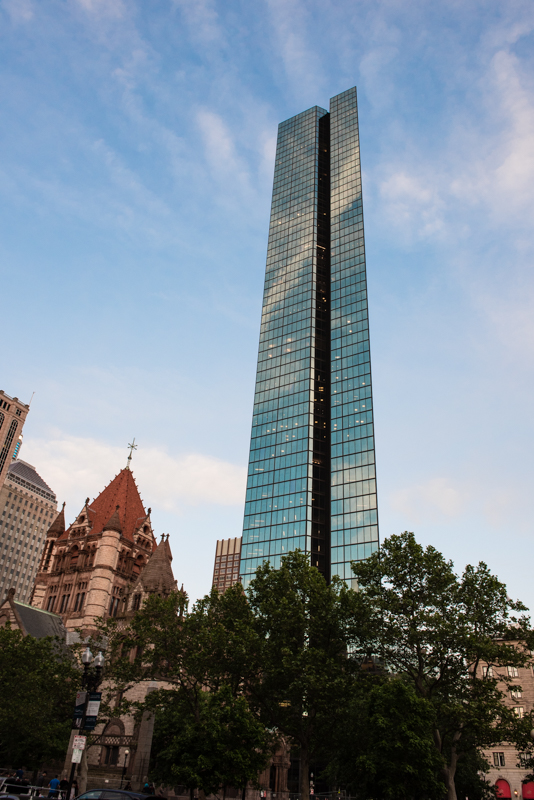
Heading back toward Copley Square and the Boston Public Library, we encounter the John Hancock tower:

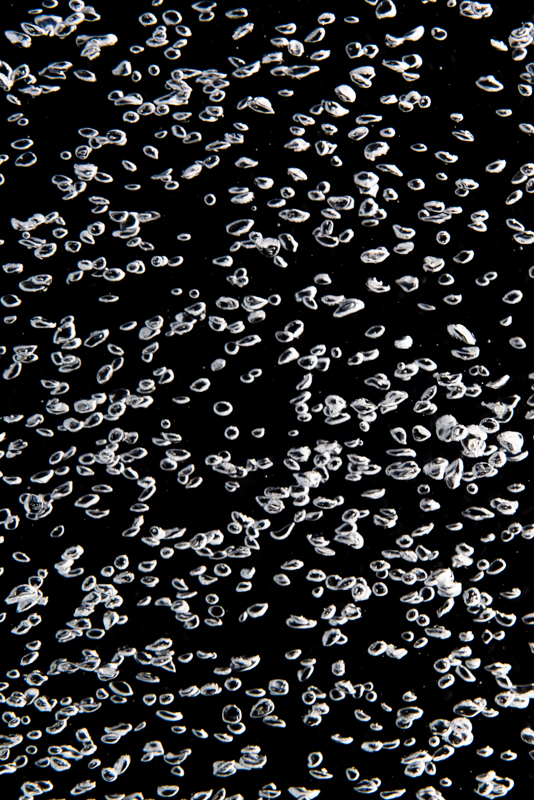
At this point, it was time to start heading back to Harvard where I left my car. I noticed an interesting ad at the bus stop right by the library. It had three panels filled with water and bubbles. I realize it isn’t the sharpest photo.

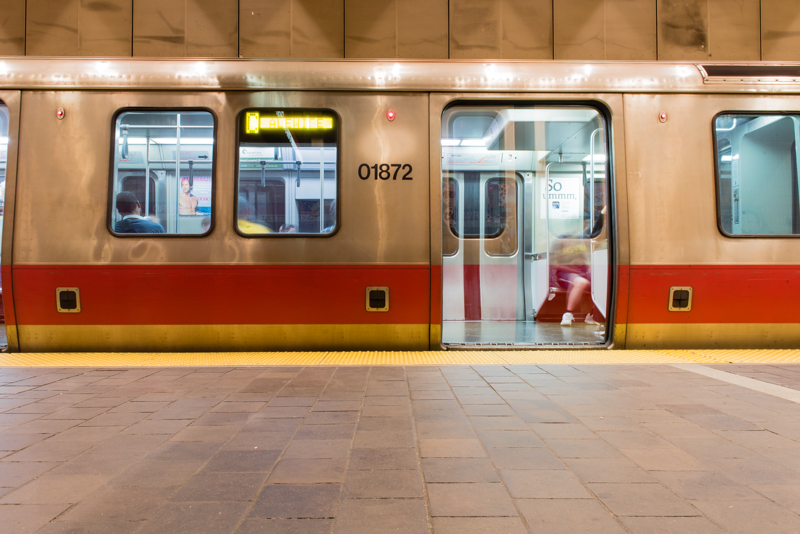
When I got off the red line at Harvard, I tried some long exposures of the trains. It turns out that unless the trains are packed, they keep their doors open for only about 10 seconds. In this 13 second exposure, you can see that the door was closed for a part of it.

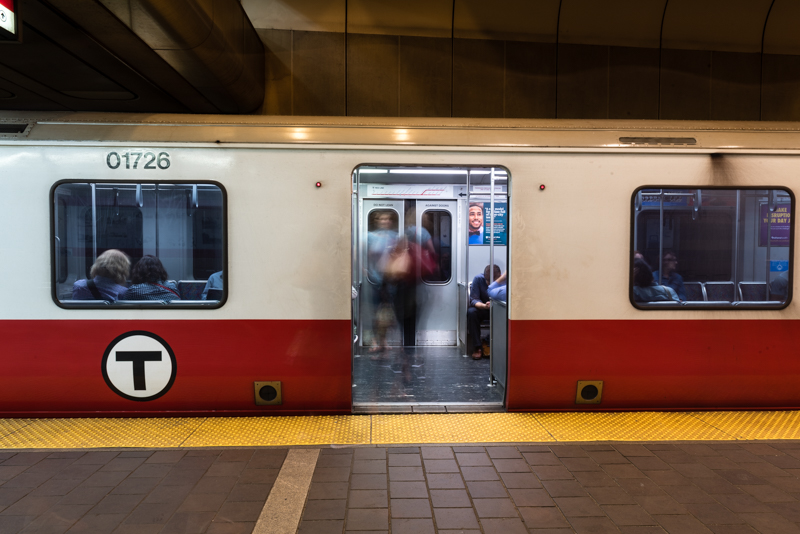
An 8 second exposure worked quite well. (Unfortunately, I like the first composition better.)

So, this concludes the three post series about my one day excursion to Boston. I certainly learned a couple of things about photography in the 401 shots I took. First of all, tripods are amazingly useful indoors. Second, anyone can take a shot of a subject—it takes the “know what you’re doing” to consistently get an image that is not just good but better than average. Third, I need to read up on architecture photography before my next excursion so I know what I am doing. :)

Powered by blahgd