Josef “Jeff” Sipek

2017-11-14

Doug Engelbart Institute — Online exhibits, historic videos, texts, archive photos, and stories about Doug Engelbart, the inventor of the mouse, hypertext, and GUIs…all in the 1960s

Flight recorders data inspection by Airbus

Parsing JSON is a Minefield

Completely Painless Programmer’s Guide to XYZ, RGB, ICC, xyY, and TRCs — Brain-hurting amount of information about color profiles, etc.

darktable — A Lightroom-like open source software

World plugs — Info about every electric plug form factor in the world

Flying around Mount Monadnock

Last week I planned on doing a nice cross country flight from Wikipedia article: Fitchburg. Inspired by Garrett Fisher’s photos, I took my camera and the 70-200mm lens with me hoping to get a couple of nice photos of the landscapes in New Hampshire.

Sadly, after taking off from KFIT I found out that not only was there the stiff wind that was forecasted (that’s fine) but the air was sufficiently bumpy that it wouldn’t have been a fun flight. On top of that, the ADS-B unit was having problems acquiring a GPS signal. (Supposedly, the firmware sometimes gets into a funny state like this. The good news is that there is a firmware update available that should address this.) I contacted KASH tower to check if they could see my transponder—they did, so I didn’t have to worry about being totally invisible.

Since I was already off the ground, I decided to do some nearby sightseeing, landing practice, and playing with the Garmin GNS 430 GPS.

First, I headed northwest toward Wikipedia article: Mount Monadnock. While I have seen it in the distance several times before, I never got to see it up close, so this seemed like a worthwhile destination.

As I approached it, I ended up taking out my camera and getting a couple of photos of the hills and mountains in New Hampshire. It was interesting how the the view to the north (deeper into New Hampshire) is hilly, but the view more east (and certainly south) is flatter. (Both taken near Mount Monadnock.)

While the visibility was more than good enough for flying, it didn’t work out that well for photography. In all of the photos, the landscape far away ended up being heavily blue-tinted. No amount of playing around with white balance adjustment in Lightroom was able to correct it. (Either the background was too blue, or the foreground was too yellow/brown.) That’s why all of these photos are black and white.

I made a full turn around Monadnock, taking a number of shots but this one is my favorite:

Once done with Monadnock, I headed south to the Wikipedia article: Quabbin Reservoir in Massachusetts. This is a view toward the south from near its north end:

At this point I started heading to KORH to do some landing practice. Since I was plenty busy, there are no photos.

I’ve never been to this airport before and landing at new airports is always fun. The first interesting thing about it is that it is situated on a hill. While most airports around here are at 200-400 feet MSL, this one is at 1000 feet. The westerly wind favored runway 29 which meant I got to see a second interesting aspect of this airport. The beginning of runway 29 is on the edge of the hill. That by itself doesn’t sound very interesting, but consider that the runway is at 1000 feet while the bottom of the hill (a mere 0.9 km away) is at 500 feet MSL. That is approximately a 17% grade. So, as you approach the runway, at first it looks like you are way too high but the ground comes up significantly faster than normal.

I am still hoping to do my originally planned cross country flight at some point. Rest assured that I will blahg about it.

Patriots' Day

I realize I’m a bit behind blahging about my photography adventures. Sorry. In early April, I ended up getting a walk-around lens I talked about previously—for reasons which I hope to discuss in another post, I ended up getting the Nikon 24-70mm f/2.8G. Needless to say, I’ve been using it quite a bit since.

Not even two weeks after getting the 24-70mm, the nearby Minute Man National Historical Park had number of Patriots’ Day events. I had time, so armed with the D750 and the new 24-70mm I spent the Saturday running around taking photos. The day consisted of reenactments demonstrating what 1775 was like in Wikipedia article: Concord and Wikipedia article: Lexington, as well as what the Wikipedia article: running battle on April 19th, 1775 through them looked like.

The weather was good for watching, but not the best for photography—the bright sunlight created many harsh shadows. I tried to address them in Lightroom, but many are still way too obvious. Without further ado, here are a couple of photos from the event. As always, there are more photos in the full gallery.

The reenactor registration table—I’d like to think that something like this happened in 1775 when people signed up to fight the British.

There were about two hours where the reenactors mingled.

That eventually turned into practicing in formation and getting ready for the battle.

Then all the spectators moved toward the actual road where the battle would take place. Tons of additional spectators showed up out of nowhere. To amuse us (and to keep us on the correct side of the rope) some of the volunteers provided light entertainment. For example, one was dressed as a British officer on a horse and mocked (1775-style) the crowd’s ignorance of how benevolent the British are.

Others entertained the somewhat restless kids in the crowd.

Around this time, I realized that 70mm wouldn’t be enough. Not having brought any other lenses with me, I had to make the best of it. This resulted in a copious amount of cropping in Lightroom. (Obviously, I need to get the 70-200mm f/2.8 for next time ;) )

Anyway, both the British and the revolutionaries came and went. Not having anything else to photograph in front of me, I decided to follow the reenactors down the road. Sadly, that meant not having front row access and having to shoot over people’s shoulders.

All in all, I took about 600 shots that day. The 24-70mm performed admirably. Yes, I wish I had a more telephoto lens as well, but that’s not a fault of the 24-70mm. Finally, I was pleasantly surprised that the 1650g combo (750g for the camera, 900g for the lens) did not end up feeling too heavy. It certainly was not light, but I did not feel like I had an albatross around my neck.

Photo Gear Upgrade

It is 2016 and the digital SLR landscape is very different from what it was back in December 2004 when I bought my trusty Nikon D70. While the D70 is still going strong, it is obvious that DSLRs have dramatically improved in quality and upgrading would let me play with light in ways that the D70 just cannot handle. So after about a year and a half of telling others that I should upgrade my camera, I somehow managed to convince myself that I should actually upgrade instead of just talking about it.

The Body

Since so much has changed over the past 11 years, I had to essentially survey the land from scratch. I even glanced at the Canon lineup, but ended up focusing only on Nikons simply because I like how Nikon SLRs feel in my hand as well as the layout of the controls. (Already having a Nikon F-mount 50mm f/1.8 helped a little as well.)

Nikon has a decent lineup of cameras and choosing one is not the easiest of tasks. One of the more interesting questions I had to answer was: do I want a full-frame (FX) or a crop-sensor (DX) camera? Having “suffered” with the DX D70 for 11 years and envying all the people with full-frame DSLRs, I decided to bite the bullet and pay for the privilege of having a full-frame sensor. This narrowed the field down to D610, D750, and D810. The D810 was simply out of my price range ($2800). Between the D610 and the D750, the D750 wins at everything (technical specs, as well as the feel in hand) except the price—the D610 currently sells for $1300 while the D750 is $2000.

After about a week of deliberating and reading everything I could about the D610 and the D750, I decided to go with the D750.

The Lens

An SLR camera is useless without a lens. My arsenal of lenses has only one that is full-frame friendly and worth putting on a D750—the AF Nikkor 50mm f/1.8.

My D70 came with a 18–70mm kit lens (which behaves as 27–105mm due to the crop factor), and I think this is a good range for a general walk-around lens. So based on this, I am thinking that I want something similar. Now, there are a number of options. I spent a good week trying to figure out what I should do lens-wise before I even bought the camera.

First of all, there is a D750 kit. It comes with the Nikon AF-S Nikkor 24-120mm f/4 ED VR lens. By itself the lens costs about $1100, but the kit is only $300 more than the body alone. So, one could get that and if one does not like it one should be able to sell it for about $300–$400. Financially it makes sense.

So, I had a choice whether I should only get the body or if I should get the kit and either keep the lens or sell it and use the proceeds toward a lens I really wanted. If I got the body by itself, I would have my trusty 50mm prime to play with until I got a new lens.

Here are some lenses I found. I have only had a chance to play with one—the D750 kit lens.

Nikon AF-S Nikkor 24-120mm f/4 ED VR (kit, +$300)
I got to play with this lens on a D750 and I had a couple of observations. While the room I was playing in was relatively decently lit (it certainly is not dark), I had some serious problems with exposure trying to keep the ISO below 1000 and the shutter speed within hand-holding range. Even at f/4. This is not surprising, since I know that I would have the same kind of problem with my 18–70mm f/3.5-4.5 zoom. I bet this would be a great lens outside. There is definitely some distortion. Near the edges there is noticeable barrel/pincushion distortion which makes straight lines look obviously “bent”. There is also some vignetting. In a “creative” shot of the dull carpeting on the floor, I saw that the corners were noticeably darker than the center. Lightroom fixed it up in no time.
Sigma 24-105mm f/4 DG OS HSM A ($900)
People seem to be raving about Sigma’s Art (“A”) lenses. Based on the sample images I have seen this is a good lens. The f/4 however is not very exciting at all. Much like the D750 kit lens, it is just too slow for anything other than daytime outdoors photography. In theory the vibration reduction (“OS” in Sigma’s lingo) should help with that, but I am not sold on VR as the solution to low light.
Sigma 24-70mm f/2.8 IF EX DG HSM ($750)
A bit shorter than the 24-105mm Sigma Art lens, but it makes up for it (in my opinion) with a fast f/2.8 aperture. It also loses the VR but I would rather fast aperture than VR.
Nikon AF-S Nikkor 24-70mm f/2.8G ED ($1700, $2300 for f/2.8E)
This is a very nice lens. The only negative thing I have ever heard about it is that it is way too expensive. Indeed, $1700 is way too much for a hobbyist to spend on a single lens. Recently-ish, Nikon made a new version of this lens (the f/2.8E) which features VR as well. Sadly, this new version is even more expensive.
Tamron SP 24-70mm f/2.8 DI VC USD ($1100)
Price-wise, this one is between the Sigma 24-70mm and Nikon 24-70mm f/2.8G. I hear good things about the image quality, but I have not spend enough time looking at it…yet.

It is rather unfortunate that good fast lenses are so expensive.

After a week of going back and forth on whether I should get the kit or not, I decided that I was going to take the easy way out, and get it. Amusingly enough, the evening I decided to place my order, B&H updated the product page with a banner saying that the combo has been discontinued by the manufacturer. Since I was so torn about the kit lens to begin with, I just shrugged and bought the body only. (The next day, the kit was available again.)

B&H threw in a 32GB SD card and a 4TB USB3 external hard drive—both useful. This way, I did not have to try to figure out which SD card I should get and I have an external hard drive to backup my photos to!

The shipping was prompt and uneventful.

“Review”

Keep in mind that I did not yet buy one of the zooms I talked about earlier.

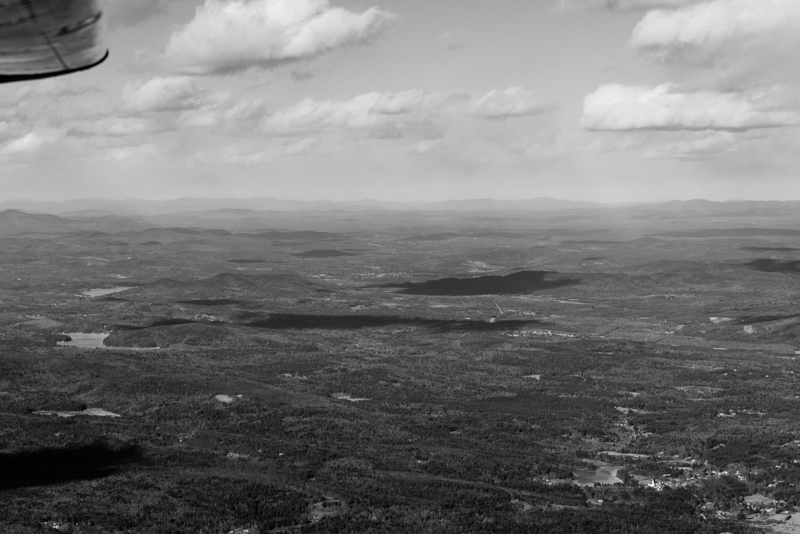
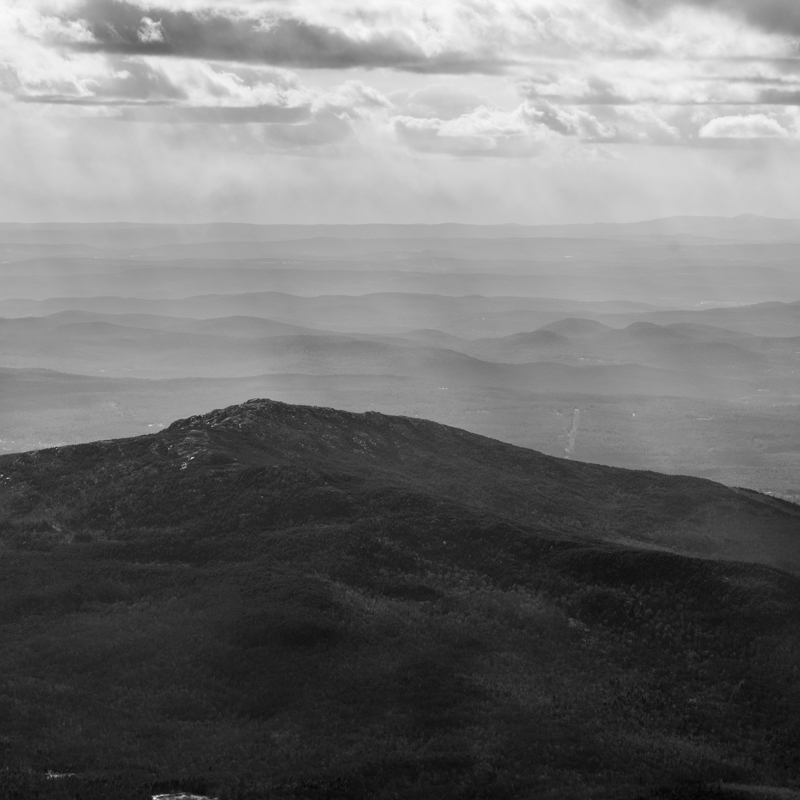
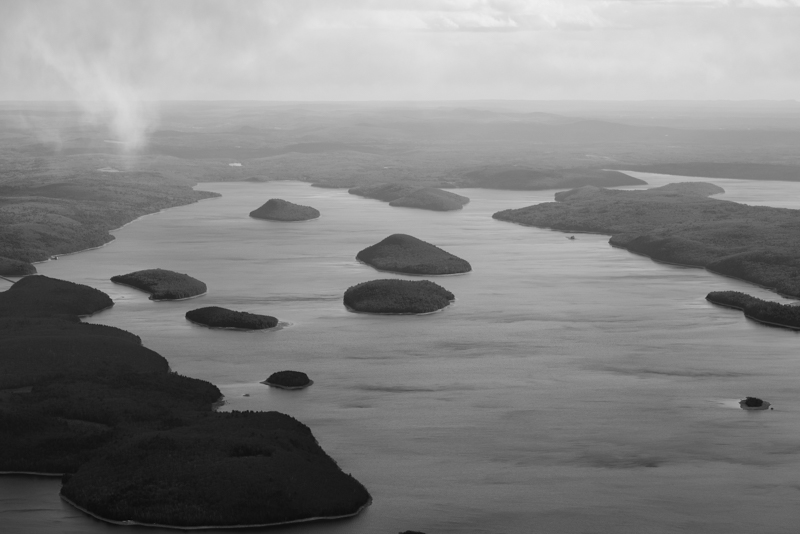
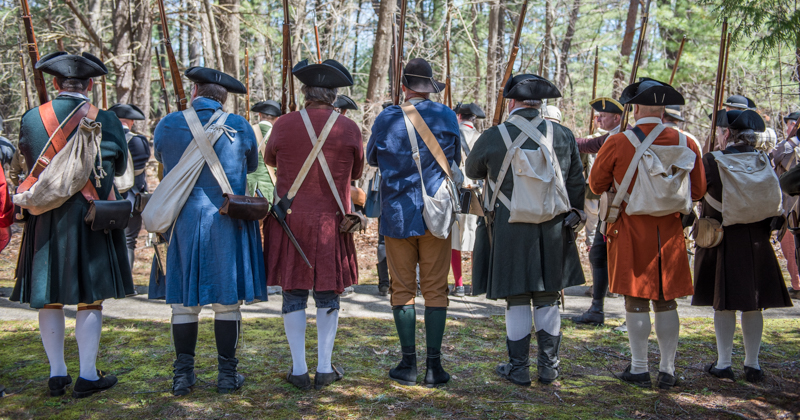
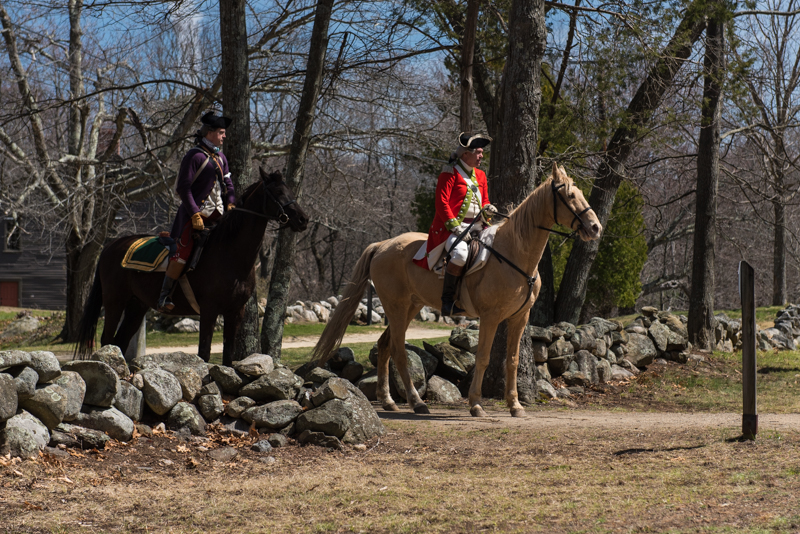
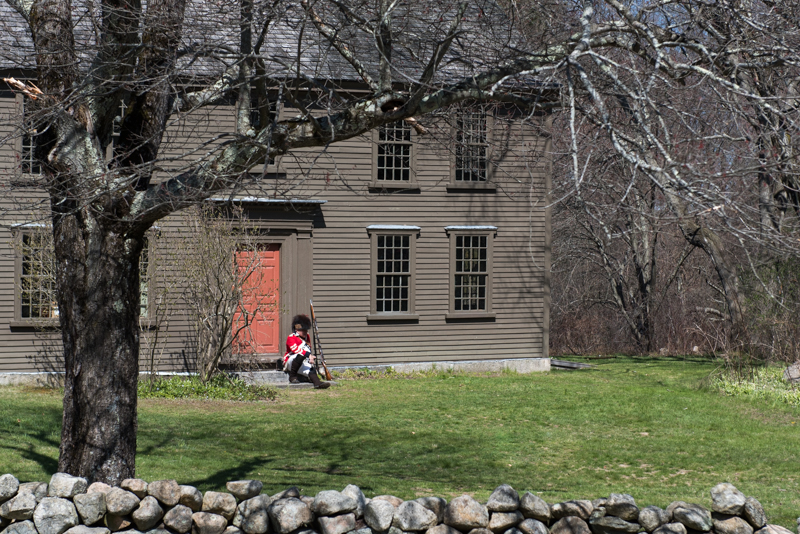
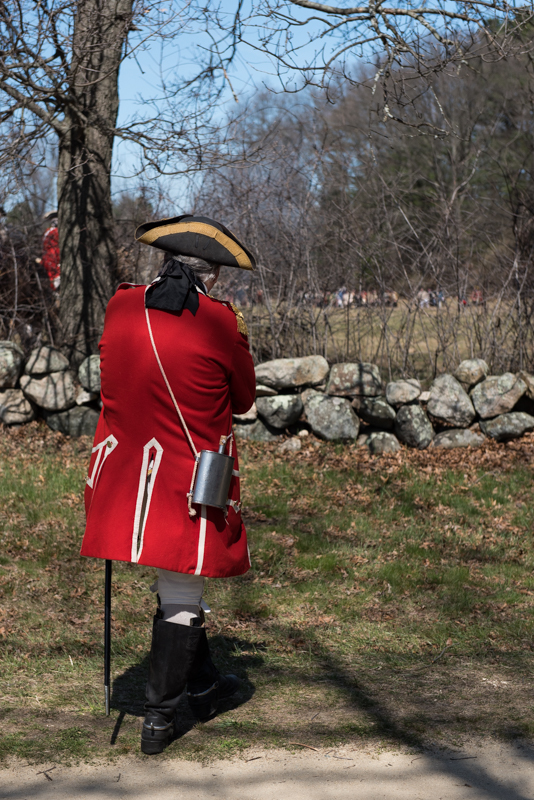
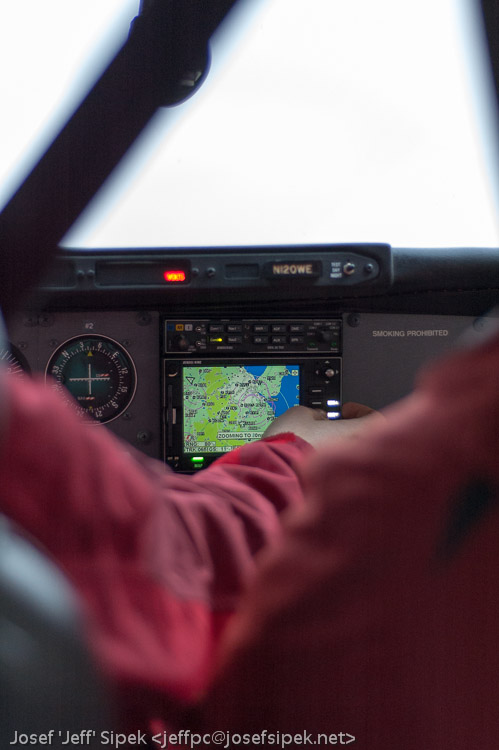
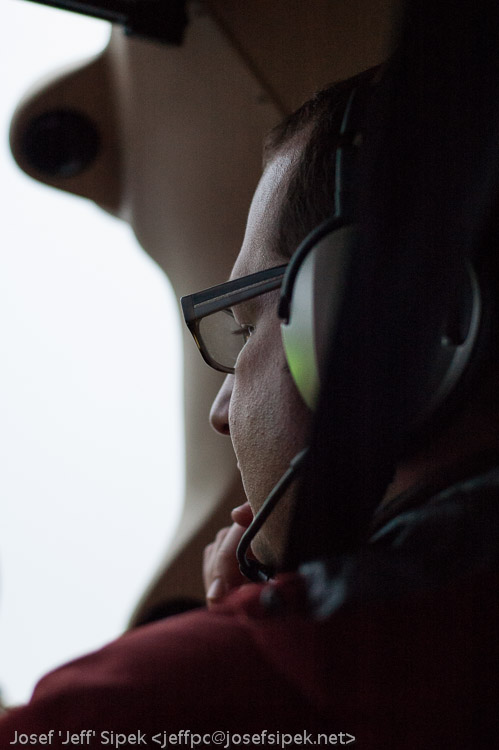
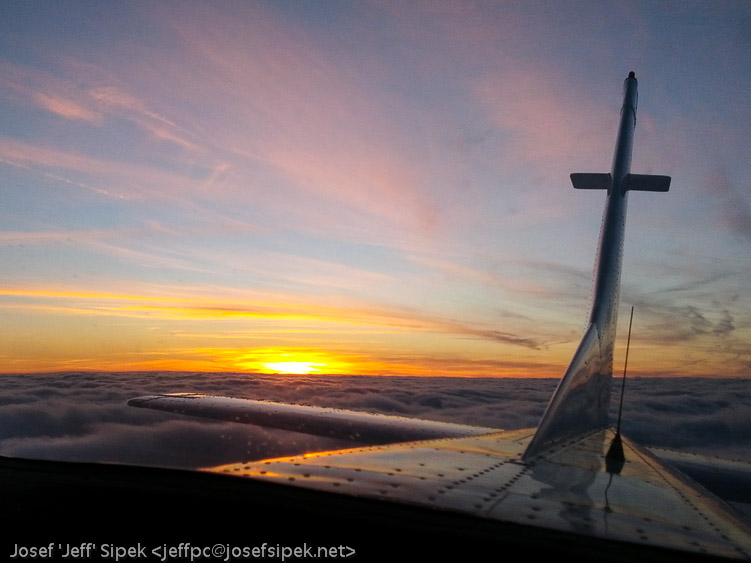
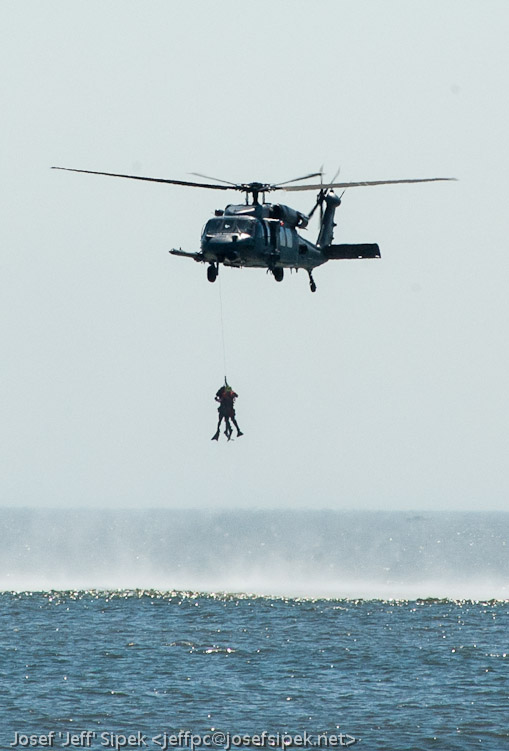
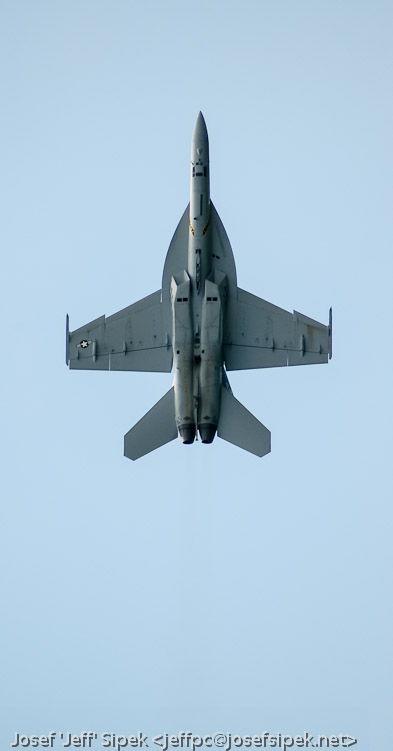
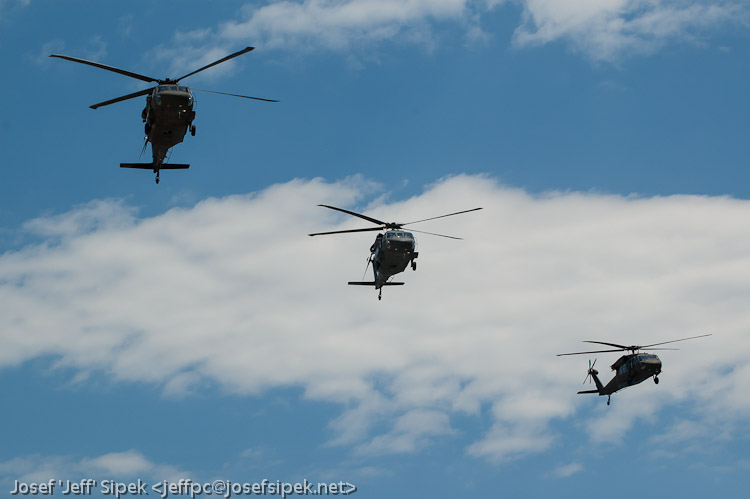
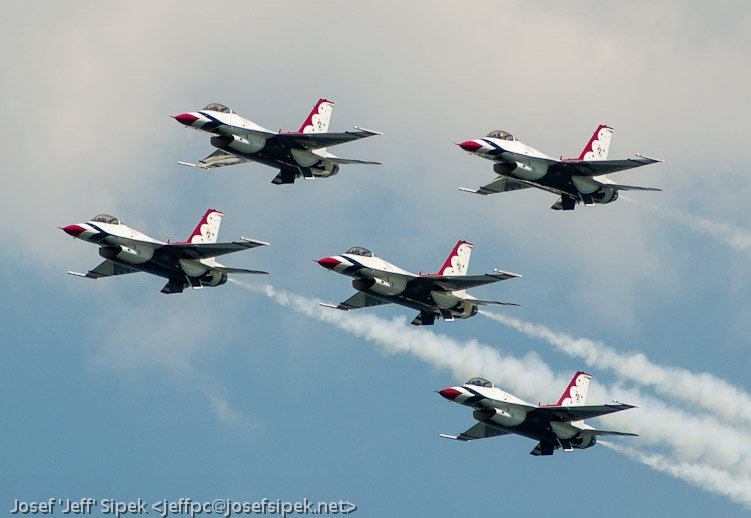
So far, I spent most of my time running around with a 50mm f/1.8 prime (which is finally usable thanks to the FX sensor). The image quality is great regardless of how much light is present. I have used it indoors, for a white background “product shot”, as well as outdoors (under clear skies with tons of harsh sunlight and shadows, during a sunset, by a fog-covered pond on a rainy day, by a poorly lit church at night, …) and I am constantly blown away at how much detail can be extracted from the shadows. Even at night with ISO 8000 the performance is amazing—autofocus very rarely hunts and the noise is manageable.

There is one thing I miss that my D70 had—the 1/8000 shutter. The D750’s 1/4000 is still quite good, but on a bright day it would be convenient to have the option to have a shorter exposure than 1/4000 instead of having to reach for ND filters (which I do not have) or venture into extended ISO to cut down on the amount of light.

The body is rather hefty (750g), but since the 50mm f/1.8 is so light (156g) it does not bother me at all. The weight seems well distributed, and gives the camera a feel of quality—not just a body with a ballast. I may start minding the weight a bit once I get an FX standard zoom which will be a whole lot heavier than the 50mm prime I have now (e.g., 790g for the Sigma 24–70 f/2.8).

There are 51 autofocus points. 51! This is an insane number compared to the 5 that are on the D70. Sadly, as most D750 reviews point out, all 51 AF points are clustered in the center of the frame. As a result, it is possible that one may have to use a nearby AF point and recompose. It is a bit annoying, but it is nowhere near as bad as what I had to deal with on the D70 where a very large number of shots required a bit of recomposing. (Yes, I realize this is a crummy comparison.) Of the several hundred shots I took on the D750, I think I had to recompose maybe 1% of the time. I expect that to be an exaggeration too since I have been trying various extreme scenes to see how the camera reacts so the in-focus portion is not always near the AF points.

Software

Almost four years ago, I blahged about how Adobe Lightroom 4 makes it easy to manage and edit photos. I have been happily using Lightroom ever since.

Needless to say, I was disappointed that I could not import the D750 raw files (NEF) into Lightroom 4. It has been a while since Adobe updated Lightroom 4’s camera database and I don’t blame them. Thankfully, Adobe has a free DNG converter program which can batch convert NEFs to DNGs. Lightroom 4 then happily imports the generated DNGs.

I did this pre-import conversion for about a week. Then I found out that I can get the Lightroom 6 upgrade for $79 and that there is no need to do this import dance. Not only that, but Lightroom 6 has a number of goodies that are not in Lightroom 4. For example, built-in panorama and HDR merging, and facial recognition. I bought the upgrade, installed it, and started importing NEFs directly without any problems.

The raw files that come out of the camera are huge (~30MB) compared to what I was used to on my D70 (~4.5MB). As a result, disk space fills up quickly, and transferring them between computers takes longer. It is a small price to pay for the amount of detail captured by the camera.

Related Posts

There are two other posts to go along with this one. In the first, I include some sample photos taken with the D750. In the second, I describe my latest thoughts about manual exposure mode.

Instrument Flying

I was paging through a smart collection in Lightroom, when I came across a batch of photos from early December that I did not share yet. (A smart collection is filter that will only show you photos satisfying a predicate.)

On December 2nd, one of the people I work with (the same person that told me exactly how easy it is to sign up for lessons) told me that he was going up to do a couple of practice instrument approaches to Jackson (KJXN) in the club’s Cessna 182. He then asked if I wanted to go along. I said yes. It was a warm, overcast day…you know, the kind when the weather seems to sap all the motivation out of you. I was going to sit in the back (the other front seat was occupied by another person I work with — also a pilot) and play with my camera. Below are the some of the better shots; there are more in the gallery.

Getting ready to take off:

US-127 and W Berry Rd:

The pilot:

The co-pilot:

On the way back to Ann Arbor (KARB), we climbed to five thousand feet, which took us out of the clouds. Since I was sitting in the back, I was able to swivel around and enjoy the sunset on a completely overcast day. The experience totally made my day. After I get my private pilot certificate, I am definitely going to consider getting instrument rated.

The clouds were very fluffy.

Adobe Lightroom 4

In my previous post I mentioned that I have more or less settled on using Adobe Lightroom 4 for my photo management and editing needs. After getting a comment from someone about his trouble with image management software, I decided to write a blahg post just about why I decided to go with Lightroom.

Adobe
Some people love Adobe while some hate it. Regardless of your feelings for the company, you’ve got to agree, they have a lot of experience when it comes to making photo editing and management software. If you want to get serious with digital photo management and editing, they probably got it right. It turns out that a fair amount of professional photographers use Lightroom during their workflow. So, if this program is good enough for people that rely on it for their livelihood, it is probably good enough for me. :)
catalog
I talked about this a bit in my previous post already, but I will repeat it here. Lightroom lets me do most things the same way I did before it except for the parts I didn’t like. So, I get to keep my <year>/<event> directory structure that I like, but all the photos are indexed and searchable. The catalog stores all the metadata and lets me quickly see thumbnails of only the photos I want to see.
tagging
This is a very common feature of photo management software, but I am including it here since I did not have anything like it with my previous workflow. One can associate arbitrary text strings with a photo and then filter based on that.
geo-tagging
One special metadata field that Lightroom handles is the GPS location. It also lets you select photos based on location on a nice map (pulled from Google Maps).
captions
Every photo can have a title and a caption. I haven’t experimented with this feature all that much but it is rather self explanatory.
ratings
Lightroom offers several ways to “rate” photographs. There is a very straight forward 5-star scale (you can set zero to five stars) as well as each photo can have a “pick” flag or a “reject” flag. After I first import photos from a new event, I display all the thumbnails to get a quick glance at what I shot. Then I view every photo individually and mark every photo that is utterly useless (e.g., blur-y) as a “reject” and every photo that seems promising as “pick”. Then, I look at just the rejects and delete them completely. Now, I just have ok photos (un-flagged) and good photos (flagged as “pick”). I use the stars to rate post-processed photos from mediocre (1-star) to ones I am proud of (5 stars).
DNG
Lightroom supports a variety of image formats — JPGs, TIFFs, PSDs, even various camera raw formats. I used to occasionally shoot in raw (NEFs) but viewing and editing them was a pain. With Ligthroom, I can use them just like any other file format. They just work. Interestingly, I no longer store NEFs. Instead of importing them and storing them as is, I let Lightroom convert them to Wikipedia article: DNGs. I won’t go into NEF vs. DNG, but what tipped the scale in DNG’s favor in my case were sidecar files.
Wikipedia article: sidecars
I do not know what most photo management applications do, but Lightroom stores all the metadata changes in its (SQLite) database. Additionally, it lets you tell it to store all metadata changes along with the original images as well. For every NEF file, it creates a sidecar Wikipedia article: XMP file. That is, next to foo.nef it will create foo.xmp which contains all the metadata changes. JPGs store the metadata in the EXIF tags. DNGs also store the metadata internally. So, if you want raw files because of their quality, you can either use the camera manufacturer’s native raw format and have to keep the XMP files around, or convert them to DNG (which is lossless conversion by default) and then not worry about sidecars.
misc
There are many other cool features that Lightroom offers — from being able to quickly batch process hundreds of photos to being able to generate web galleries and upload them via sftp with a single click. The list of features is way too long, and I am certain that I haven’t found them all yet.

So there you have it. That is what I do with Lightroom. Other software packages had various deficiencies. As an added benefit, with Lightroom I get to use more open formats (DNG & XMP) than without it.

As a technical side-note, all my photos are on a ZFS dataset that I access via CIFS. Yes, compression is enabled (Wikipedia article: lzjb).

Post Processing + 2005 Memorial Day Airshow

As some of you know, I do enjoy running around with my camera. It really is a lot of fun wandering aimlessly around, taking a photo or a dozen of something that looks interesting or funny. Unfortunately, there is more to photography than just capturing photons. Once you have the “raw” images, you need to post-process them. Digital cameras make the photon capture part super-easy, however they don’t simplify post processing all that much. (Yes, I know, you no longer need to deal with darkrooms and chemical baths. My point is, the amount of improvement in photo taking is way greater than the amount of improvement in post processing.)

About two weeks ago, I decided to give Adobe Lightroom 4 a go. Up until then, I just had a super-simple organizational scheme: a directory for every year (2004, 2005, …, 2012) and inside each, a directory for each “event”. For example, the 2005 Ottawa Linux Symposium was in 2005/ols while the 2006 one was in 2006/ols. In each event directory, I just had a bunch of jpegs or NEFs. If I wanted to modify an image, I’d open it in Gimp or Photoshop, and save whatever variants I wanted to in a subdirectory called pp — which stands for post-processed. A very simple scheme, but it doesn’t scale. Over the years, I moved my photo collection from computer to computer, trying to keep a backup on an external disk whenever possible. Sadly, this resulted in my having a 130 GB directory with the per-year scheme and “temp” directories with various amounts of the same images, as well as some “I need to empty the CF card now, so I’ll just dump it somewhere temporarily” directories. I suspect that I have about 70–80 GB of unique content.

With this mess on my hands, I decided to try some photo management software. A while ago, I looked at digiKam and I was not impressed. Then about two weeks ago, I gave Picasa and Lightroom a try. Picasa didn’t quite do what I wanted it to do — keep a very similar workflow to what I have now (keep the per-year and per-event directories) but make it really easy to make powerful edits to the images non-destructively. That is, I want to keep the original as they are, but associate the edited images with the original. Lightroom hit the spot right on. At this point I am still using the 30-day trial, but I’m going to spring for the $150 full version.

Anyway, I’ll talk more about Lightroom at some later time. Today, I just want to share 25 photos from an air show I went to on Memorial Day in 2005. (Photos that have been “rotting” in my giant pile of photos until I imported them into Lightroom.) I generated a photo gallery with all 25. Below are the better ones.

Powered by blahgd