Josef “Jeff” Sipek

Photo Gear Upgrade

It is 2016 and the digital SLR landscape is very different from what it was back in December 2004 when I bought my trusty Nikon D70. While the D70 is still going strong, it is obvious that DSLRs have dramatically improved in quality and upgrading would let me play with light in ways that the D70 just cannot handle. So after about a year and a half of telling others that I should upgrade my camera, I somehow managed to convince myself that I should actually upgrade instead of just talking about it.

The Body

Since so much has changed over the past 11 years, I had to essentially survey the land from scratch. I even glanced at the Canon lineup, but ended up focusing only on Nikons simply because I like how Nikon SLRs feel in my hand as well as the layout of the controls. (Already having a Nikon F-mount 50mm f/1.8 helped a little as well.)

Nikon has a decent lineup of cameras and choosing one is not the easiest of tasks. One of the more interesting questions I had to answer was: do I want a full-frame (FX) or a crop-sensor (DX) camera? Having “suffered” with the DX D70 for 11 years and envying all the people with full-frame DSLRs, I decided to bite the bullet and pay for the privilege of having a full-frame sensor. This narrowed the field down to D610, D750, and D810. The D810 was simply out of my price range ($2800). Between the D610 and the D750, the D750 wins at everything (technical specs, as well as the feel in hand) except the price—the D610 currently sells for $1300 while the D750 is $2000.

After about a week of deliberating and reading everything I could about the D610 and the D750, I decided to go with the D750.

The Lens

An SLR camera is useless without a lens. My arsenal of lenses has only one that is full-frame friendly and worth putting on a D750—the AF Nikkor 50mm f/1.8.

My D70 came with a 18–70mm kit lens (which behaves as 27–105mm due to the crop factor), and I think this is a good range for a general walk-around lens. So based on this, I am thinking that I want something similar. Now, there are a number of options. I spent a good week trying to figure out what I should do lens-wise before I even bought the camera.

First of all, there is a D750 kit. It comes with the Nikon AF-S Nikkor 24-120mm f/4 ED VR lens. By itself the lens costs about $1100, but the kit is only $300 more than the body alone. So, one could get that and if one does not like it one should be able to sell it for about $300–$400. Financially it makes sense.

So, I had a choice whether I should only get the body or if I should get the kit and either keep the lens or sell it and use the proceeds toward a lens I really wanted. If I got the body by itself, I would have my trusty 50mm prime to play with until I got a new lens.

Here are some lenses I found. I have only had a chance to play with one—the D750 kit lens.

Nikon AF-S Nikkor 24-120mm f/4 ED VR (kit, +$300)
I got to play with this lens on a D750 and I had a couple of observations. While the room I was playing in was relatively decently lit (it certainly is not dark), I had some serious problems with exposure trying to keep the ISO below 1000 and the shutter speed within hand-holding range. Even at f/4. This is not surprising, since I know that I would have the same kind of problem with my 18–70mm f/3.5-4.5 zoom. I bet this would be a great lens outside. There is definitely some distortion. Near the edges there is noticeable barrel/pincushion distortion which makes straight lines look obviously “bent”. There is also some vignetting. In a “creative” shot of the dull carpeting on the floor, I saw that the corners were noticeably darker than the center. Lightroom fixed it up in no time.
Sigma 24-105mm f/4 DG OS HSM A ($900)
People seem to be raving about Sigma’s Art (“A”) lenses. Based on the sample images I have seen this is a good lens. The f/4 however is not very exciting at all. Much like the D750 kit lens, it is just too slow for anything other than daytime outdoors photography. In theory the vibration reduction (“OS” in Sigma’s lingo) should help with that, but I am not sold on VR as the solution to low light.
Sigma 24-70mm f/2.8 IF EX DG HSM ($750)
A bit shorter than the 24-105mm Sigma Art lens, but it makes up for it (in my opinion) with a fast f/2.8 aperture. It also loses the VR but I would rather fast aperture than VR.
Nikon AF-S Nikkor 24-70mm f/2.8G ED ($1700, $2300 for f/2.8E)
This is a very nice lens. The only negative thing I have ever heard about it is that it is way too expensive. Indeed, $1700 is way too much for a hobbyist to spend on a single lens. Recently-ish, Nikon made a new version of this lens (the f/2.8E) which features VR as well. Sadly, this new version is even more expensive.
Tamron SP 24-70mm f/2.8 DI VC USD ($1100)
Price-wise, this one is between the Sigma 24-70mm and Nikon 24-70mm f/2.8G. I hear good things about the image quality, but I have not spend enough time looking at it…yet.

It is rather unfortunate that good fast lenses are so expensive.

After a week of going back and forth on whether I should get the kit or not, I decided that I was going to take the easy way out, and get it. Amusingly enough, the evening I decided to place my order, B&H updated the product page with a banner saying that the combo has been discontinued by the manufacturer. Since I was so torn about the kit lens to begin with, I just shrugged and bought the body only. (The next day, the kit was available again.)

B&H threw in a 32GB SD card and a 4TB USB3 external hard drive—both useful. This way, I did not have to try to figure out which SD card I should get and I have an external hard drive to backup my photos to!

The shipping was prompt and uneventful.

“Review”

Keep in mind that I did not yet buy one of the zooms I talked about earlier.

So far, I spent most of my time running around with a 50mm f/1.8 prime (which is finally usable thanks to the FX sensor). The image quality is great regardless of how much light is present. I have used it indoors, for a white background “product shot”, as well as outdoors (under clear skies with tons of harsh sunlight and shadows, during a sunset, by a fog-covered pond on a rainy day, by a poorly lit church at night, …) and I am constantly blown away at how much detail can be extracted from the shadows. Even at night with ISO 8000 the performance is amazing—autofocus very rarely hunts and the noise is manageable.

There is one thing I miss that my D70 had—the 1/8000 shutter. The D750’s 1/4000 is still quite good, but on a bright day it would be convenient to have the option to have a shorter exposure than 1/4000 instead of having to reach for ND filters (which I do not have) or venture into extended ISO to cut down on the amount of light.

The body is rather hefty (750g), but since the 50mm f/1.8 is so light (156g) it does not bother me at all. The weight seems well distributed, and gives the camera a feel of quality—not just a body with a ballast. I may start minding the weight a bit once I get an FX standard zoom which will be a whole lot heavier than the 50mm prime I have now (e.g., 790g for the Sigma 24–70 f/2.8).

There are 51 autofocus points. 51! This is an insane number compared to the 5 that are on the D70. Sadly, as most D750 reviews point out, all 51 AF points are clustered in the center of the frame. As a result, it is possible that one may have to use a nearby AF point and recompose. It is a bit annoying, but it is nowhere near as bad as what I had to deal with on the D70 where a very large number of shots required a bit of recomposing. (Yes, I realize this is a crummy comparison.) Of the several hundred shots I took on the D750, I think I had to recompose maybe 1% of the time. I expect that to be an exaggeration too since I have been trying various extreme scenes to see how the camera reacts so the in-focus portion is not always near the AF points.

Software

Almost four years ago, I blahged about how Adobe Lightroom 4 makes it easy to manage and edit photos. I have been happily using Lightroom ever since.

Needless to say, I was disappointed that I could not import the D750 raw files (NEF) into Lightroom 4. It has been a while since Adobe updated Lightroom 4’s camera database and I don’t blame them. Thankfully, Adobe has a free DNG converter program which can batch convert NEFs to DNGs. Lightroom 4 then happily imports the generated DNGs.

I did this pre-import conversion for about a week. Then I found out that I can get the Lightroom 6 upgrade for $79 and that there is no need to do this import dance. Not only that, but Lightroom 6 has a number of goodies that are not in Lightroom 4. For example, built-in panorama and HDR merging, and facial recognition. I bought the upgrade, installed it, and started importing NEFs directly without any problems.

The raw files that come out of the camera are huge (~30MB) compared to what I was used to on my D70 (~4.5MB). As a result, disk space fills up quickly, and transferring them between computers takes longer. It is a small price to pay for the amount of detail captured by the camera.

Related Posts

There are two other posts to go along with this one. In the first, I include some sample photos taken with the D750. In the second, I describe my latest thoughts about manual exposure mode.

2015-09-01

Wikipedia article: Interchange — This definitely reminds me of xkcd: Highway Engineer Pranks. At the same time, it is fascinating how there is a whole set of standard interchanges.

DxOMark — Very in-depth reviews of SLR lenses and bodies.

Lisp as the Maxwell’s equations of software — Reading this has rekindled my interest in Lisp and Scheme.

This Man Has Been Trying to Live Life as a Goat

What’s going on with a Python assignment puzzle — As a C programmer, this is totally counter-intuitive to me.

Internet Mainframes Project — Screenshots of Wikipedia article: 3270 login screens of tons of internet facing mainframes.

The Case for Teaching Ignorance

Raspberry Pi

Two weeks ago, I decided to do some hardware hacking. After a bit of reading up on embedded boards, I ended up buying a Raspberry Pi B+. It’s essentially a slightly smaller form factor version of the B, that has more GPIO pins and uses microSD cards instead of SD cards.

I hooked it up to the TV and played with Raspbian and RiscOS a little bit. As you may have guessed by now, that was not enough fun for me. I just had to boot a custom OS that talked over serial. :) This of course required some way to connect the Pi to something that can talk serial. But that’s a post for another day. :P This post is going to be about my impression of the Pi, as well as a cute little use I found for it over the past week.

Impressions

The Pi is a rather small board. The B+ is even smaller. A lot has been written about the technical side, so I won’t bother.

I was rather impressed with how much punch this little board packs. The hardest part about getting it going was putting it in the case (I got one of those kits because it was cheaper than buying everything separately). The built-in 4-port USB hub ended up quite useful. It allowed me to plug in both a keyboard and a mouse and have NOOBS installing Raspbian and RiscOS within minutes. A quick reboot later, I was at a shell prompt. That’s where the “new toy high” wore off a little. (I know I’ve talked about this with people before — it’s cool to be portable, but it’s also boring since the architecture becomes irrelevant.) I had a shell, and the most creative thing I could think of was to look at /proc/cpuinfo and /proc/meminfo.

I do have some thoughts about where the Pi B+ could have been better. The B version used an SD card. The B+ uses a microSD card. I consider this a bit of a regression. I have a bunch of older SD cards and an SD card reader that works well with SD cards. Sadly, this card reader (using a microSD adapter) fails to play nice with the SDXC modernization of SD that all microSD cards seem to use. I have the same issue with other microSD cards, so I’m pretty sure it’s the card reader. This makes updating a bit more of a pain.

The other thing I wish the Pi had is a DB9 RS232 connector. I have USB serial dongles that work well, but to talk serial to the Pi one needs to either get a level converter or a TTL serial to USB cable. I ended up getting a cheap USB cable with a fake Prolific chip inside. It works, but I hear Windows users are having a terrible time with evil drivers from Prolific.

Storm Timelapse

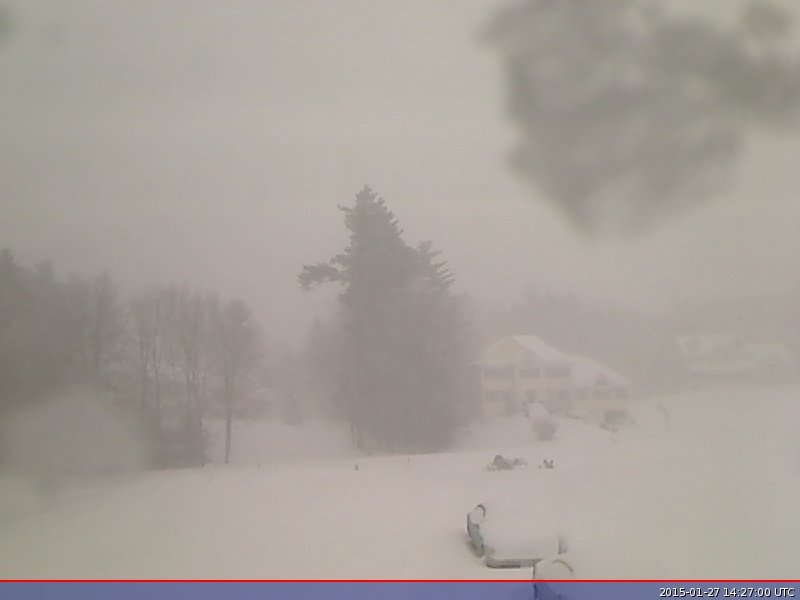
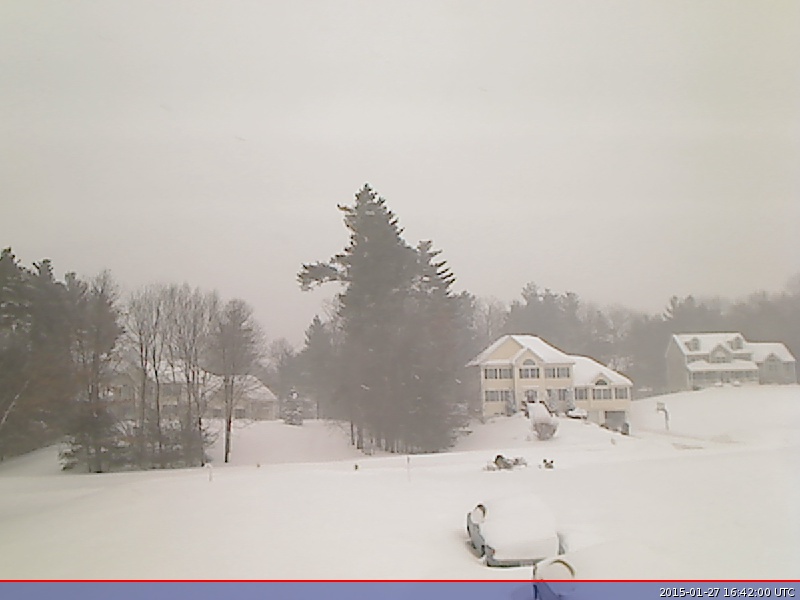
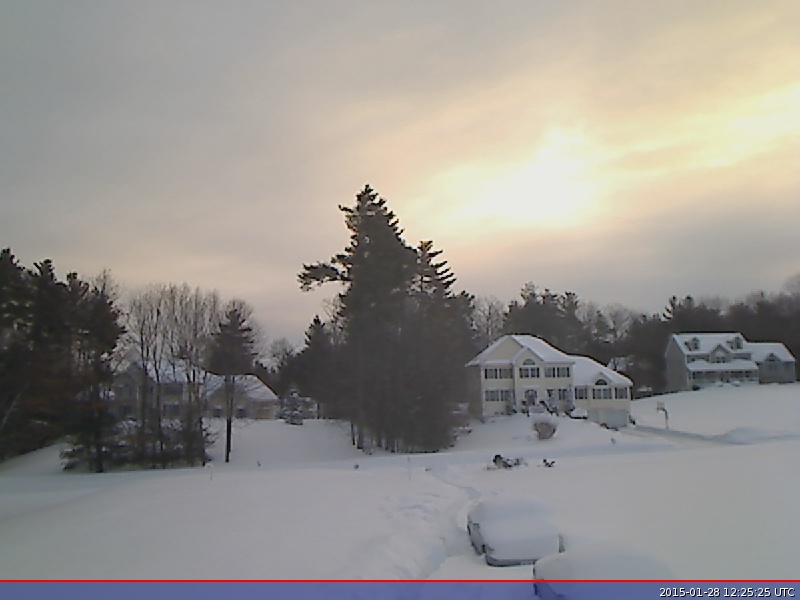
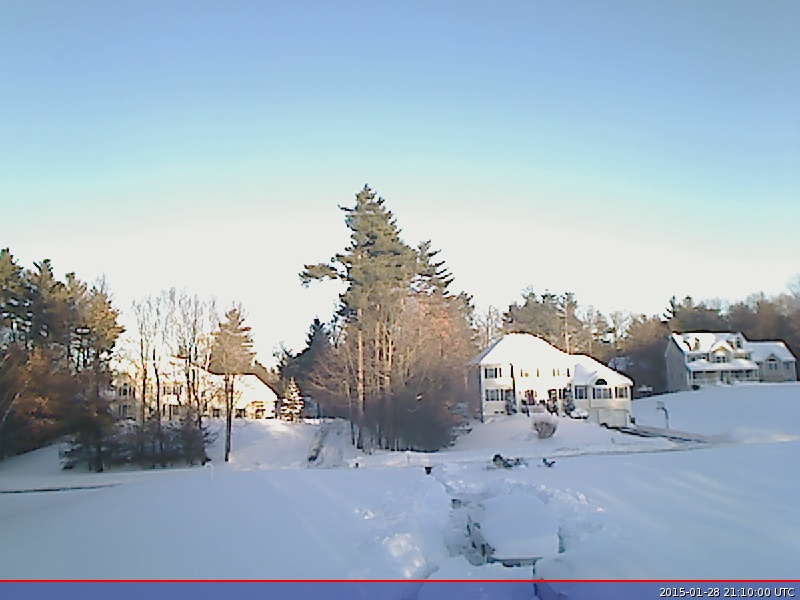
A little over a week after getting the Pi in the mail, we got a large storm heading our way. I got the brilliant idea to set up a webcam in an upstairs window. Previously, this would involve digging up an old computer, setting it up by the window, etc. This time, I reached for the Pi. I connected a webcam to one of the USB ports and a cheap WiFi USB adapter to another. A short config later, Raspbian was on the network even though there’s no network drop in sight.
I didn’t want to abuse the microSD card for storage of images, so I mounted an NFS share from the storage server in the basement. I had to use the nolock option to make the mount happen. I probably could have figured out why the lock manager was not running, but it was a temporary setup so a “quick hack” was all I did.

To capture images from the webcam, I ended up installing fswebcam, a small program that does one thing and does it well. I started up screen, and ran fswebcam with the following config.

device /dev/video0
input 0
loop 5
resolution 800x600
timestamp "%Y-%m-%d %H:%M:%S %Z"
jpeg 95
save /mnt/webcam/%Y%m%d/%H/0_%Y%m%d_%H%M%S.jpg
palette YUYV

Then, downstairs on my laptop, I mounted the same share and watched the files appear every five seconds. I ended up running the webcam for two days.

Here’s a couple of stills from the 27th:

And here’s a couple from the 28th:

I did make a quick timelapse, but I haven’t tried to figure out a reasonable set of codec options to not end up with 300 MB of video. Maybe one day I’ll find a good set of options and upload the video here. Here’s what I used:

ffmpeg -framerate 30 -pattern_type glob -i '20150128/*/0_*.jpg' \
	-b:v 5000k -g 300 /tmp/out.mp4

Anyway, that’s it for today. I’ll write again about the Pi in the near future — from an OS developer’s perspective.

Biometrics

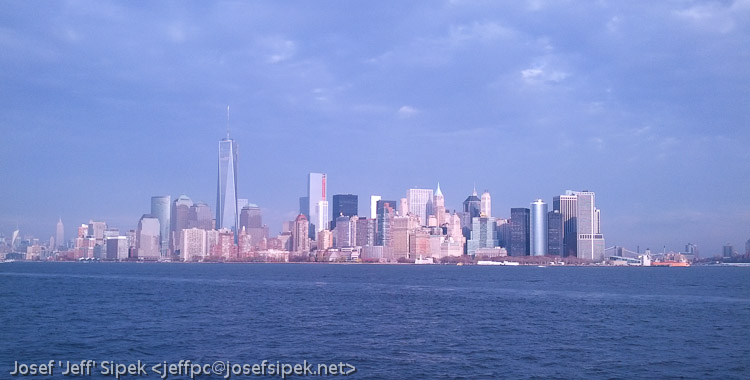
Last week I got to spend a bit of time in NYC with obiwan. He’s never been in New York, so he did the tourist thing. I got to tag along on Friday. We went to the Statue of Liberty, Ellis Island, and a pizza place.

You may have noticed that this post is titled “Biometrics,” so what’s NYC got to do with biometrics? Pretty simple. In order to get into the Statue of Liberty, you have to first surrender your bags to a locker and then you have to go through a metal detector. (This is the second time you go through a metal detector — the first is in Battery Park before you get on the boat to Liberty Island.) Once on Liberty Island, you go into a tent before the entrance where you get to leave your bags and $2. Among the maybe 500–600 lockers, there are two or three touch screen interfaces. You use these to rent a locker. After selecting the language you wish to communicate in and feeding in the money, a strobe light goes off blinding you — this is to indicate where you are supposed to place your finger to have your finger print scanned. Your desire to rent a locker aside, you want to put your finger on the scanner to make the strobe go away. Anyway, once the system is happy it pops a random (unused) locker open and tells you to use it.

What could possibly go wrong.

After visiting the statue, we got back to the tent to liberate the bags. At the same touch screen interface, we entered in the locker number and when prompted scanned the correct finger. The fingerprint did not get recognized. After repeating the process about a dozen times, it was time to talk to the people running the place about the malfunction. The person asked for the locker number, went to the same interface that we used, used what looked like a Wikipedia article: one-wire key fob near the top of the device to get an admin interface and then unlocked the locker. That’s it. No verification of if we actually owned the contents of the locker.

I suppose this is no different from a (physical) key operated locker for which you lost the key. The person in charge of renting the lockers has no way to verify your claim to the contents of the locker. Physical keys, however, are extremely durable compared to the rather finicky fingerprint scanners that won’t recognize you if you look at them the wrong way (or have oily or dirty fingers in a different way than they expect). My guess the reason the park service went with a fingerprint based solution instead of a more traditional physical key based solution is simple: people can’t lose the locker keys if you don’t use them. Now, are cheap fingerprint readers accurate enough to not malfunction like this often? Are the people supervising the locker system generally this apathetic about opening a locker without any questions? I do not know, but my observations so far are not very positive.

I suspect more expensive fingerprint readers will perform better. It just doesn’t make sense for something as cheap as a locker to use the more expensive readers.

Private Pilot, Honeymooning, etc.

Early September was a pretty busy time for me. First, I got my private pilot certificate. Then, three days later, Holly and I got married. We used this as an excuse to take four weeks off and have a nice long honeymoon in Europe (mostly in Prague).

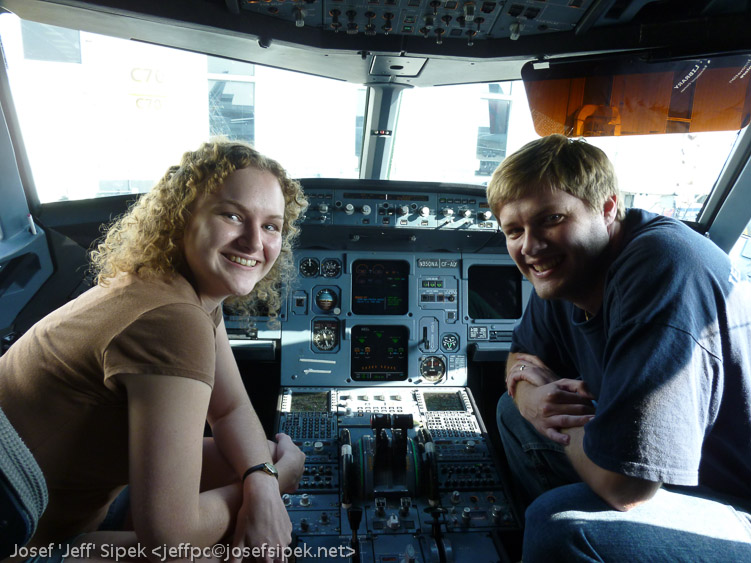
Our flight to Prague (LKPR) had a layover at KJFK. While waiting at the gate at KDTW, I decided to talk to the pilots. They said I should stop by and say hi after we land at JFK. So I did. Holly tagged along.

A little jealous about the left seat

I am impressed with the types of displays they use. Even with direct sunlight you can easily read them.

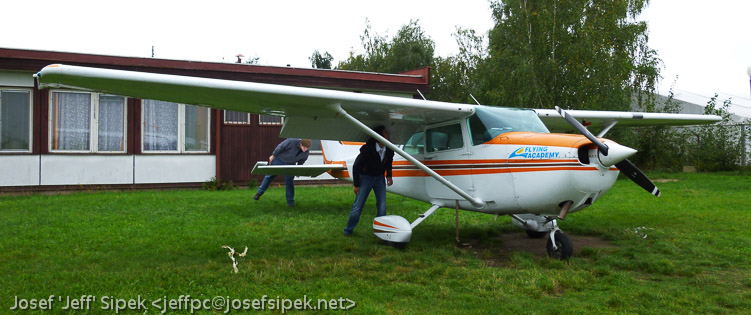
After about a week in Prague, we rented a plane (a 1982 Cessna 172P) with an instructor and flew around Czech Republic looking at the castles.

OK-TUR

I did all the flying, but I let the instructor do all the radio work, and since he was way more familiar with the area he ended up acting sort of like a tour guide. Holly sat behind me and had a blast with the cameras. The flight took us over Wikipedia article: Bezděz, Wikipedia article: Ještěd, Wikipedia article: Bohemian Paradise, and Wikipedia article: Jičín where we stopped for tea. Then we took off again, and headed south over Wikipedia article: Konopiště, Wikipedia article: Karlštejn, and Wikipedia article: Křivoklát. Overall, I logged 3.1 hours in European airspace.

First Solo Cross-Country

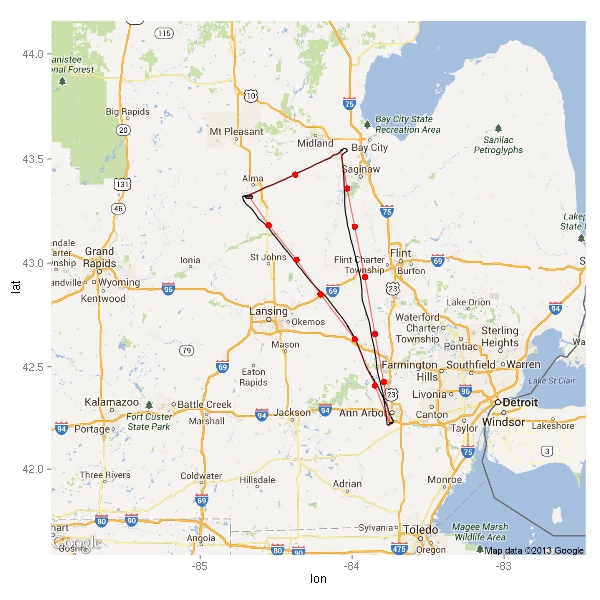
A week ago (June 15), I went on my first solo cross country flight. The plan was to fly KARBKMBSKAMN → KARB. In case you don’t happen to have the Detroit sectional chart in front of you, this might help you visualize the scope of the flight.

leg distance time
KARB → KMBS 79 nm 47 min
KMBS → KAMN 29 nm 20 min
KAMN → KARB 79 nm 46 min
Total 187 nm 113 min

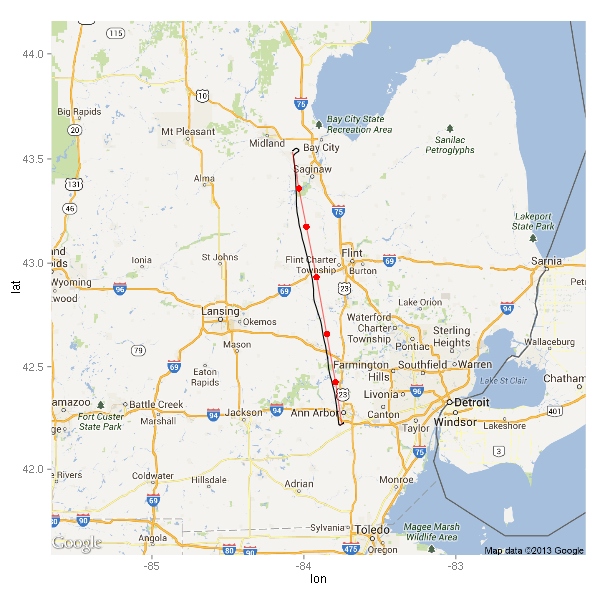
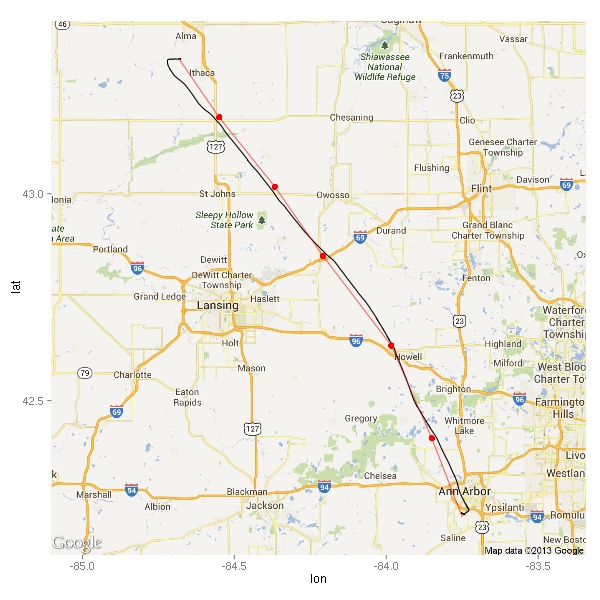
Here’s the ground track (as recorded by the G1000) along with red dots for each of my checkpoints and a pink line connecting them. (Sadly, there’s no convenient zoom level that covers the entire track without excessive waste.)

ground track

As you can see, I didn’t quite overfly all the checkpoints. In my defense, the forecast winds were about 40 degrees off from reality during the first half of the flight. :)

Let’s examine each leg separately.

KARB → KMBS

ground track

My checkpoint by I-69 (southwest of Flint) was supposed to be a I-69 and Pontiac VORTAC (PSI) radial 311 intersection. However when I called up the FSS briefer, I found out that it was out of service. Thankfully, Salem VORTAC (SVM) is very close so I just used its radial 339 instead. Next time I’m using a VOR for any part of my planning, I’m going to check for any NOTAMs before I make it part of my plan — redoing portions of the plan is tedious and not fun.

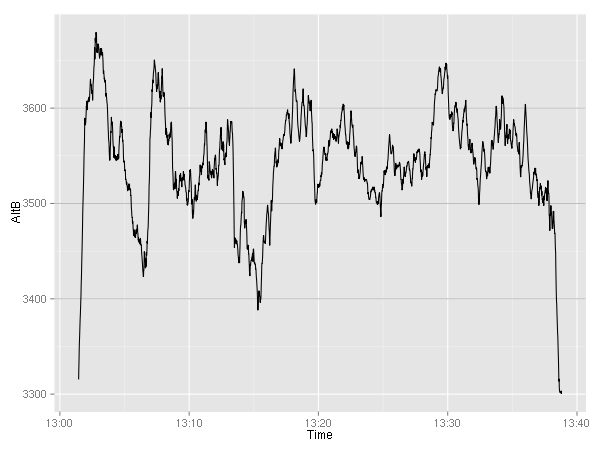
On the way to Saginaw, I was planning to go at 3500. (Yes, I know, it is a westerly direction and the rule (FAR 91.159) says even thousand + 500, but the clouds were not high enough to fly at 4500 and the rule only applies 3000 AGL and above — the ground around these parts is 700-1000 feet MSL.)

altitude

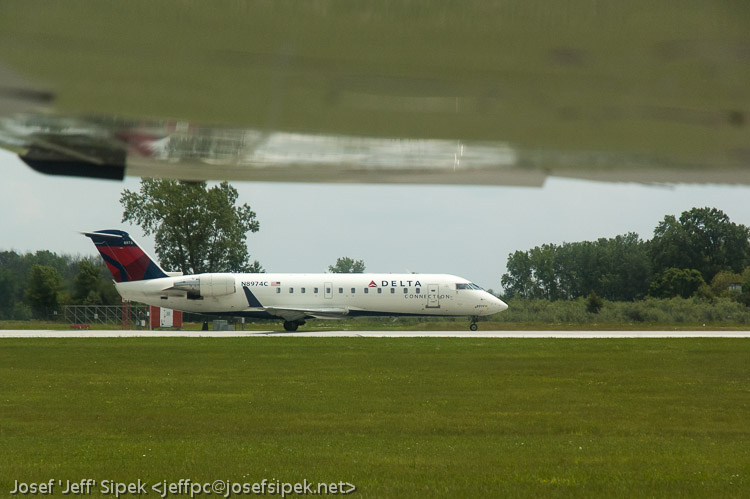
Right when I entered the downwind for runway 23, the tower cleared me to land. My clearance was quickly followed by the tower instructing a commuter jet to hold short of 23 because of landing traffic — me! Somehow, it is very satisfying to see a real plane (CRJ-200) have to wait for little ol’ me to land. (FlightAware tells me that it was FLG3903 flight to KDTW.)

While I was on taxiway C, they got cleared to take off. I couldn’t help it but to snap a photo.

CRJ-200

It was a pretty slow day for Saginaw. The whole time I was on the radio with Saginaw approach, I got to hear maybe 5 planes total. The tower was even less busy. There were no planes around except for me and the commuter jet.

KMBS → KAMN

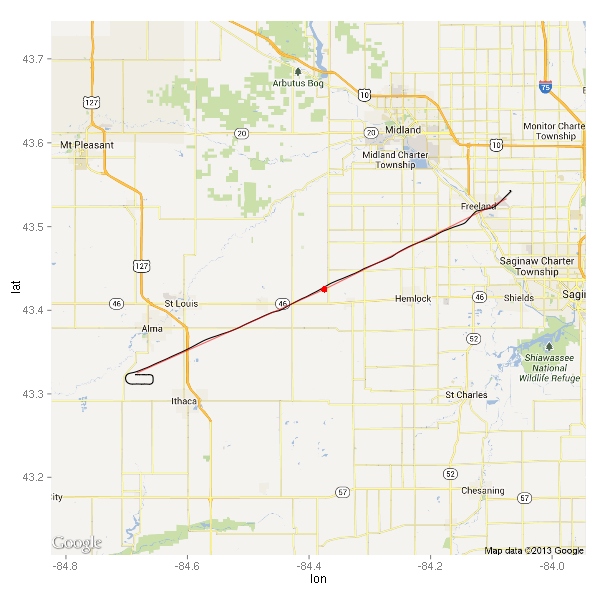
This leg of the flight was the hardest. First of all, it was only 29 nm. This equated to about 25 minutes of flying. The first four-ish and the last five-ish were spent climbing and descending, so really there was about 15 minutes of cruising. Not much time to begin with. I flew this leg by following the MBS VOR radial 248. My one and only checkpoint on this leg was mid way — the beginning of a wind turbine farm. It took about 2 minutes longer to get there than planned, but the wind turbines were easy to see from distance so no problems there.

ground track

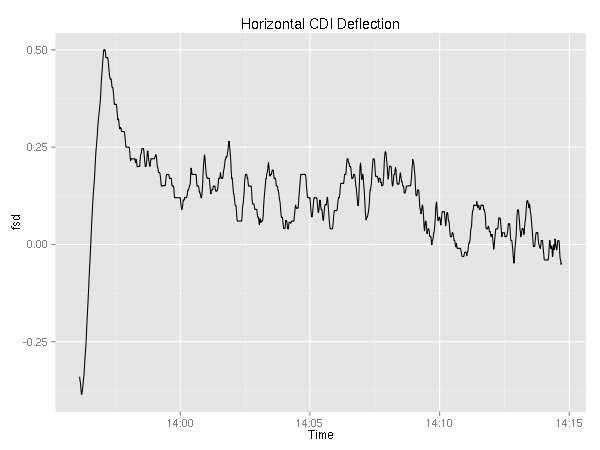
Following the VOR wasn’t difficult, but you can see in the ground track that I was meandering across it. As expected, it got easier the farther away from the station I got. Here’s the plot of the CDI deflection for this leg. The CSV file says that the units are “fsd” — I have no idea what that means.

CDI deflection

I can’t really draw any conclusions because…well, I don’t know what the graph is telling me. Sure, it seems to get closer and closer to zero (which I assume is a good thing), but I can’t honestly say that I understand what the graph is saying.

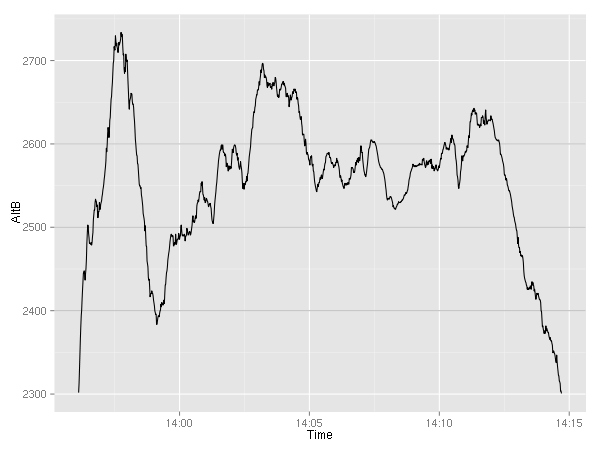
The most difficult part was trying to stay at 2500 feet. For whatever reason, it felt like I was flying in sizable thermals. Since there were no thunderstorms in the area, I flew on fighting the updrafts. That was the difficult part. I suspect the wind turbines were built there because the area is windy.

altitude

KAMN is a decent size airport. Two plenty long runways for a 172 even on a hot day (5004x75 feet and 3197x75 feet). I didn’t stop by the FBO, so I have no idea how they are. I did not notice anyone else around during the couple of minutes I spent on the ground taxiing and getting ready for the next leg. Maybe it was just the overcast that made people stay indoors. Oh well. It is a nice airport, and I wouldn’t mind stopping there in the future if the need arose.

KAMN → KARB

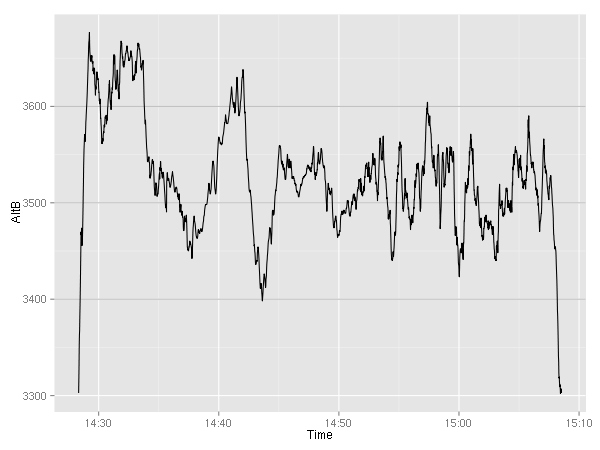
Flying back to Ann Arbor was the easy part of the trip. The air calmed down enough that once trimmed, the plane more or less stayed at 3500 feet.

altitude

It apparently was a slow day for Lansing approach as well, as I got to hear a controller chatting with a pilot of a skydiving plane about how fast the skydivers fell to the ground. Sadly, I didn’t get to hear the end of the conversation since the controller told me to contact Detroit approach.

As far as the ground track is concerned, you can see two places where I stopped flying current heading and instead flew toward the next checkpoint visually. The first instance is a few miles north of KOZW. I spotted the airport, and since I knew I was supposed to overfly it, I turned to it and flew right over it. The second instance is by Whitmore Lake — there I looked into the distance and saw Ann Arbor. Knowing that the airport is on the south side, I just headed right toward it ignoring the planned heading. As I mentioned before in both cases, the planned course was slightly off because the winds weren’t quite like the forecast said they would be.

ground track

You can’t tell from the rather low resolution of the map, but I got to fly right over the Wikipedia article: Michigan stadium. Sadly, I was a bit too busy flying the plane to take a photo of the field below me.

Next

With one solo cross country out of the way, I’m still trying to figure out where I want to go next. Currently, I am considering one of these flights (in no particular order):

path distance time
KARB KGRR KMOP KARB 239 nm 2h19m
KARB KBIV KJXN KARB 220 nm 2h08m
KARB KFWA KTOL KARB 210 nm 2h03m
KARB CRUXX KFWA KTOL KARB 210 nm 2h06m
KARB LFD KFWA KTOL KARB 225 nm 2h12m
KARB KAZO KOEB KTOL KARB 207 nm 2h01m
KARB KMBS KGRR KARB 243 nm 2h21m
KARB KGRR KEKM KARB 266 nm 2h40m

Instrument Flying

I was paging through a smart collection in Lightroom, when I came across a batch of photos from early December that I did not share yet. (A smart collection is filter that will only show you photos satisfying a predicate.)

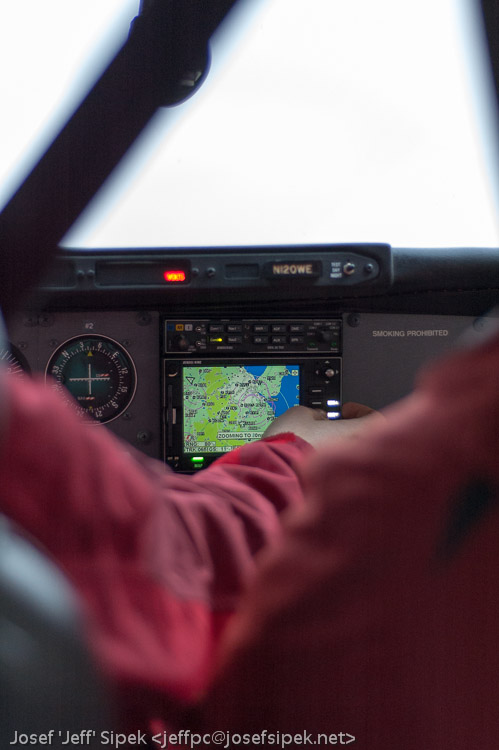
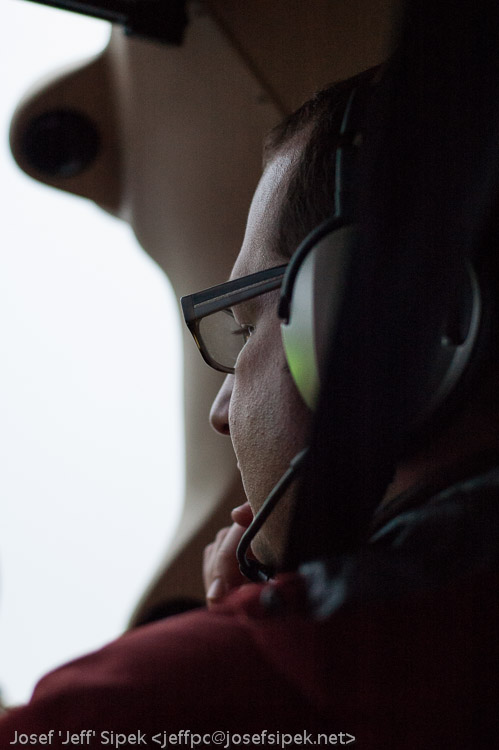
On December 2nd, one of the people I work with (the same person that told me exactly how easy it is to sign up for lessons) told me that he was going up to do a couple of practice instrument approaches to Jackson (KJXN) in the club’s Cessna 182. He then asked if I wanted to go along. I said yes. It was a warm, overcast day…you know, the kind when the weather seems to sap all the motivation out of you. I was going to sit in the back (the other front seat was occupied by another person I work with — also a pilot) and play with my camera. Below are the some of the better shots; there are more in the gallery.

Getting ready to take off:

US-127 and W Berry Rd:

The pilot:

The co-pilot:

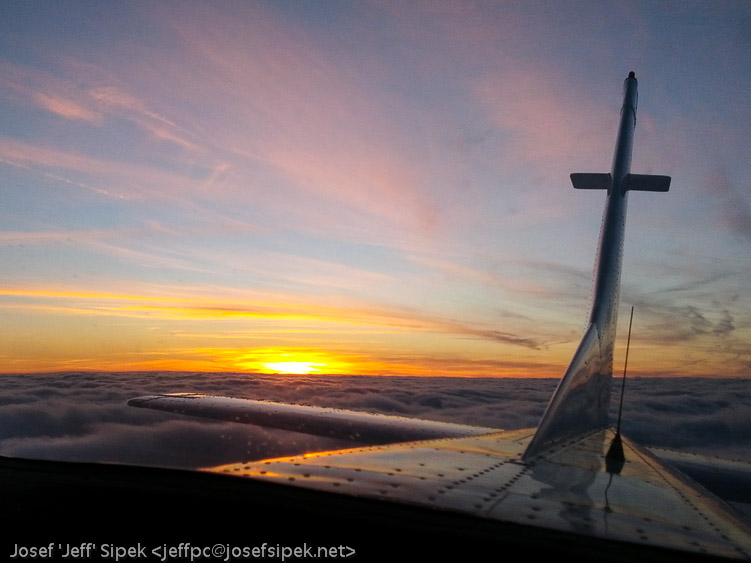
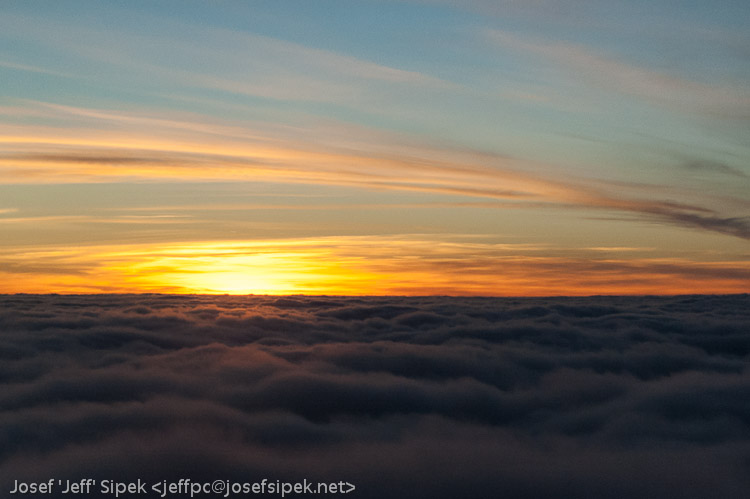
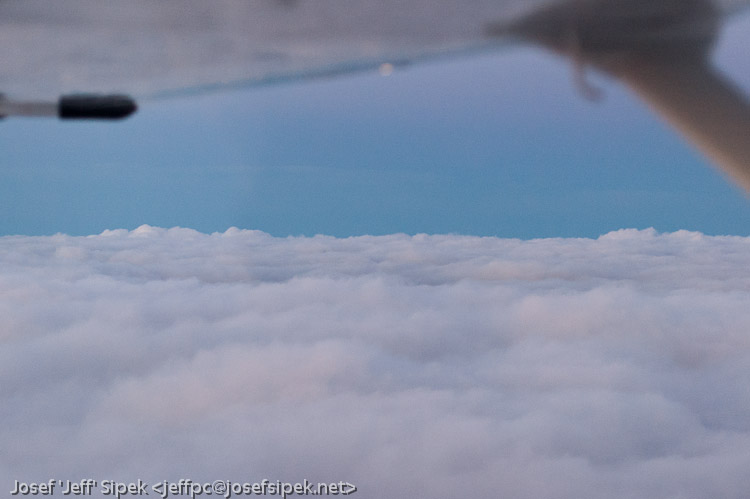
On the way back to Ann Arbor (KARB), we climbed to five thousand feet, which took us out of the clouds. Since I was sitting in the back, I was able to swivel around and enjoy the sunset on a completely overcast day. The experience totally made my day. After I get my private pilot certificate, I am definitely going to consider getting instrument rated.

The clouds were very fluffy.

Matthaei Botanical Gardens

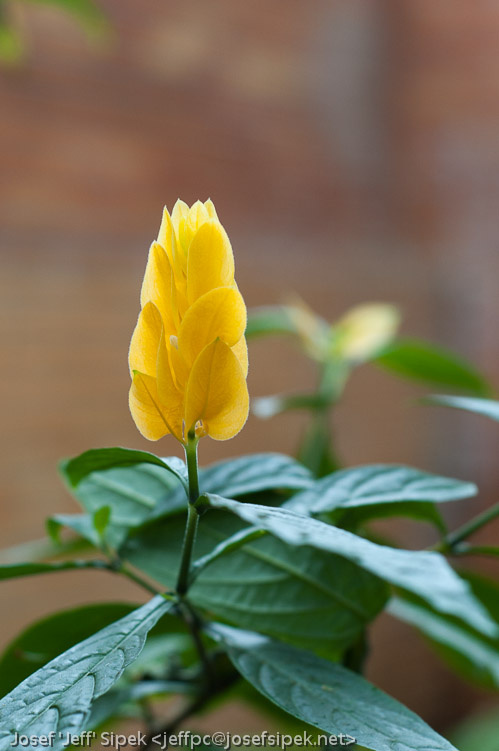
Back in early February, Holly and I went to the Matthaei Botanical Gardens. I took my camera with me. After over two months of doing nothing with the photos, I finally managed to post-process some of them. I have no idea what the various plants are called — I probably should have made note of the signs next to each plant. (photo gallery)

This one didn’t turn out as nicely as I hoped. Specifically, it is a little blurry. Maybe I’ll go back at some point to retake the photo.

This one is just cool.

I think this is some kind of Aloe.

Saint Paul, Minnesota

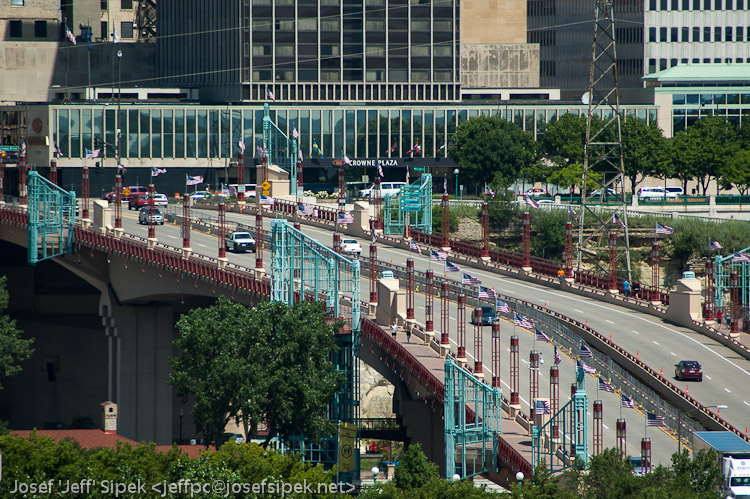
Holly and I went to Minnesota four weeks ago. We stayed at Crowne Plaza in downtown Saint Paul and had enough free time to explore the city and its surroundings a bit. The weather was great, so the photos ended up pretty good looking. You can jump to the whole photo gallery or just look at the select few photos below.

The first day of exploring was pretty brief. We spent about two hours total exploring the other side of the Mississippi river. We found a place with a nice view of the whole downtown Saint Paul. Aside from the hotel from across the Mississippi river

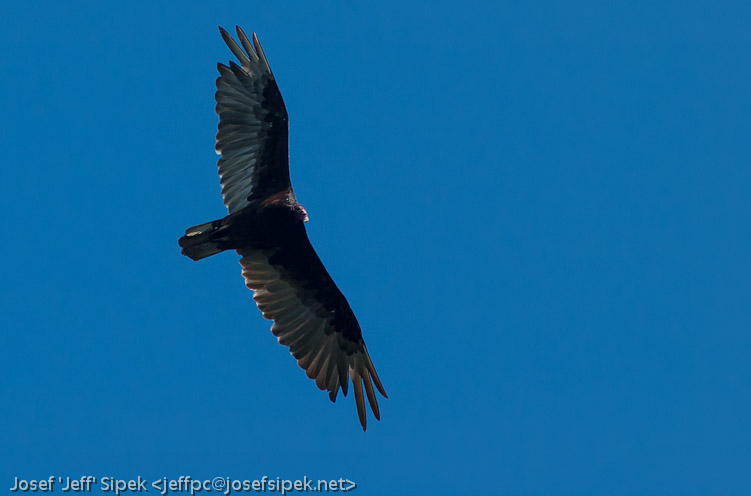
and a bird of some sort (I have no idea what kind of bird this is) that was enjoying the updraft from the breeze hitting the river bank and turning up the steep hill side

I got enough shots to make a panorama of downtown. It is about 270 degree field of view! (I have a 14MB JPEG for those wishing to see all the details.)

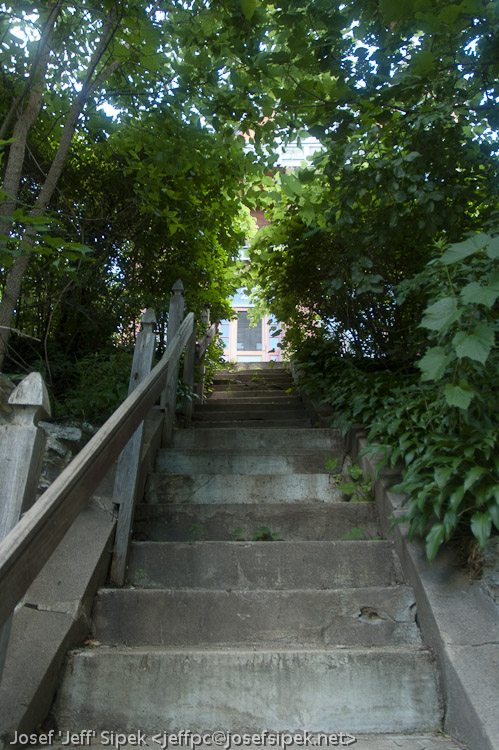
On the way back to the hotel, we saw this old (and steep) stair case:

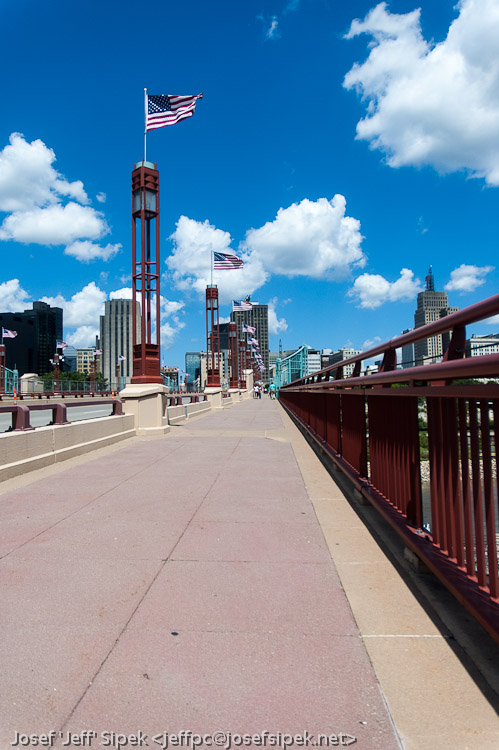
Here’s a shot of the bridge up close. Did I mention that the weather was great?

The next day, we didn’t explore since we didn’t have much time. However in the evening the Wikipedia article: mayflies took over the skies. It was amazing and annoying at the same time. The next morning, we went for breakfast and saw dead mayflies everywhere.

After breakfast we went on to explore the city a bit more. We immediately noticed that the whole city seemed deserted. Businesses just didn’t open on Sundays, after an hour of walking around we ran into maybe 5 people total.

Eventually, we asked a security guard what was going on. He said that downtown Saint Paul has enough government offices that the whole city more or less lives Monday to Friday, 9am to 5pm.

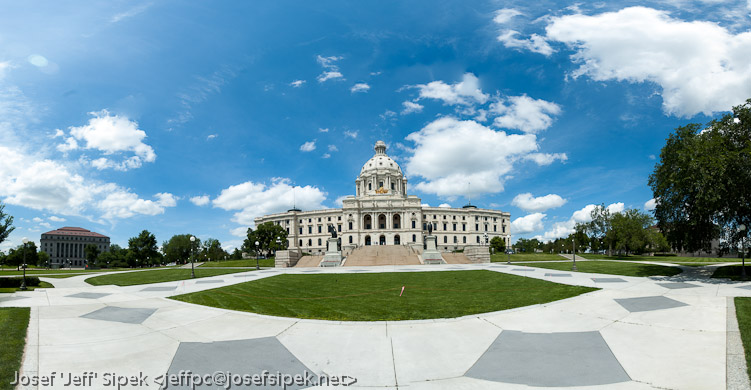
Eventually, we made it to the capitol hill — the capitol is on a hill. Again, I couldn’t resist the temptation to make a panorama. This time it is only 180 degrees wide. (17MB JPEG)

Then I climbed up the stairs, and took enough for a third (and final) panorama. Again, about 180 degrees wide. (9MB JPEG)

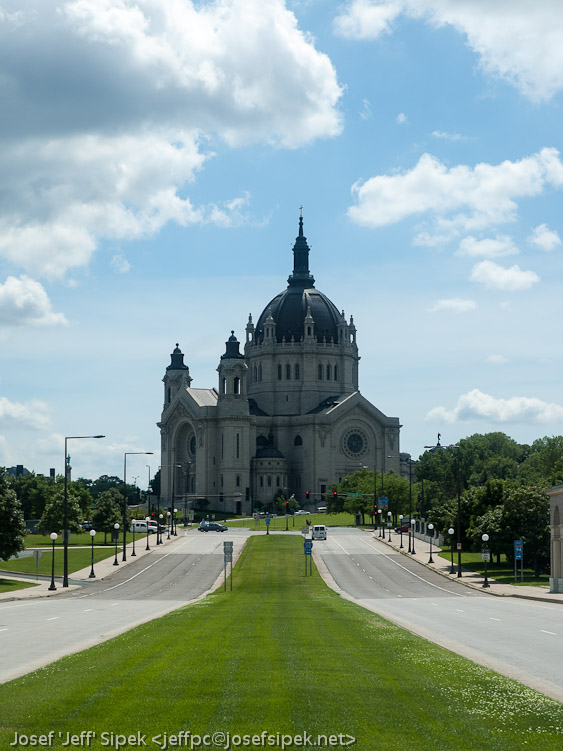
Afterwards, we mosied on toward the Saint Paul Cathedral. (Our last stop before going to the hotel to grab the bags and heading to the airport.)

There is a bunch of photos in the gallery that I didn’t include this post. That concludes this edition of “Travels with Jeff & Holly.”

Venus Transit (2004)

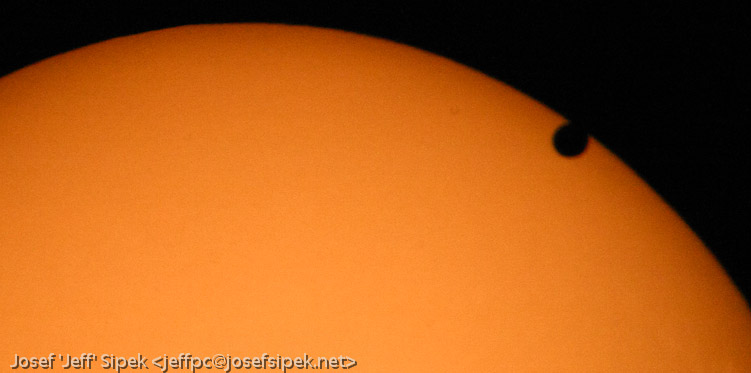
The recent transit of Venus made me dig up some old photos. Specifically, those from the 2004 transit of the very same planet. The quality is pretty poor since we were just hand-holding the cameras (Canon Digital Rebel and a cheap point and shoot) near the telescope eyepiece. It was a pretty nice day…

sunrise

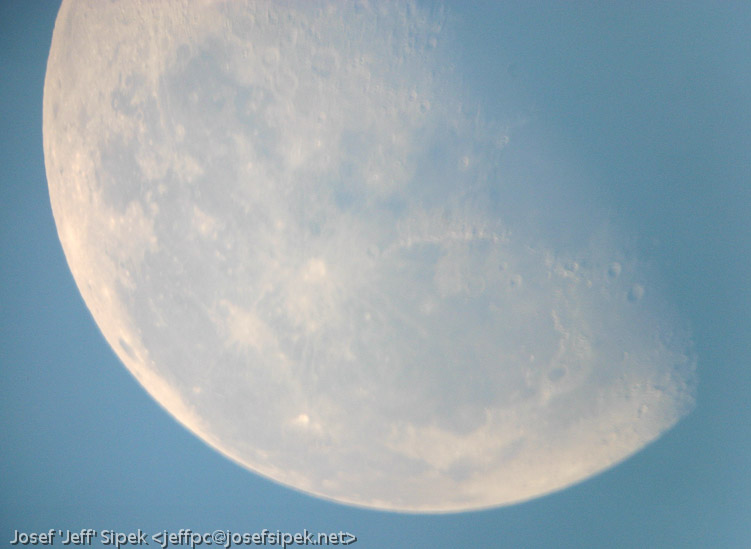
…with the moon getting ready to set…

moon

…and Venus moving in front of the Sun…

venus transit

Powered by blahgd